Guys the countdown is on - I am officially
100 days away from my WEDDING! Don't worry, I'm not freaking out or
anything (I'm totally freaking out) and the stress has been minimal
(It's all LIES!), so it couldn't be going any smoother (Is it too late
to elope?). That being said, I've only got so much control over the
outside vendors and other things happening this far out, but I have
total control over my workouts and diet, and that may be the only thing
keeping me sane. I'm the kind of person who works really well with a
goal date in mind, so knowing I want to tone up before the wedding has
been fun to work toward. I'm in decent shape, but have been really
stepping up my runs and strength-training workouts, and working on
cutting out all the sugar from my diet. I've had great results lately,
losing inches around my waist and thighs and I think more than the
working out, it is due to the removal of sugar from my diet. We've all
heard it by now - sugar is AS addictive as hard drugs to the brain.
That's right, your brain's pleasure centers can't distinguish the two,
they just know it feels great and they want it again. Being a
sugar-addict sounds like a silly thing, but in reality most Americans
are totally hooked and don't even realize it.
When I officially started cutting out the sugar, about three months ago, it was due to a combo of wedding prep and having rented 'That Sugar Documentary' and realizing it was time to make a change. The doc showed that the USDA recommends about 10% of calories per day come from sugar - this was about 25 grams of sugar per day, for most people - but the doc showed that most people are eating closer to 80 grams of sugar per day. WHAT?! That's more than 3x as much! I was blown away. And I immediately thought, 'Not me!' because of course I wanted to believe I was achieving something better and because we all want to believe that we're being successful. I'm a pretty healthy eater, but that doesn't mean I'm eating healthfully all the time. Pro tip: I WASN'T. When I started recording my eaten sugars I was totally embarrassed - the first day, I hit 36 grams by 3 pm and was still craving dessert all night. There just seem to be hidden sugars everywhere! Now, I'm not a total nut. I eat healthy, normal foods like fruit without checking the sugars, I just eat it in moderation. Because of course pancakes aren't the same as an apple. But not all people know that! So i'm here to give you a heads up. Cut the sugar out! It was a hard two weeks of cravings and a few headaches for me, but overall the withdrawal symptoms weren't as bad as I expected at all and now, I don't get the cravings at all. (Unless I'm on my period - those cravings conquer all.)
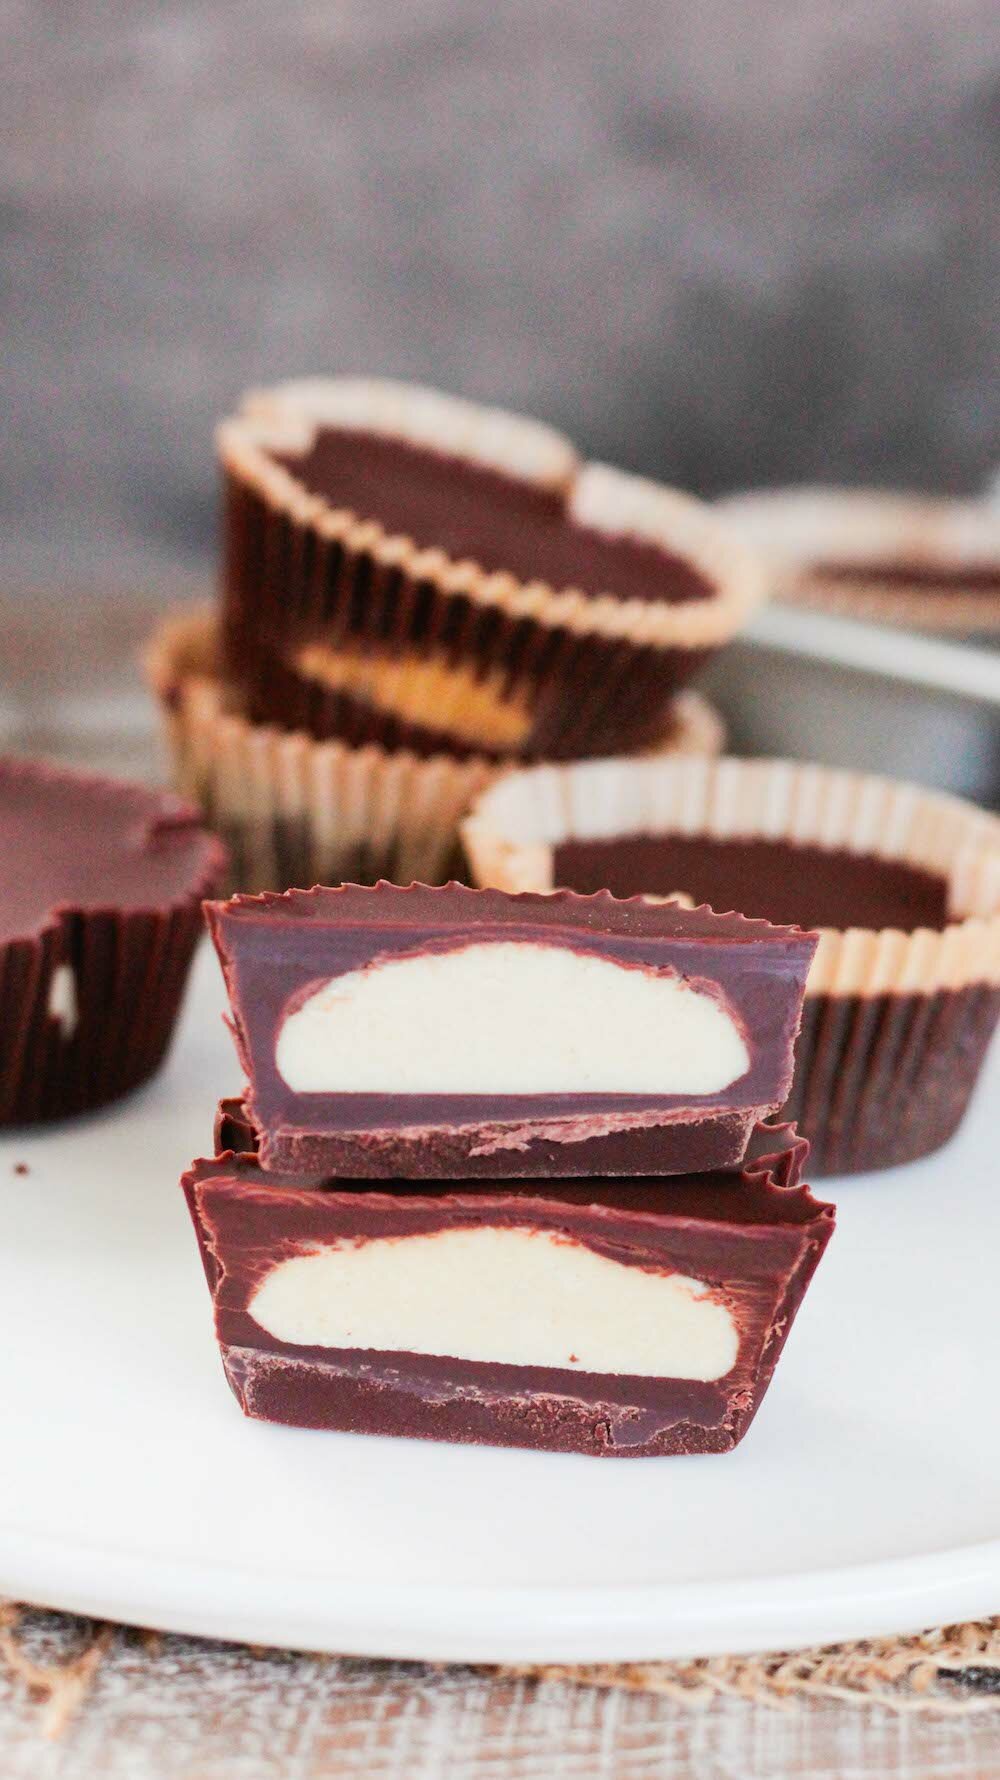
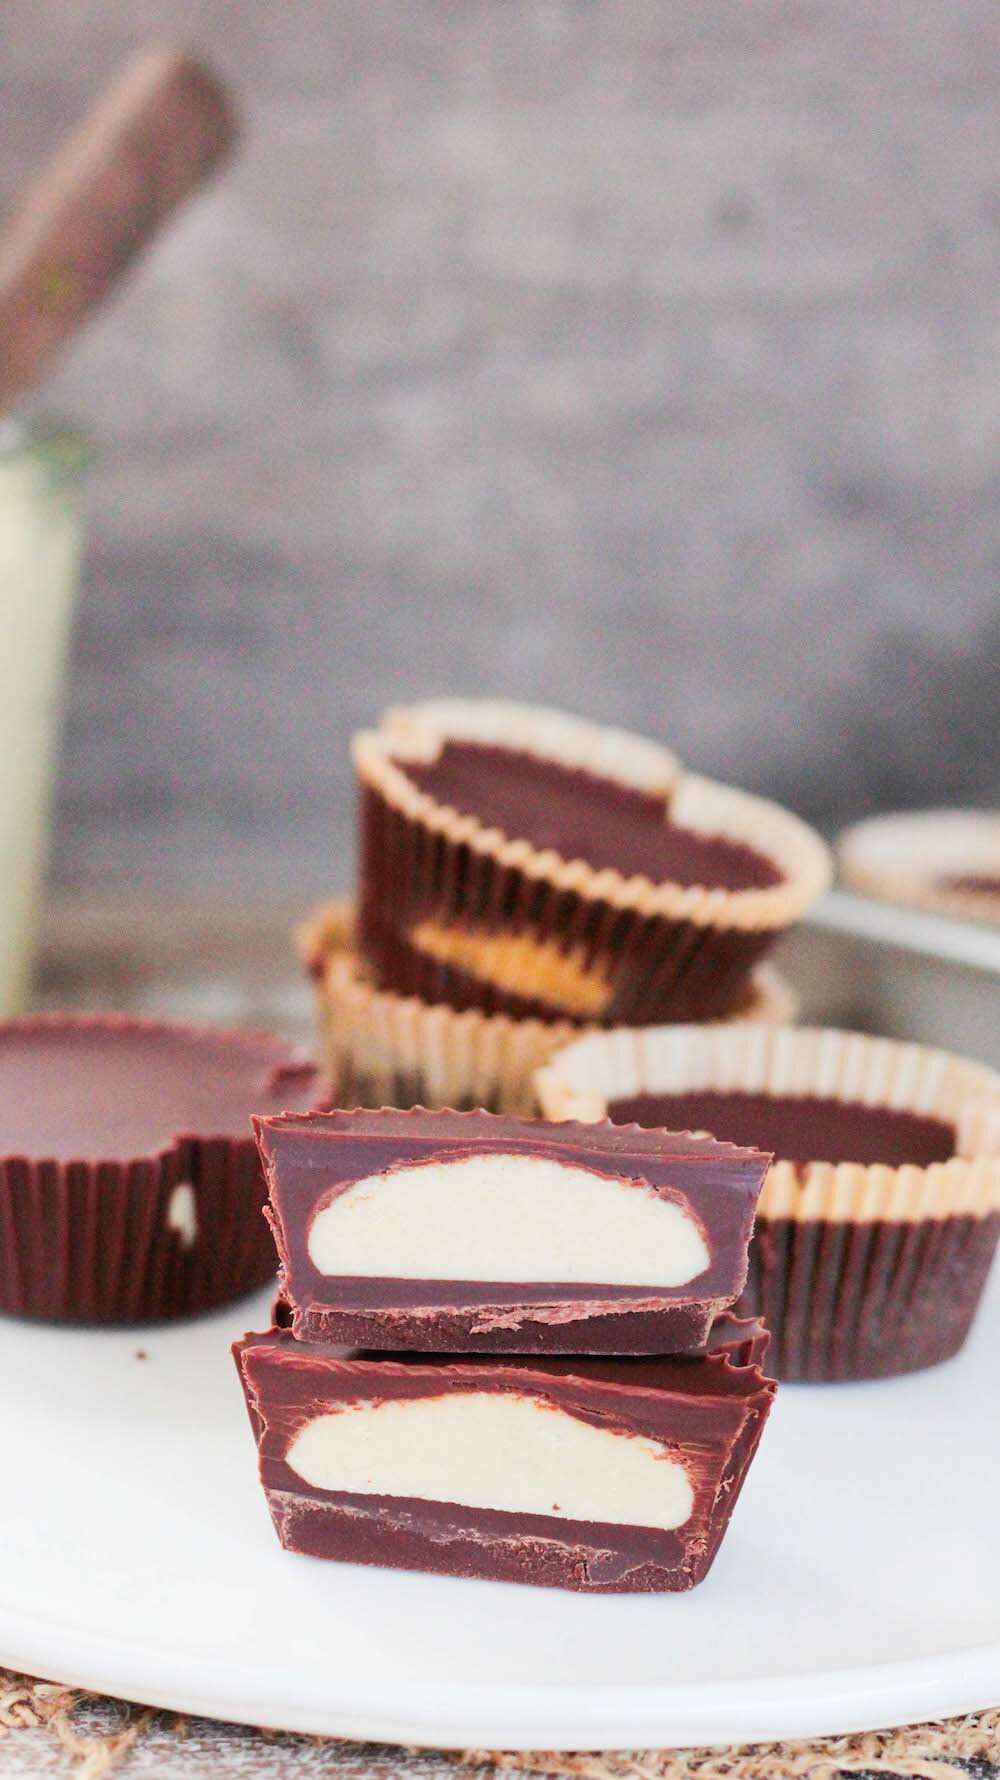
So how did I cut the sugar out? Well, I started weaning myself off by making myself some sugar-free and super low-sugar treats to keep in the fridge. It helped hugely! Now when I wanted a sweet treat, I'd have a little nibble off of one of my guilt-free fridge treats instead of a 1/2 pint of ice cream. And it worked! Soon I wasn't craving the sweets as often, and when I did, I had a healthy solution to reach for before I could make an unhealthy choice instead. That's it! No magic pill, just an upcoming wedding and a solid amount of will power. You can do it too! And the perfect way to start is with these - almost TOO easy to make - Vanilla Cashew Butter Cups! They're rich, creamy, and decadent - and you'd NEVER know they had no added sugar. I used the recipe for the Vanilla Cashew Butter from my Homestyle Vegan Cookbook (it's got great reviews on Amazon!), but you could definitely use the nut butter of your choice here instead.
Quick note: The chocolate you buy will affect the sugar in this dessert. If you buy a 70% + Dark Chocolate like I did, the sugar should be under 9 grams per serving, which is reasonably low. You can look for a sugar-free chocolate, but I think real, rich, dark chocolate really works great here. And plus, we don't want to demonize sugar, just eat a ton less of it. Looking for more low-sugar desserts? Find our favorites here. Also, we want to give a shout to Honeycomb Studio in Atlanta for the gorgeous, hand-made, small-batch porcelain plates in the photo. They are almost too pretty to use - we love them!
INGREDIENTS
Vanilla Cashew Butter (from my Homestyle Vegan Cookbook)
2 cups raw cashews
1 vanilla bean, scraped
1/4 teaspoon cinnamon
pinch of salt
Vanilla Cashew Butter Cups
1 cup cashew vanilla cashew butter
1/4 cup coconut oil (optional)
3 cups dairy-free chocolate chips or chunks
1-3 drops vanilla stevia (optional)
DIRECTIONS
Vanilla Cashew Butter
Preheat oven to 325º. Line a baking sheet with parchment paper. Spread the cashews onto the baking sheet and roast for 10-15 minutes, stirring once, until golden and fragrant.
Let the cashews cool completely, then pour them into a food processor with the vanilla bean innards, cinnamon and salt and process until smooth. It might take a while - it took us about 5 continuous minutes of processing to get a super smooth consistency. Of course, if you prefer it a little chunky, you do you - just stop processing while there are still some chunks left. Pour the nut butter into an airtight container and set aside.
?
Vanilla Cashew Butter Cups
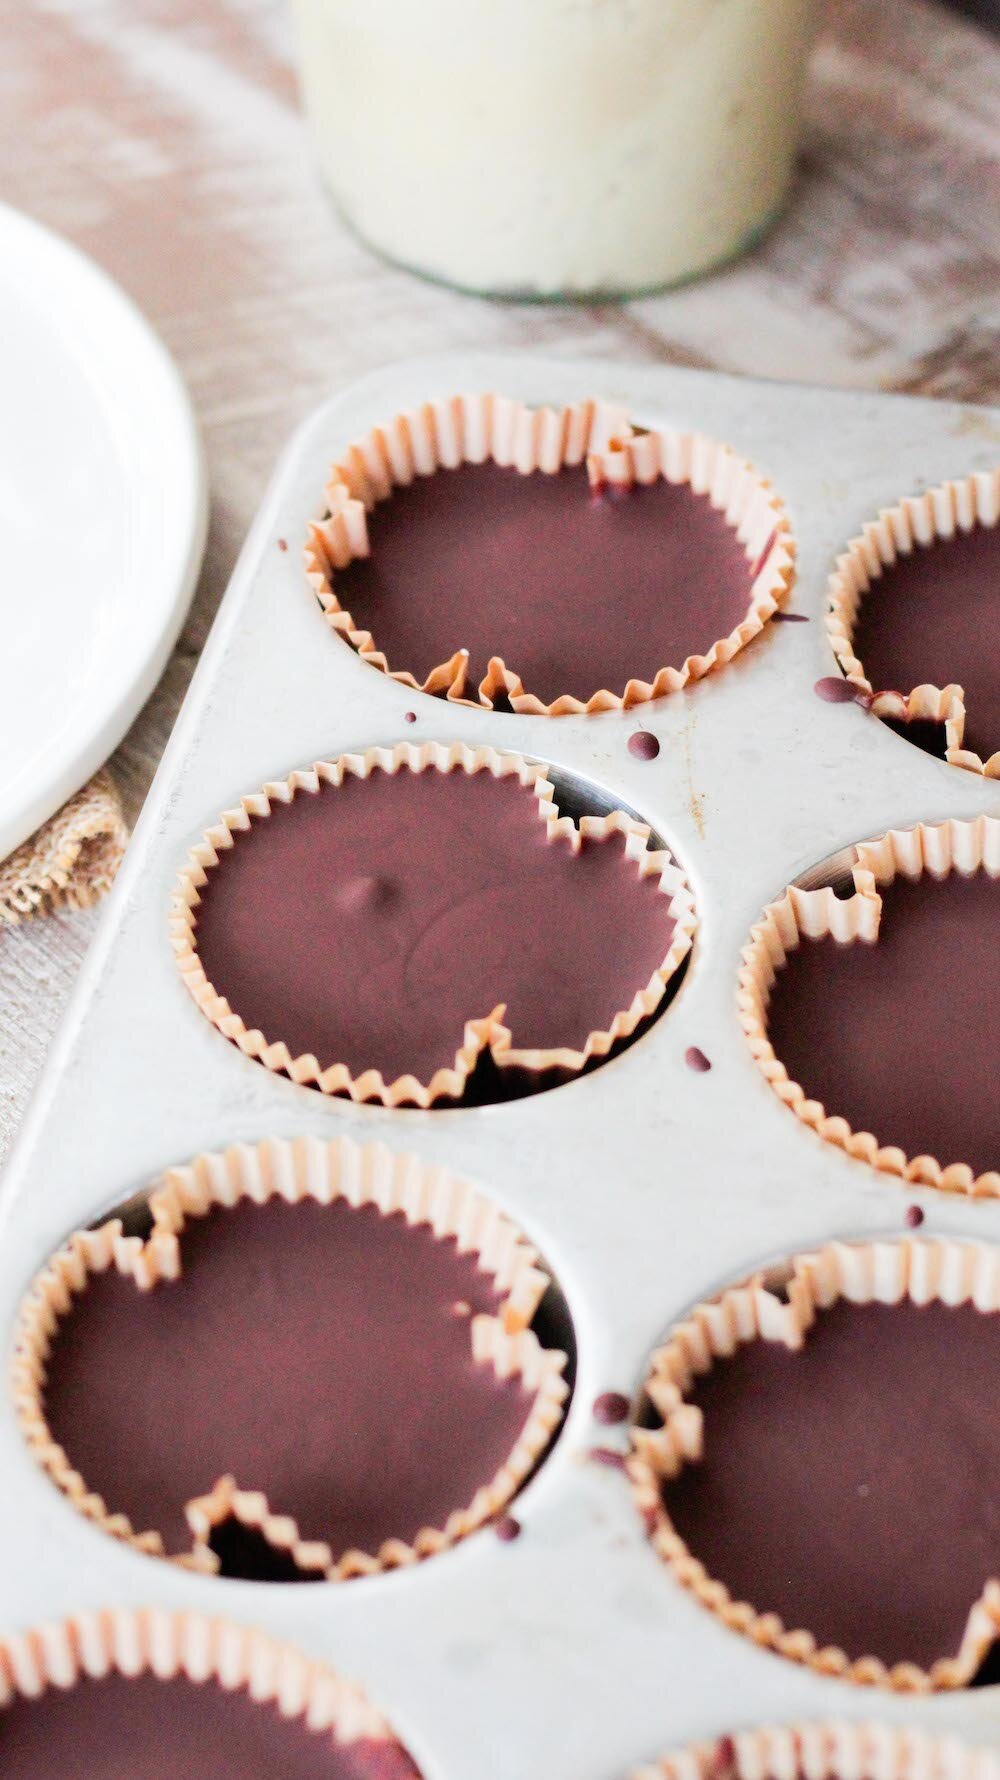
Line a muffin tin with paper liners and set aside.
Using the double boiler method, begin to melt the chocolate chips over medium heat, stirring as they soften. Pour in the coconut oil and stevia, if using, and continue to stir until the chocolate is completely melted and smooth.
Pour about 1 tablespoon of melted chocolate into each lined cup. Pop the tray into the freezer for 5-10 minutes to set. Pull the tray out and scoop about 1 tablespoon of the vanilla cashew butter onto the chocolate layer of each cup, centering it as best you can. Once all the cups have the cashew butter, pop the tray in the freezer for another 5-10 minutes to set again. While it sets, make sure your chocolate it still melty and ready to go.
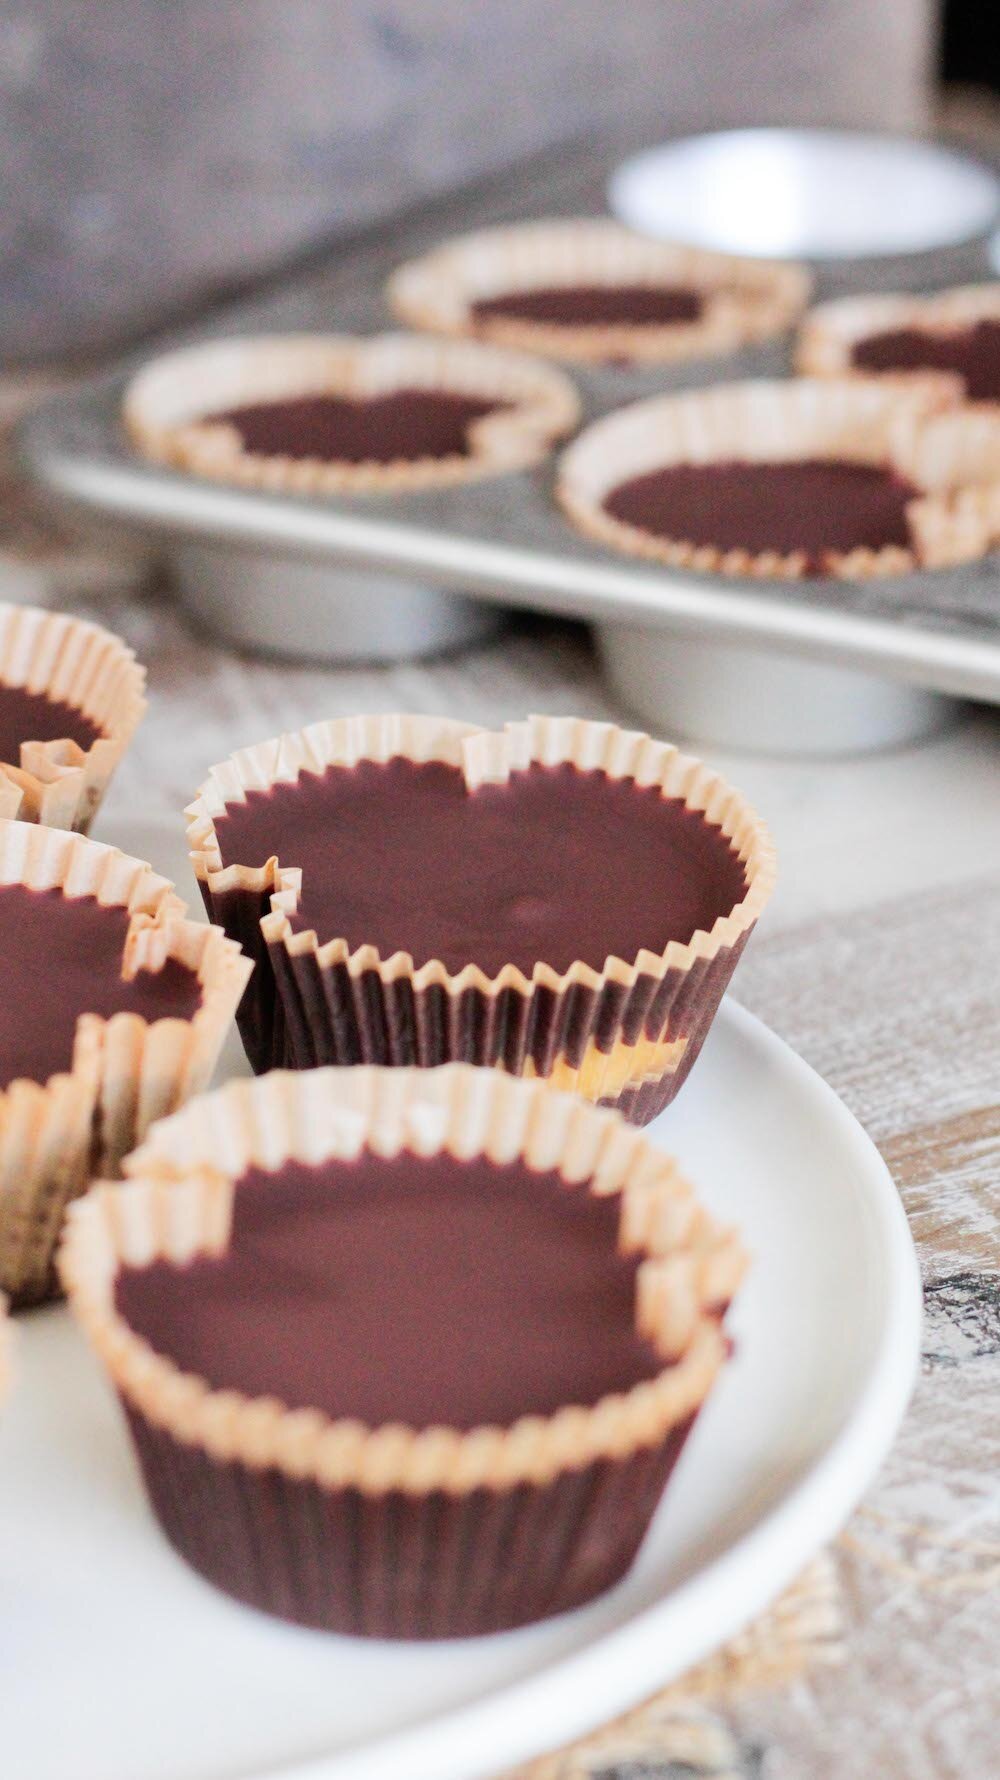
When set, pull the tray from the freezer again and top each cup with 1-2 tablespoons of the remaining melted chocolate mixture, until the cashew butter is completely covered or 'sealed' within each cup. Pop the tray back in the freezer to set, another 10-15 minutes. Once set, remove the cups from the tray and enjoy! They will soften at room temperature if coconut oil was added, so keep them in a cool place until you'r ready to eat them.
?NOTES
Makes 12-14 cups.
?Leftover vanilla cashew butter doesn’t need to be refrigerated, and should keep at least two weeks out of the fridge. It will last indefinitely in the fridge.
Leftover cups are best saved in an airtight container in the fridge or freezer for up to 6 months.


