Creamy Baked Kale + Artichoke Dip
We’re big fans of Sir Kensington’s all natural, non-GMO mustards and ketchups in our household - their spicy ketchup is my FAVORITE on french fries and breakfast potatoes! Last month at Expo West we were lucky enough to get a taste of a brand new product they’ve been experimenting with, and it sort of blew our minds. The secret product had everyone at the show raving and had us going back for samples each day we attended. The secret product? A totally vegan, aquafaba based mayonnaise called Fabanaise! It is literally the BEST vegan - dare I say ANY? - mayo I have ever had. It is light, it is creamy…it is perfect. It comes in two flavors - original and it’s spicier sister, chipotle. And unlike most gloppy eggless mayos, this one has a great, tangy flavor that compliments everything from potato salad to a loaded veggie sandwich. My favorite way to enjoy it is spread thinly over a slice of plain sourdough bead, topped in thinly sliced cucumbers and ground black pepper. It’s almost TOO good, and is the perfect light snack! Anyway, I’m obsessed with it. They generously hooked us up with a few jars after the show and we’ve been slathering it on everything we can since.
In case you’ve been living under a proverbial vegan rock for the last year, aquafaba is a viscous, egg-like binder made of the liquid from cooked beans such as chickpeas, navy or black beans. We’ve used it as an egg replacer in our recipes for Cranberry Orange Clafoutis and Easy Chickpeasy Breakfast Burritos with great success. It is super light and foamy when whipped and takes on whatever flavors it is mixed with, making it the perfect egg-free substitution in this mayo.
Fabanaise will be coming out in stores soon and we cannot wait for you guys to get your hands on it! To celebrate, and because this is our new miracle product in the kitchen, we wanted to share this delicious dish we whipped up using the original flavor - it’s too good NOT to share! Our Baked Kale + Artichoke Dip is creamy, cheezy, and totally decadent. The mayo in the recipe gives the dip the perfect amount of smooth, rich texture but it still light enough to enjoy with thick, crusty bread. It whips up in about an hour and is a total crowd pleaser. Perfect for parties or a movie night-in, you’re going to be blown away by this dip. So, let’s get cooking!
Creamy Baked Kale + Artichoke Dip INGREDIENTS 1 1/2 cups (about 1 - 15 oz. can) cooked white beans 1 cup Sir Kensington's Fabanaise Vegan Mayo 1/4 cup nutritional yeast 1/4 cup roasted red peppers 2 tablespoons lemon juice 1 teaspoon fresh basil, chopped 1 teaspoon salt 1 teaspoon cayenne pepper 1 tablespoon oil or vegan butter 4 cloves garlic, minced 1 medium yellow onion, finely chopped 1 heaping cup artichoke hearts, roughly chopped 3 packed cups de-stemmed kale, leaves roughly chopped 1/2 cup panko breadcrumbs (use GF if you prefer) DIRECTIONS Preheat oven to 375º. In a food processor, combine the white beans, Fabanaise, nutritional yeast, roasted red peppers, lemon juice, fresh basil, salt and cayenne pepper until smooth. Scoop the mixture out into a bowl and set aside. In a medium cast iron pan, melt the oil or butter over medium heat. Sauté garlic and onions together 3-5 minutes, until softened. Pour in the chopped artichokes and stir to combine. Pour in the kale about a cup at a time, stirring to wilt. When the kale has wilted, shut off the heat and pour in the blended white bean mixture. Stir to combine completely. Pour the panko bread crumbs over the top of the mixture, then cover the pan with aluminum foil. Bake for 15 minutes. Remove the foil and bake for another 10-15 minutes, until the mixture is bubbly and hot. Let cool 5 minutes, then serve with bread, chips or sliced vegetables!
Print Recipe
You can find Sir Kensington’s products, including their ALL NEW vegan mayo, at a natural retailer near you or at your nearest Whole Foods. And you can use this link for a $1 discount! For more info and recipe ideas, head to SirKensingtons.com or find them on Facebook, Twitter and Instagram at @SirKensingtons.
*Product provided by Sir Kensingtons. Thoughts, opinions, recipe and photos are my own.*
0 Comments
Cranberry Orange Clafoutis
Clafoutis, pronounced KLA-FOO-TEE, is a French dessert that is custard-y in texture and studded with fruit. Cherries seem to be the traditionally paired flavor, but since cranberries are in season and have such a great tart flavor, we used them instead. They work nicely to balance out the sweet, eggy flavor and texture of the cake, and they taste all kinds of seasonal with a bit of added orange zest. It works as a breakfast dish or dessert, and is an impressive looking one, at that! This recipe is deceptively simple and makes you seem like a real chef, especially when you start throwing around words like 'clafoutis' and 'aquafaba'. If you haven't jumped on the aquafaba train, you can check out some more info on other recipes we've used it in, like our Easy Chickpeasy Breakfast Burritos + our Homemade Marshmallow Fluff. We used aquafaba in this dish because it so closely mimics the protein structure in baked goods that eggs do, and helped to almost perfectly mimic the texture of a traditional clafoutis. We considered using flax or chia eggs, but I just don't think it would've given the same texture, and like we said before, texture is key in this dish. Anyway, enough chatting. You get it. Fancy dessert, very little work. So what're you waiting for? Let's eat!
INGREDIENTS
1 cup unsweetened almond milk 1/2 cup + 1 tablespoon aquafaba 1/2 cup sugar 2 tablespoons melted vegan butter 2 teaspoons vanilla 1 teaspoon orange zest 1/2 cup all purpose flour 1 cup fresh cranberries powdered sugar, for garnish DIRECTIONS Preheat oven to 325 degrees. In a large mixing bowl combine almond milk, aquafaba, sugar, melted butter, vanilla and orange zest. Add in the flour, whisking until smooth. Pour the batter into a greased 8-inch cast iron pan or baking dish. Scatter the cranberries over the top and place the whole pan into the oven. Bake for 50-60 minutes, until dough is puffed and golden along the edges. Remove from the oven and let it sit at least 2 hours to set. The result should be very custard-like, a thick 'pancake' similar to flan. Sprinkle with powdered sugar + serve! NOTES Aquafaba is the magical liquid drained from a can of beans. Garbanzo or white beans work best. You can read more about that here. Texture is key in this dish. Don't dig in too early or the base won't set properly. It might seem undercooked or a little jiggly when you first pull it out of the oven, but I promise, that's what you want. However, if the sides haven't browned up, you'll want to keep it in a few extra minutes. Cranberries not your jam? Use your favorite berries or stone fruit here instead! ***We've gotten a LOT of questions about this recipe. I swear it is as easy as it looks BUT PLEASE read through the entire recipe completely before beginning. And yes, your pan should be greased...like its says. :) ***
print recipe
Easy Chickpeasy Breakfast Burritos
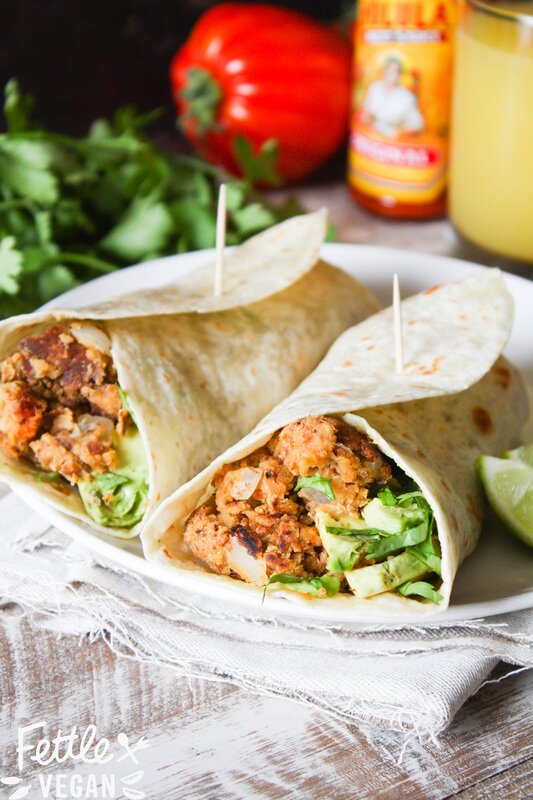
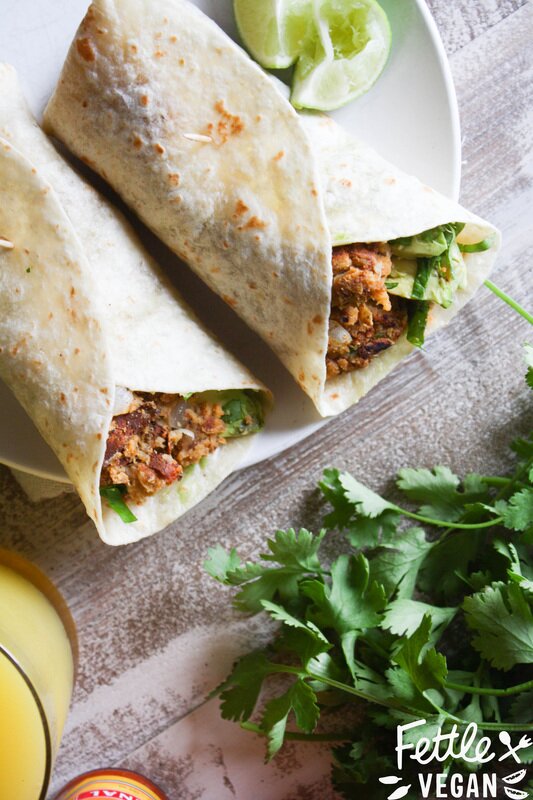
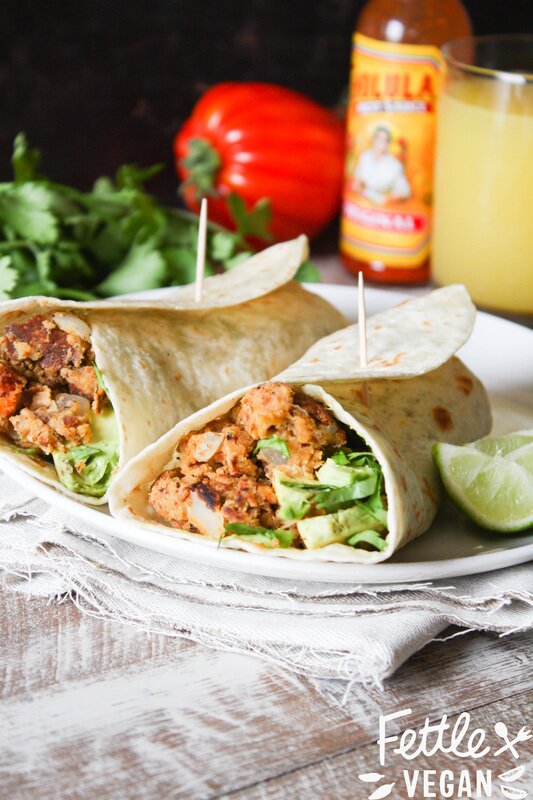
We love grab-and-go breakfasts around here. Alex and I both work early most days, so a lot of time a kiss on the way out the door is all you've got time for- let alone a full fledged balanced breakfast. In our attempt to whip us some easy breakfast burritos, Alex had a brilliant idea. Why not use the AMAZING, fluffy, egg-white-like properties of aquafaba to help keep our breakfast light + similar to the 'potato tacos' so popular here in So Cal? So we did it! And they were a hit. Plus, they're perfect for making ahead and freezing, so you can just grab one on your way out the door and heat it up later. The aquafaba keeps the texture of the chickpeas 'egg like' and you cook 'em up just like you would a pan of scrambled eggs. You can toss in any chopped veggies you like, but we liked them slathered in avocado, hot sauce, and cilantro. They have a slightly hummus-y flavor and they're packed with protein. And even though we've been enjoying them in the mornings, they're great ANY time of the day. They whip up in under 15 minutes, so let's eat!
INGREDIENTS
1 teaspoon coconut oil 1- 15 oz. can chickpeas NOT DRAINED 1 clove garlic 1 teaspoon cumin 1 teaspoon smoked paprika 1/2 teaspoon each salt + pepper 2 tortillas 1 lime, quartered avocado, halved and sliced hot sauce, to taste (opt.) cilantro, roughly chopped (opt.) DIRECTIONS Heat a teaspoon of coconut oil in a medium skillet over medium heat. Pour entire can of chickpeas INCLUDING the brine, or ‘aquafaba’, into a blender or food processor. Toss in garlic and spices and blend until mixture becomes mostly smooth, but pourable. Pour mixture into the heated pan, using a spatula to move mixture around as it begins to cook, letting it get slightly browned before flipping mixture onto itself (like scrambled eggs). Continue cooking mixture until it has thickened and browned slightly, becoming almost mashed potato in texture. Lay a tortilla flat, scooping about half of the chickpea mixture on top. Top with slices avocado, hot sauce, cilantro, and a squeeze of fresh lime. Fold tortilla around mixture and enjoy! To make freezer burritos, simply fold the tortilla around the chickpea mixture and wrap the whole burrito tightly in tin foil. Freeze indefinitely. When ready to reheat, remove and bake at 350 degrees until the inner mixture is heated through and tortilla begins to brown. Add avocado and condiments + eat ‘em up. Makes 2 burritos.
print recipe
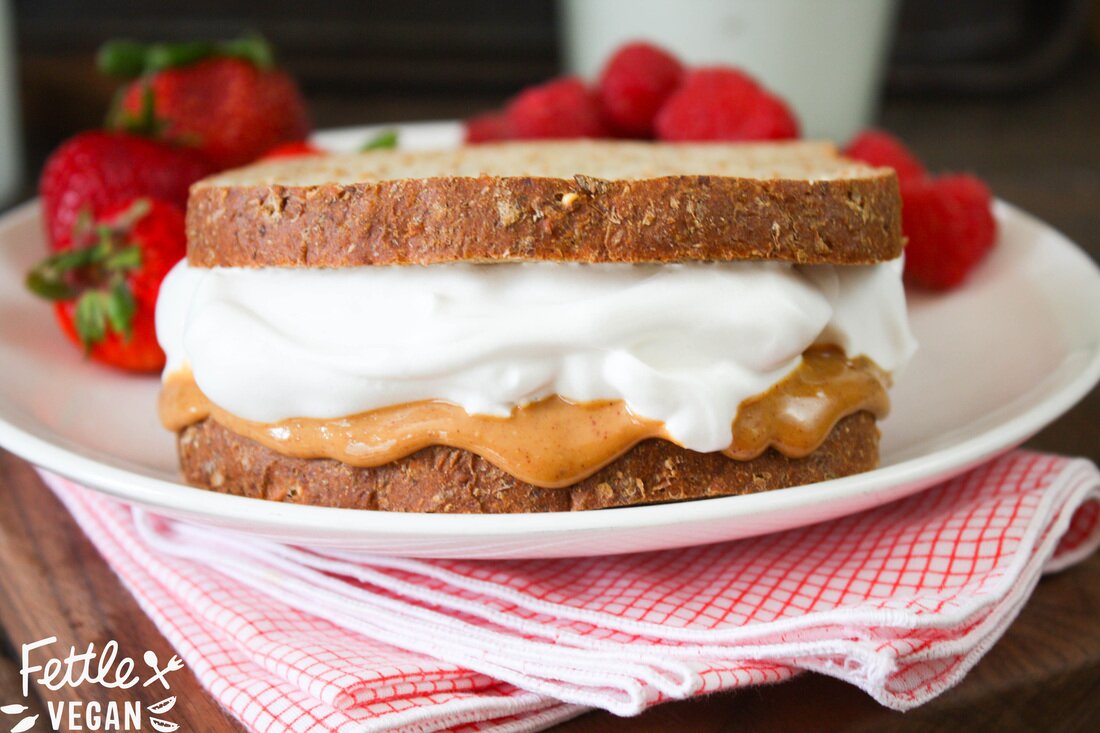
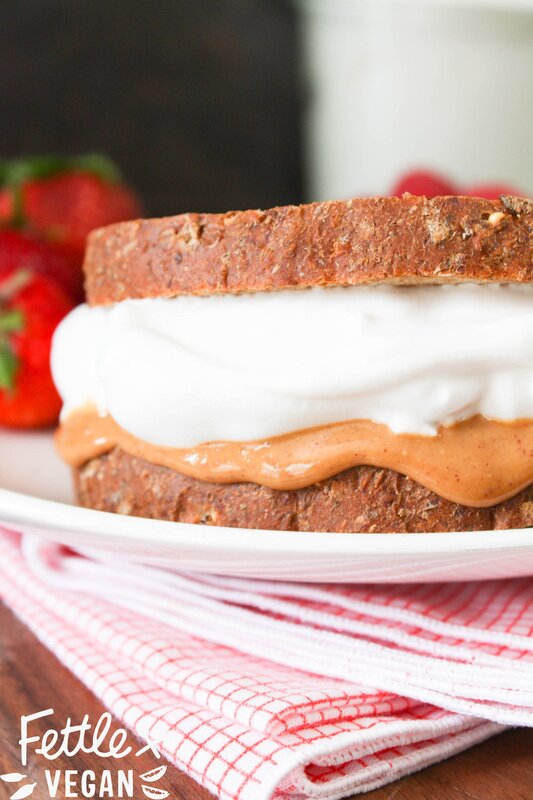
Vegan Fluffernutter Sandwich!
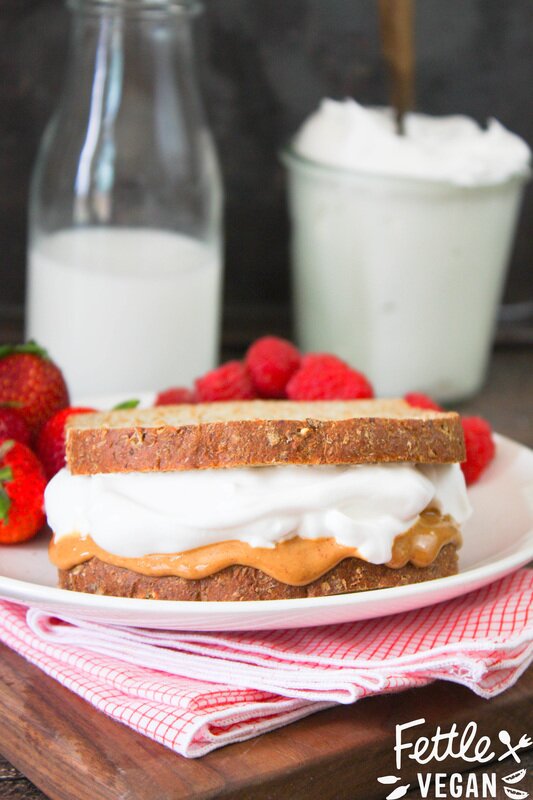
I grew up in a tiny town in Southern Maine. My mom usually packed our lunches for us and did a great job- but we always wanted Dad to do the packing. When Dad packed lunches, my little sister, Jade, and I would always get a fat fluffernutter sandwich on whole wheat bread, sliced into 4 triangles and wrapped in aluminum foil. We'd open up the gooey, tin foil wrapped sandwich at lunch and bury our faces into the marshmallow-y goodness. Now, if you've gotten this far and you're still like "WHAT THE HELL IS FLUFFERNUTTER?" then you obviously didn't grow up on the East Coast. A fluffernutter is a combo of peanut butter and marshmallow fluff, slathered into sandwich form. I remember eating these CONSTANTLY (I wasn't much into jam) as a kiddo, and haven't had one in YEARS. Especially since, as a vegan, marshmallow fluff (while it DOES exist) can be hard to find and expensive to buy. Luckily, the world of vegan food experiments in now a pretty wide world.
If you've been living under a rock, you may not have noticed the trend sweeping the vegan community, but it's all about bean juice and it's called aquafaba. Aquafaba is the term used to describe the thick liquid you usually pour down the sink when draining a can of beans (any kind of beans- black, garbanzo, navy beans- will work). Some brilliant genius realized you could whip the liquid (similar in protein build) just like egg whites and get similar results in things like meringues, pavlovas, and marshmallows. Only now, they're VEGAN versions! When we first heard of this idea, we immediately drained a can of beans and got to work. We loved how similar the texture of the 'fluff' was, though it was slightly less sticky than what I remember (and thus easier to wipe off your face afterwards), but that's probably due to the lack of corn syrup in this recipe. Aquafaba is a crazy, fun thing to experiment with, and I have found myself thinking of ways to add it to EVERYTHING. It just adds a light, whipped quality that I think would be AMAZING in baked goods. Before that though, whip up this easy, basic fluff recipe, make yourself a fluffernutter sandwich, and put Blossom on Netflix for a total afternoon revival of my East Coast childhood. Let's EAT!
INGREDIENTS:
1/2 cup aquafaba liquid (about 1 - 15 oz. can beans, drained) 1 teaspoon vanilla 1/2 cup organic, granulated sugar 1/8 teaspoon xantham gum 1/8 teaspoon cream of tartar peanut butter (about 1/4 cup per sandwich) sliced wheat (or white) bread, 2 slices per sandwich DIRECTIONS: 1. Drain aquafaba from one can of beans into a small bowl. Refrigerate unused beans. 2. Strain aquafaba liquid through a piece of cheesecloth or fine sieve to remove any beans pieces or skin. 3. Pour aquafaba into an electric mixing bowl, and begin to whisk at a medium to high speed. 4. As aquafaba whips, slowly add vanilla, granulated sugar, and finally xantham gum + cream of tartar. Whip mixture 10-15 minutes, until stiff peaks form. The mixture should be thick enough that if you remove the whisk attachment and wave it around the air a bit, the 'fluff' should't go anywhere- kind of like the blizzard trick at Dairy Queen. 5. Assmeble your sandwich by spreading 1 slice thickly with peanut butter and the other slice with a generous serving of fluff. Slap the two slices together and munch away! Makes enough for 2-4 sandwiches, though there is so much that can be done with aquafaba, the leftovers might be great as a meringue topping or mixed into baked goods. Leftovers can be refrigerated in an airtight container for up to 3 days, but may need to be re-whipped before consumption. NOTES: - About 3 tablespoons of aquafaba= 1 'egg white' - Any bean liquid should work, but we used canned white bean and chickpea liquid over here. -Experiment! This new trend has lots of possibilities and is super fun to work with. Just don't get frustrated! -You can find more info on aquafaba hits + misses in this AMAZING Facebook group OR at aquafaba.com.
print recipe
|
tagsAll  RSS Feed RSS Feed
|


