Falafel Pitas with Smoky Lemon Yogurt Sauce
This post is sponsored by So Delicious and all opinions are my own.
One of the hardest parts for most people about living a plant-based lifestyle is ditching the dairy - especially for someone like me who has always been lactose intolerant! Luckily for us, So Delicious continues to churn out impressive, better-than-the-real-thing, dairy-free alternatives to our favorite foods, making it easier and easier to say no to milk, cheese, and even yogurt. So Delicious has been in the dairy-free game for over 30 years and their products are at the top of the market for taste and accessibility. They offer all kinds of allergen-free options and different types of dairy alternatives, but one of the products I reach for over and over again is their thick, creamy coconut milk yogurt!
Made with organic coconuts, active cultures and non-GMO ingredients, each flavor offers just the right amount of sweetness - their unsweetened flavor contains LESS than 1 g of sugar - and a truly unsweetened yogurt can be SO hard to find! Because these yogurts are made similarly to traditional yogurts, they don’t sacrifice taste and texture - but you can feel a lot better about eating them!
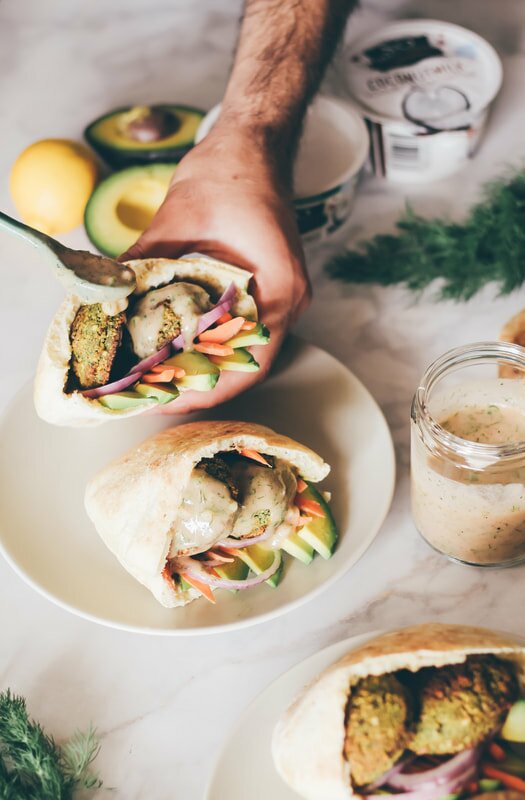
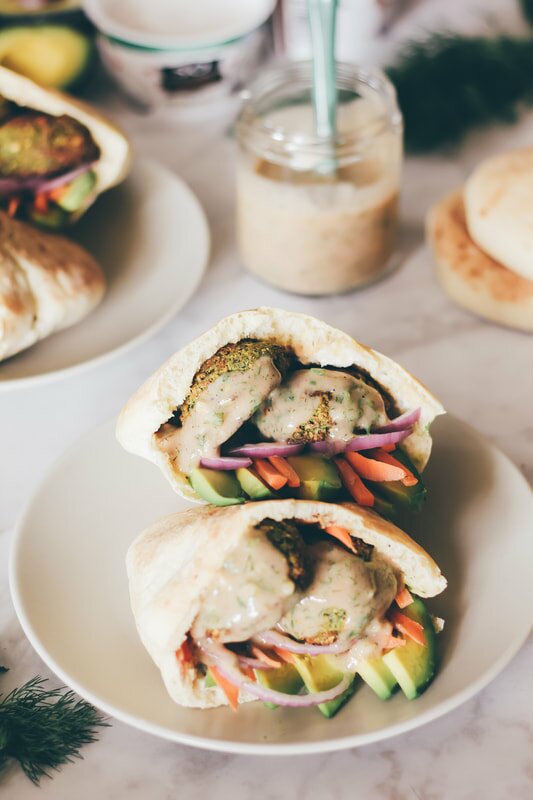
I like eating the yogurts on their own (obvs - YUM!), but also love them in smoothies, parfaits, and even use the unsweetened flavor a base for savory sauces. I think yogurt tends to get a bad rap for being too much of a breakfast food, and I think that’s silly. Yogurt is great any time of the day! You’ve just gotta get creative. Which is exactly why we’re sharing one of my favorite easy yogurt sauce recipes today - so you can start loving and using yogurt and reaping the probiotic (and delicious) benefits, too. We love toasting and stuffing warm pita full of healthy ingredients for an easy lunch around here, and we almost always have avocados and hummus on hand. We bought some falafel, added our favorite homemade yogurt sauce and our on-the-go pitas went from lunchbox worthy to Instagram worthy real quick.
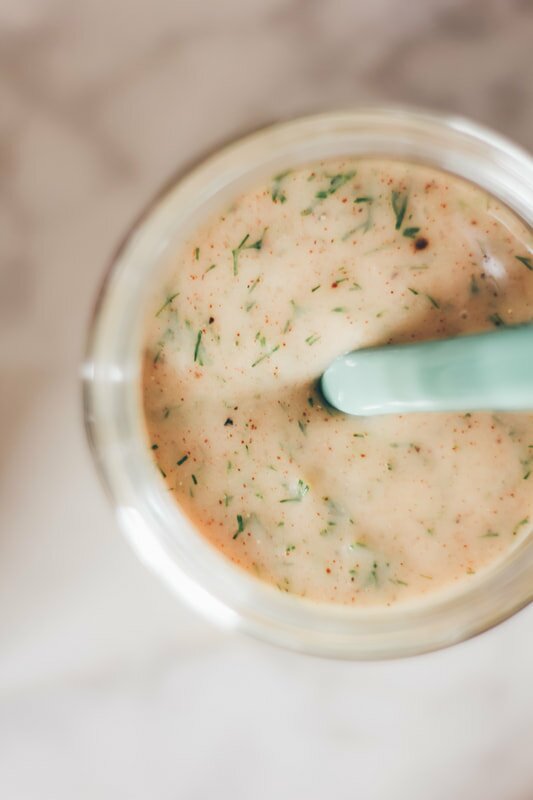
We shot the recipe + are sharing it so you can enjoy some seriously tangy, savory, smoky yogurt sauce stuffed with fresh herbs that’ll leave you craving more and finding new ways to eat more of it. As a dressing for roasted vegetables, anyone? Scroll down for our recipe!
FALAFEL PITAS WITH SMOKY LEMON YOGURT SAUCE
INGREDIENTS 1 (5.3 oz) container So Delicious Unsweetened Dairy Free Yogurt Alternative 1 tablespoon lemon juice 1 tablespoon chopped fresh dill 1 clove fresh garlic, minced 1/2 teaspoon smoked paprika 1/4-1/2 teaspoon (to taste preference) each salt + pepper DIRECTIONS In a small dish combine all the ingredients and stir until combined. Serve over falafel, roasted veggies, as a dip with pita or warm bread, or as a dip for french fries! Leftovers save well in the fridge for up to a week too. We simply stuffed our favorite pitas with pre-made falafel and some chopped veggies, then drizzled the sauce all over. Yum! Serves 2-4.
Find So Delicious Dairy Free Yogurt Alternatives at stores nationwide - head to their website to find a store locator and sign up to receive exclusive product coupons! And, if you love their new Almondmilk with Cashew as much as I do, you need to check out this creamy morning matcha recipe, too. Enjoy, friends!
0 Comments
Jackfruit Philly Cheesesteaks
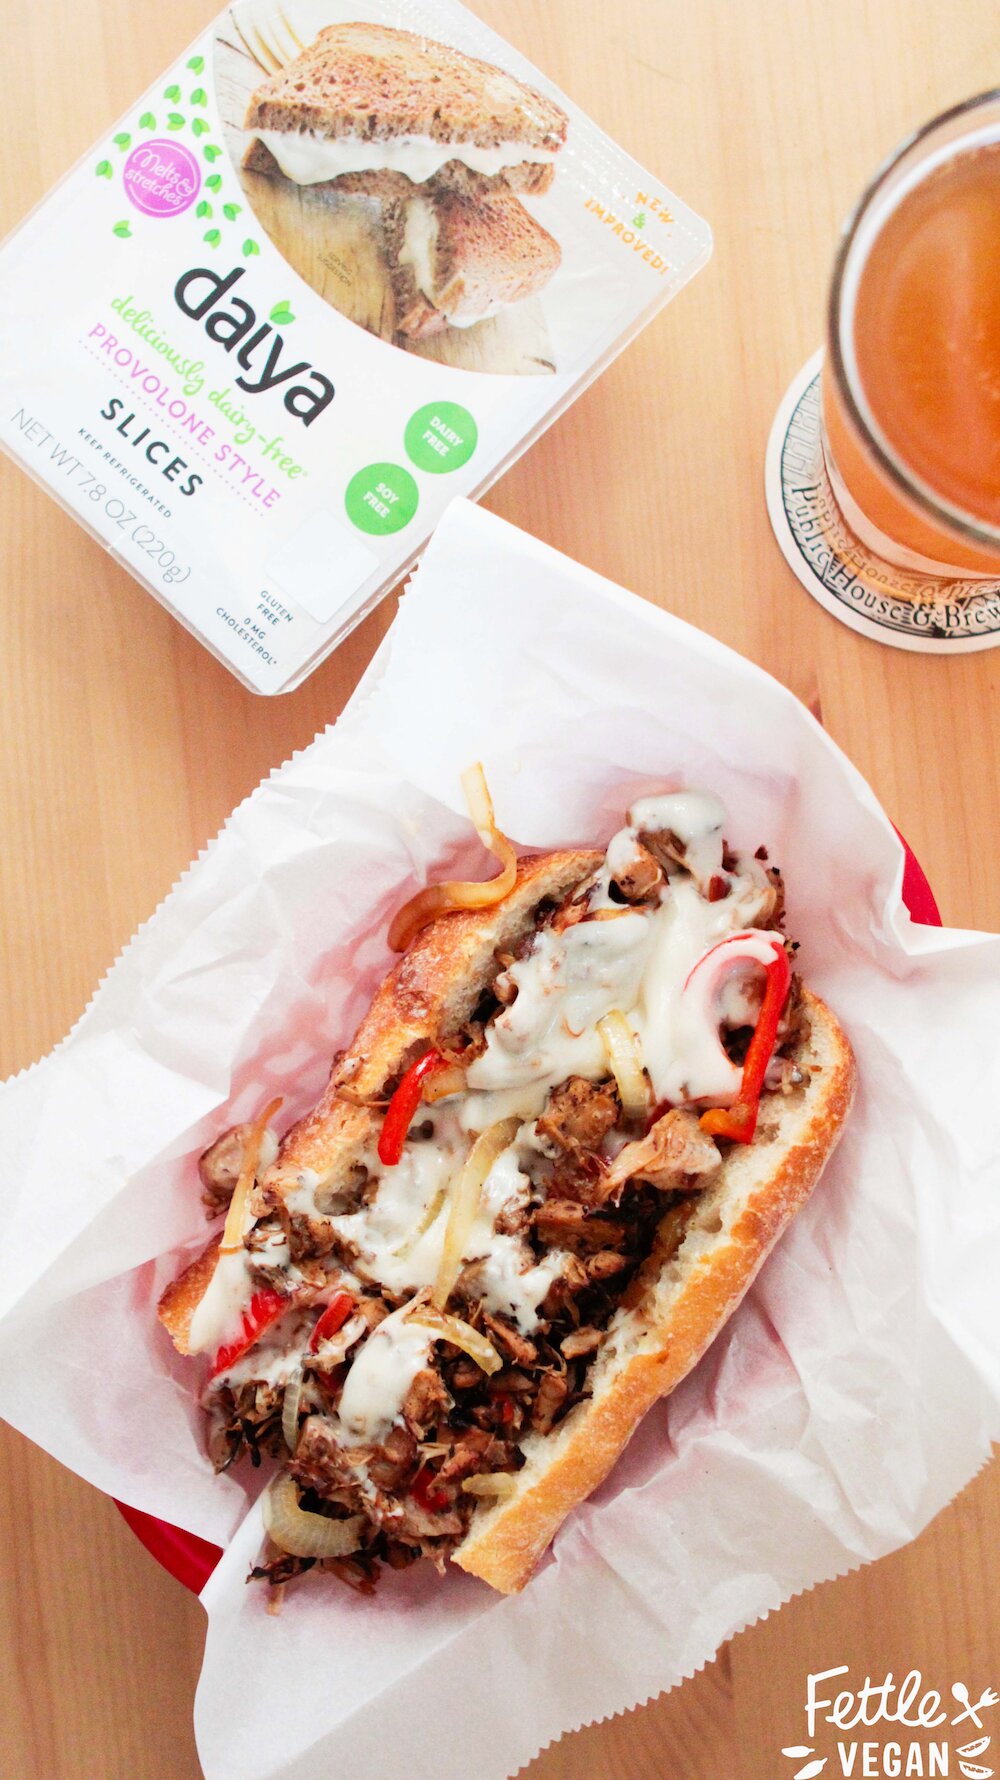
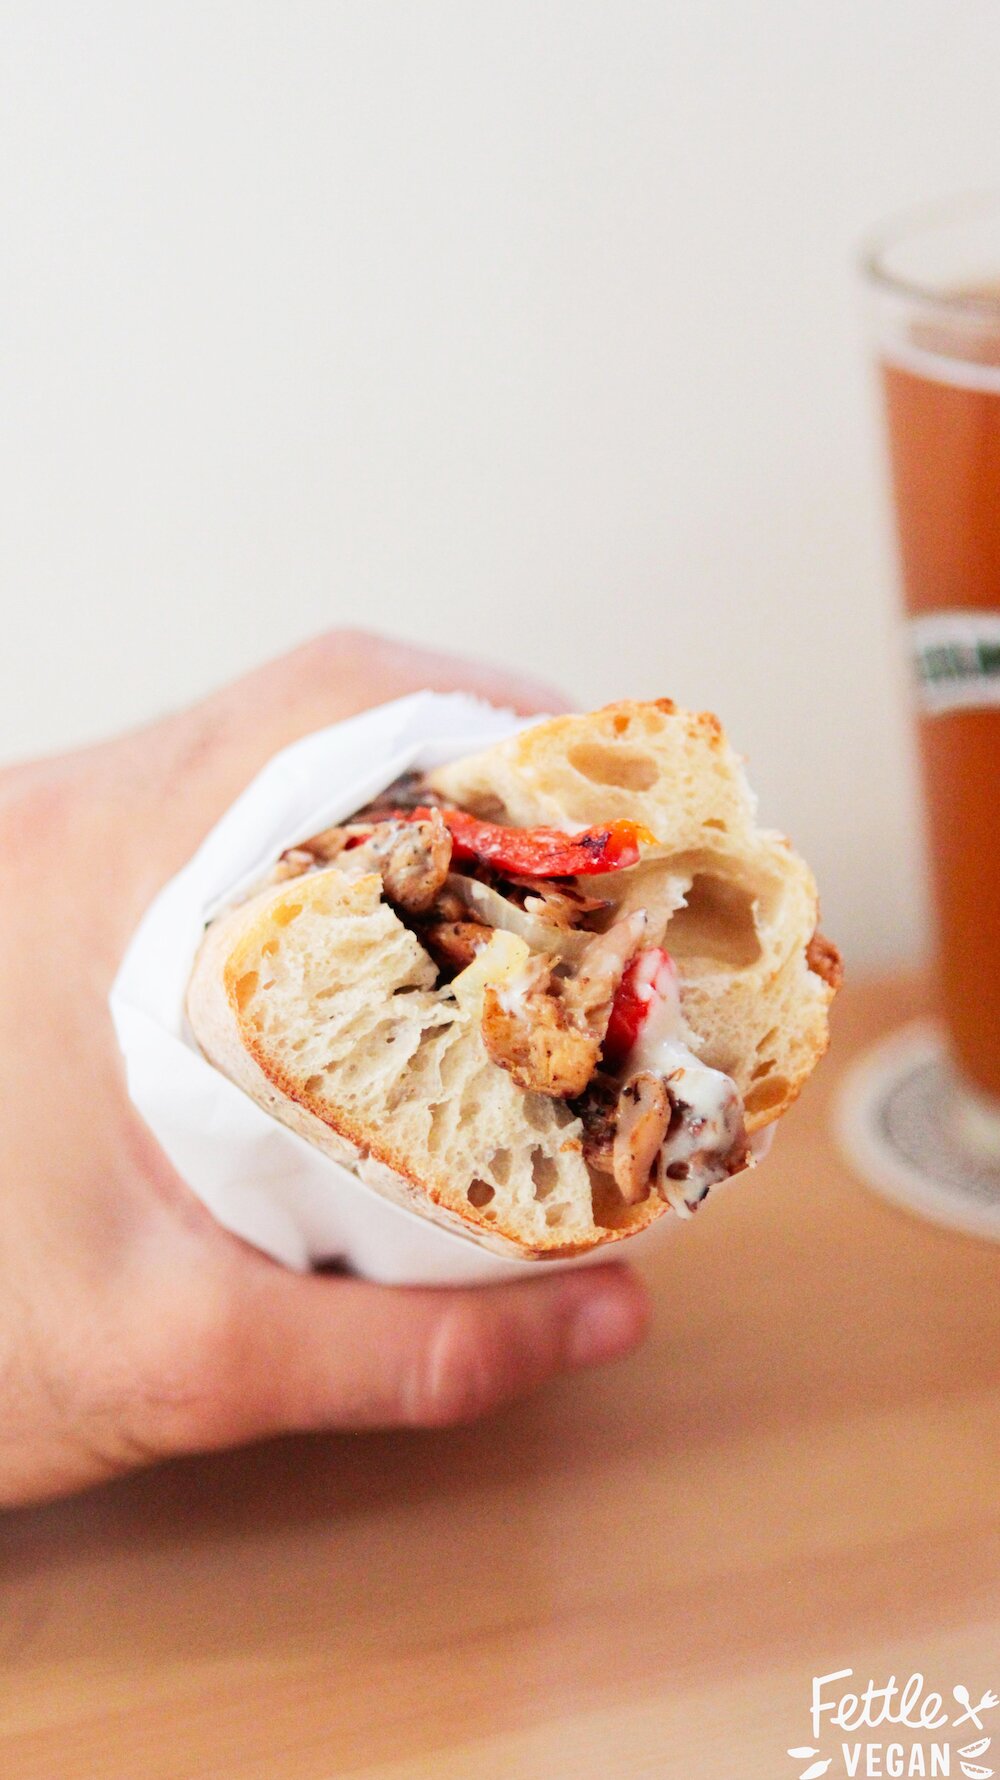
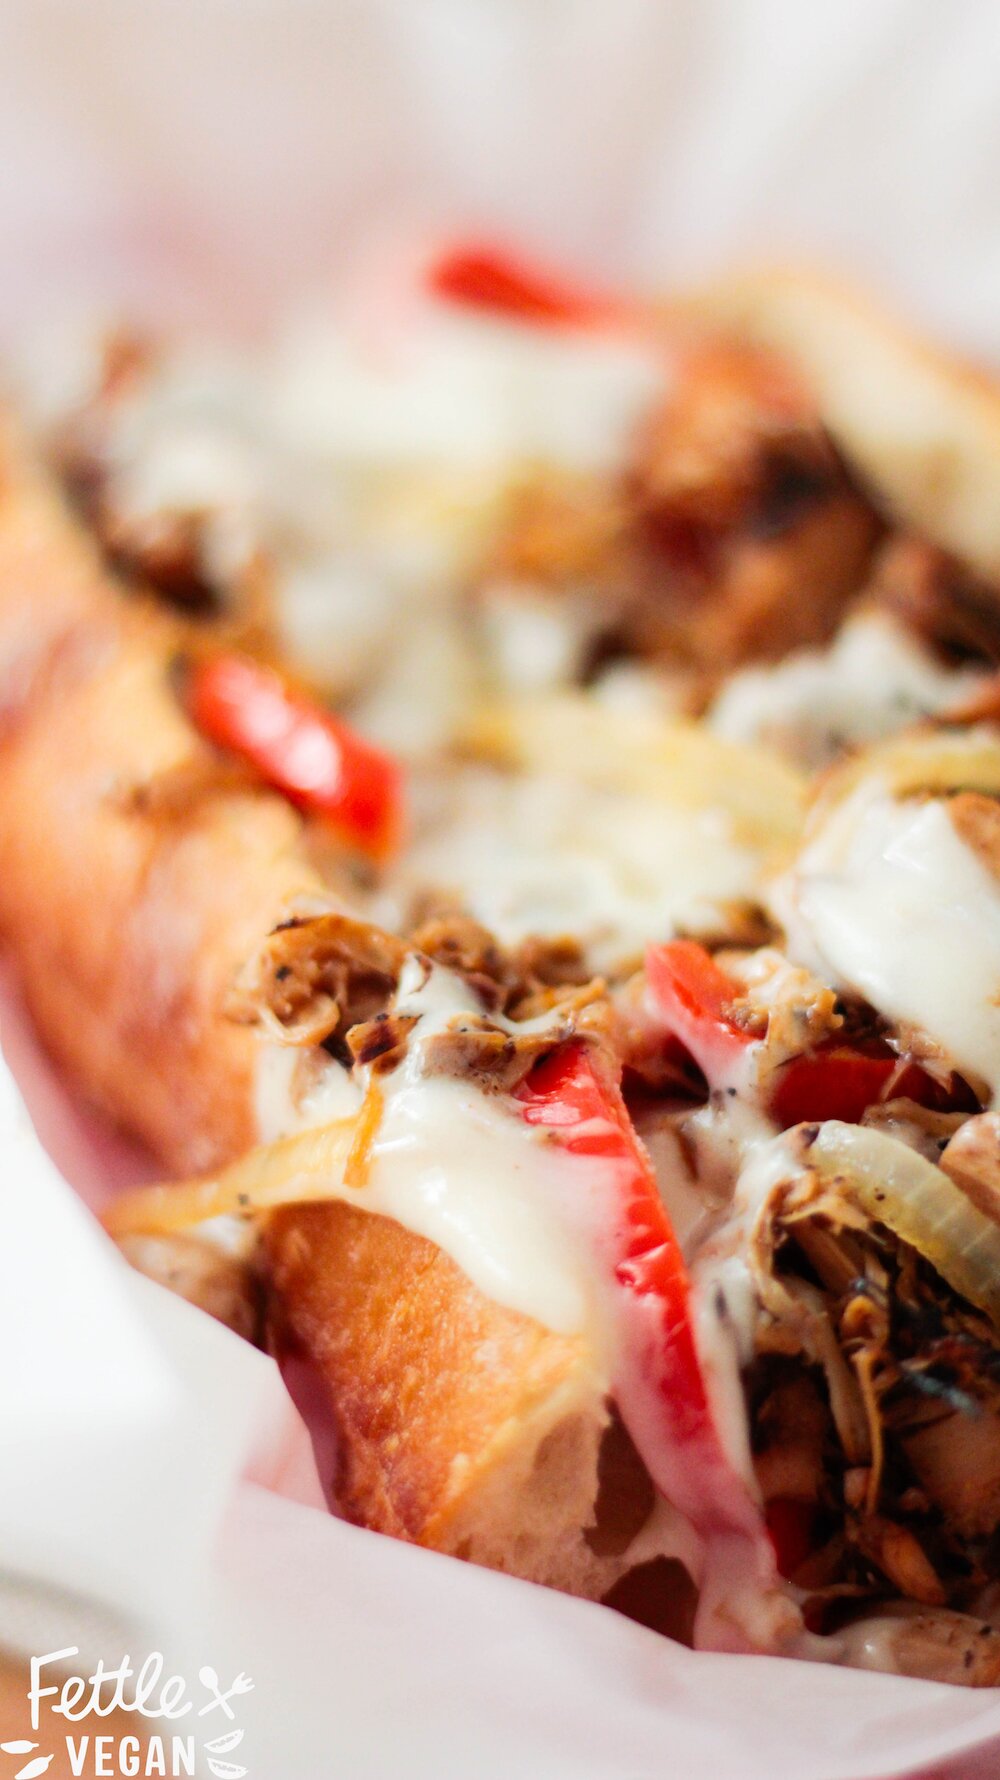
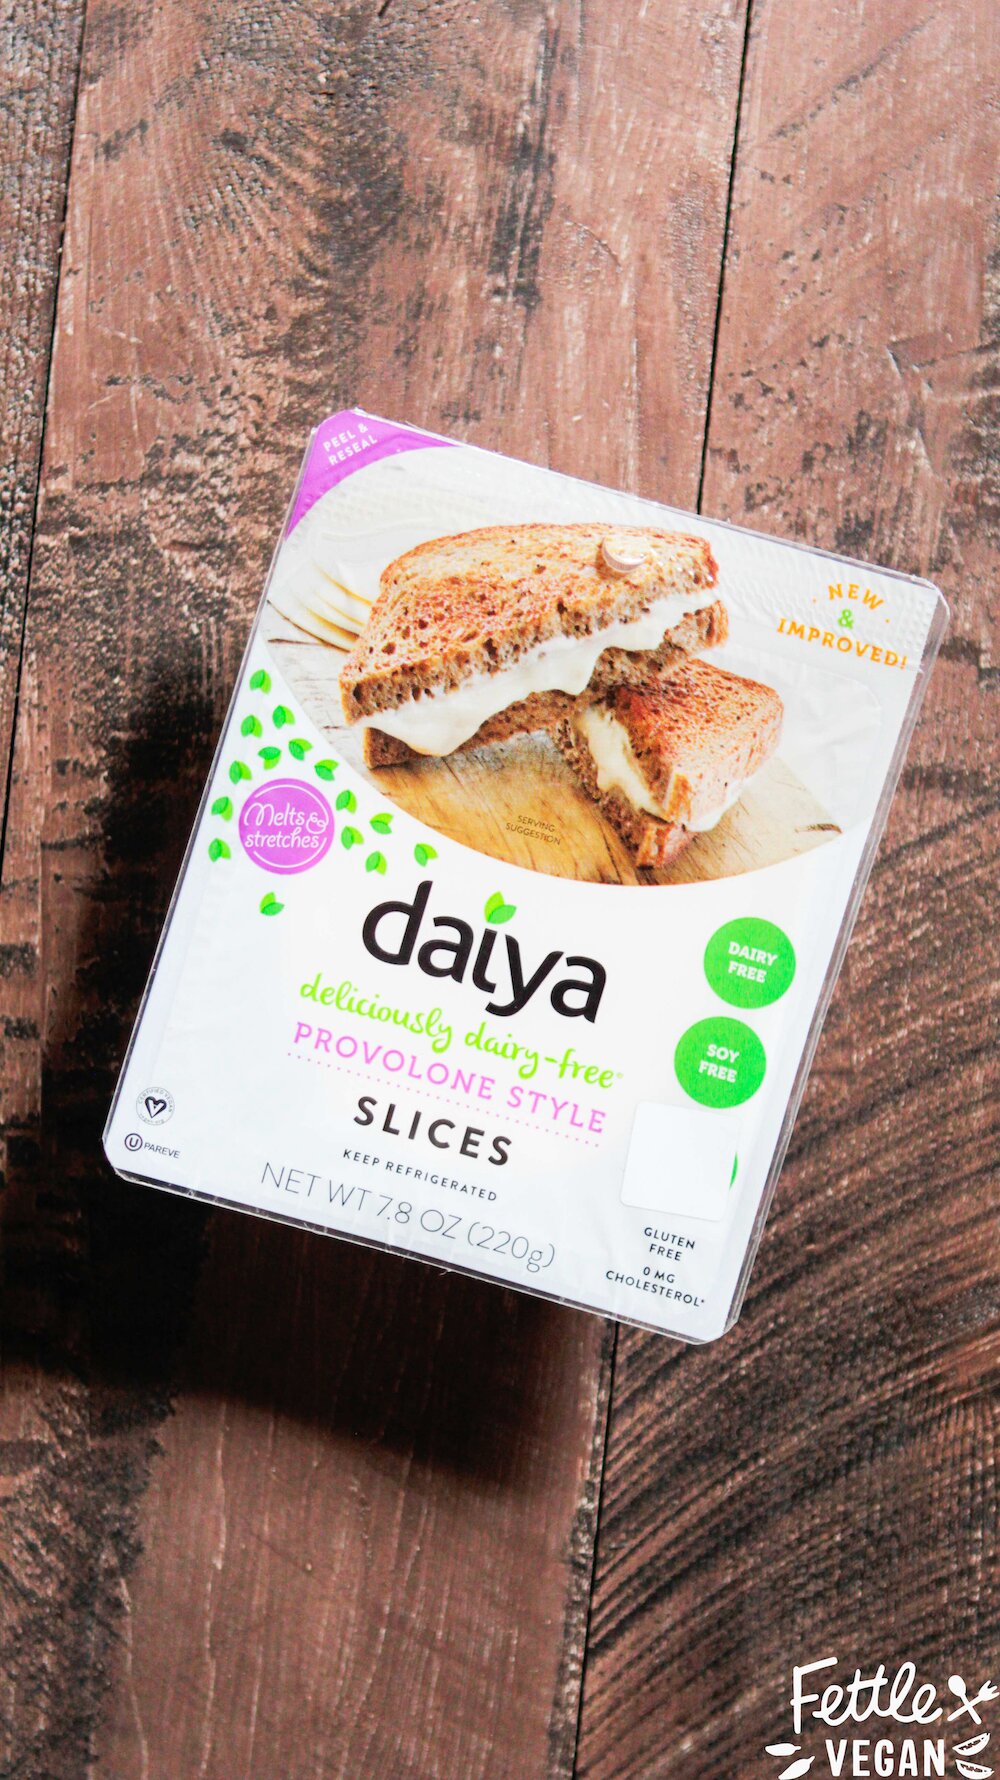
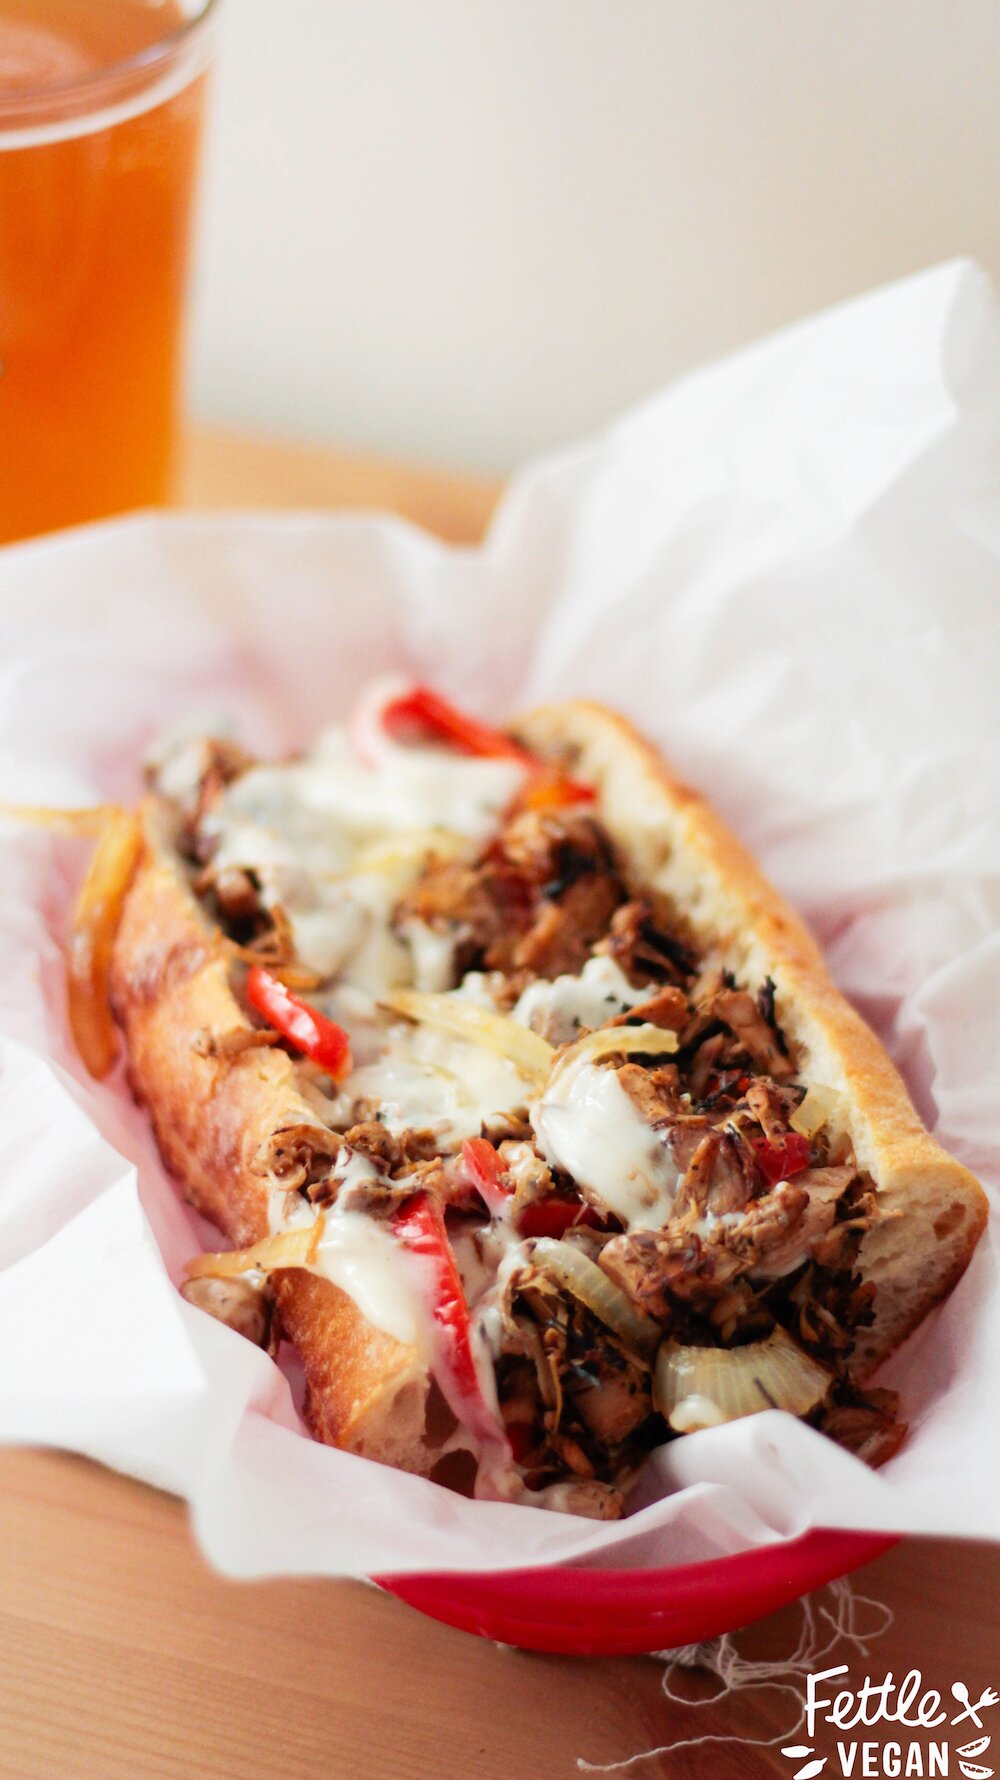
When I first met Alex there wasn't a Philly Cheesteak he wouldn't eat for lunch. He LOVED them! He was a sucker for the 'traditional' - although clearly it's debatable what the traditional version is exactly. He's always considered the melted provolone slices, not the cheeze whiz sauce, the original version - and the chef in me wants to hope he's right. So when he told me he'd sort of been craving that familiar old sandwich, we knew we could make a vegan version that was just as friggin' good. And I think we nailed it on this one. The secret? The cheesier-than-ever Daiya provolone slices! They're the perfect sub for the ooey-gooey, melty cheese that makes the original so memorable. The slices melt and stretch just like real cheese, but are a delicious, plant-based alternative for anyone looking to eat better, whether they’re dairy-intolerant, allergic, vegan, or simply living a healthy lifestyle.
The jackfruit makes the perfect substitute for a shaved steak, and was super like the original once we got a little char on the jackfruit. Our best tip is to cook in cast iron if you can - you'll get nice, crispy edges on the jackfruit. Once you get the jackfruit cooked up you toss in the grilled veggies and cheese, and voila! You've got yourself a super yummy, way healthier Jackfruit Philly Cheesesteak Sub! These sandwiches are so yummy served up fresh, but can be easily wrapped in paper and taken along on a picnic. Either way, do yourself a favor and cook these up for yourself. The recipe makes enough for two, so you can make one for someone you really like or have leftovers for day two. Oh, and people usually ask - we find our jackfruit at local Asian markets, but you can usually find it, though overpriced, at Whole Foods as well. Enjoy!
INGREDIENTS
Daiya vegan provolone cheese slices 1 loaf Italian bread or 2 large sub rolls, sliced 1 teaspoon coconut oil 1 medium yellow onion, thinly sliced 1 red bell pepper, thinly sliced 1 teaspoon coconut oil 2 - 20 oz. cans jackfruit, drained and shredded 1/2 cup water 1 large clove of garlic, minced 1 teaspoon liquid smoke 1 teaspoon maple syrup 1 tablespoon white cooking wine 1/2 teaspoon smoked paprika 1/2 teaspoon onion powder 1/2 teaspoon soy sauce salt + pepper to taste DIRECTIONS Place the Daiya slices and sub rolls to the side, you'll need them after the filling is prepared. Heat coconut oil in a medium-sized pan over medium heat. Sauté the thinly sliced onions and peppers until softened, about 8-10 minutes. Remove from heat and set aside. Begin heating the next bit of oil in a large skillet over medium heat. As it heats up, pour in the shredded jackfruit, water, minced garlic, liquid smoke, and maple syrup. Sauté until the liquid reduces to about half, then add the white cooking wine, smoked paprika, onion powder, soy sauce, salt and pepper. Stir to combine, and continue to cook over medium heat until the liquid has completely reduced and the jackfruit is beginning to brown. Throw the onions and peppers into the pan with the jackfruit and toss to combine. Line the mixture into a straight line across the middle of the pan. Place Daiya provolone slices onto the mixture (we used 2 per sandwich), then cover the pan with a lid for about 30 seconds to a minute, or until the cheese has become melty on top of the jackfruit mixture. Use a spatula to scoop the mixture onto your sub rolls and enjoy! NOTES Leftover filling will last in the fridge, covered, for a few days. Traditional cheesesteaks are served on soft bread, but all we could really find was a french baguette. While soft sub rolls are my recommendation, use what you can find.
print recipe
Buffalo Jackfruit Grinders + BEETxBEET Giveaway!
I love the vegan clothing and awareness company BEETxBEET and that they stand up for our animal friends, but I love owner, activist and girl boss Jacky Wasserman even more. We've been friends for a few years now after meeting at a vegan Oktoberfest and interviewing her about her company back where she first started. She works her ass off saving animals and making rad clothing, which has expanded from a few humble t-shirts to hats, notebooks and sometimes even customized cup cozies! She's had some great new, clever shirts come out lately so we decided to team up and create a recipe based on each of her most popular styles - and pair them each with a giveaway of the t-shirt itself! We made some great meals we think you guys are going to love - and then got to eat them ALL. Haha, but only to make sure they tasted perfectly before we shared them. Promise. (Ahh, the life of a food blogger. It's rarely glamorous, but it is full of taste-tests!)
Today we're rocking Jackie's clever, 'It's not you, it's MEAT' shirt. It is available in Men's + Women's styles, and is the softest cotton tee almost EVER. We paired it with a Buffalo Jackfruit Sandwich because it is the perfect sandwich for a protein-head - and it totally MEAT-free! This sandwich is spicy, tangy, crunchy, filling and fresh - you'll be craving another one for weeks afterward! You can get the recipe by scrolling down a bit. To enter the giveaway to WIN your very own 'It's not you, it's MEAT' tee, scroll all the way down to the bottom of the page and fill out the widget. We'll let the widget randomly choose one winner and we'll email that person directly for size information + gender preference. GOOD LUCK!
INGREDIENTS
1 teaspoon coconut oil 2 - 20 oz. cans of jackfruit (use plain or brined, not in syrup) 1/2 cup hot sauce (we used Frank's Red Hot) 3 cups broccoli slaw (store bought OR just shredded broccoli, carrots + red cabbage) 1 tablespoon olive oil 1 tablespoon lemon juice pinch of salt 4 demi baguettes or ciabatta rolls vegan mayo, for spreading DIRECTIONS Heat the coconut oil in a frying pan over medium heat. Toss the jackfruit in a pan with the hot sauce. Cook them together over medium high heat, stirring regularly, for about 12-15 minutes or until the jackfruit begins getting a bit crispy and hot. While the jackfruit cooks, pour the broccoli slaw mixture into a mixing bowl with the olive oil, lemon juice and pinch of salt. Toss to coat everything evenly and set aside. Slice the ciabatta rolls or baguettes and smear about a little vegan mayo onto one side. When the jackfruit is done and cools slightly, scoop it onto the rolls and top with the slaw and other half of the bun. Serve immediately or wrap in paper and take 'em along on a picnic lunch. Either way, enjoy! NOTES Serves 4. Leftover jackfruit stays good in the fridge for up to a week.
Print Recipe
a Rafflecopter giveaway
Buffalo Cauliflower Grinders
There's a new Whole Foods that was recently built near my house, and I love it. I try not to go too often, but with on-tap kombucha and a killer hot bar, how's a girl supposed to say no?! The store also serves up an incredible, vegan Buffalo Cauliflower Sandwich that I based this recipe off of. Okay, I totally stole the idea. I'm Sorry Whole Foods! Mostly because I can't afford to buy $9 sandwiches every damn day, but also because it's a super easy, super yummy sandwich combo. So maybe it's more like #srynotsry. The hardest thing to find - and maybe the most important part of any good sandwich - is good chewy bread, which I eventually found in the form of ciabatta rolls. You could also use demi-baguettes, or just slap the ingredients between two slices of thick, chewy bread. It's all gonna taste delicious, because buffalo cauliflower is maybe the best sandwich filling ever. It may the best thing ever, if we're being honest. It's spicy, it's tangy, it's so gooooood. So without further ado, I suggest you get to scrollin' and get to preppin' because these scrumptious sandwiches aren't going to make themselves!
INGREDIENTS
1 teaspoon coconut oil 4 heaping cups cauliflower (about 1 large head cauliflower), chopped into bite-sized florets 1 cup hot sauce (we used Frank's Red Hot) 2 cups broccoli slaw (store bought OR just shredded broccoli, carrots + red cabbage) 1 tablespoon olive oil 1 tablespoon lemon juice pinch of salt 4 demi baguettes or ciabatta rolls 1/2 cup vegan chive cream cheese (we used Kite Hill) green leaf lettuce, enough for 4 sandwiches DIRECTIONS Heat the coconut oil in a frying pan over medium heat. Chop the cauliflower florets and toss them in a pan with hot sauce. Cook them together over medium heat, tossing to coat, for about 12-15 minutes or until softened. While the cauliflower cooks, pour the broccoli slaw mixture into a mixing bowl with the olive oil, lemon juice and pinch of salt. Toss to coat everything evenly and set aside. Slice the ciabatta rolls or baguettes and smear about 2 tablespoons of cream cheese onto one side. Wash and dry the lettuce and set it aside. When the cauliflower is done and cools slightly, scoop it onto the rolls and top with the slaw, leaf lettuce, and other half of the bun. Serve immediately or wrap in paper and take 'em along on a picnic lunch. Either way, enjoy! NOTES Serves 4. Leftover cauliflower stays good in the fridge for up to a week. Gingersnap Buttercream Cookie Sandwiches
The holidays are in full-swing, which means we're baking like maniacs over here! Between the parties with friends and family, gifts for co-workers, and recipe testing for the cookbook (out Fall 2016!), our oven have been getting plenty of use and my waistline is feeling a little larger than usual. But that's okay, because there are only a few weeks left and by then we'll be so sick of cookies and baked goods we won't want anything to do with them for months. But for now, I'm all about that perfect chewy cookie. And these, my friends, are two perfectly chewy, spiced cookies sandwiching a rich buttercream frosting...and they are DAMN good! Using fresh ginger and nutmeg in these cookies really make the flavors rich and bright, and the molasses help keep 'em chewy - and adds some iron and calcium so you can pretend they're a health food. That's how that works, right?
My favorite part of these cookies is that I like them. I mean it! For years, I have avoided ginger and molasses cookies. I never like the weird sticky-sweet flavor of them and though they tasted kind of bland or too molasses-y. But these cookies? These are mind-changing, crowd-pleasing, are packed with spicy ginger flavor and just enough sweet molasses to balance out the bite of the ginger. Wanna cut the sugar? Skip the buttercream frosting and just eat the cookies as is, they're pretty darn delicious on their own!
INGREDIENTS
Cookies: 1 1/4 cups all purpose flour 1 teaspoon baking soda 1/2 teaspoon baking powder 1/2 teaspoon salt 1/2 teaspoon cinnamon 1/4 teaspoon freshly grated nutmeg 3/4 cup packed brown sugar 1/2 cup coconut oil, solid (OR sub vegan butter) 3 tablespoons ground flax 3 tablespoons molasses 2 tablespoons fresh ginger, grated 1 teaspoon vanilla Buttercream filling: 2 cups powdered sugar 1/4 cup vegan butter 1 teaspoon vanilla 1-2 tablespoons unsweetened non-dairy milk fresh nutmeg, for garnish DIRECTIONS Preheat oven to 350 degrees. In a large mixing bowl combine flour, baking soda, baking powder, salt, cinnamon and nutmeg. In a separate bowl or stand mixer cream together the brown sugar and coconut oil. Stir in the ground flax, molasses, ginger, and vanilla until completely combined. Pour the dry ingredients into the wet about a cup at a time, stirring continuously, until the cookie dough comes together. Scoop 1-in balls of cookie dough onto a lined baking sheet and bake for 10-12 minutes, until edges are firm. Move the cookies to a wire rack to cool. While the cookies bake and cool, prepare the buttercream frosting by beating together the powdered sugar, butter, and vanilla. Add in milk a bit at a time, until the desired frosting texture is achieved. Spread the buttercream onto half of the cooled cookies, and move to the fridge or freezer for 10 minutes to firm the frosting before topping it with another cookie. Once the sandwiches have been assembled, grate fresh nutmeg over the sandwiches and gobble 'em up! NOTES Makes 20 cookies, or 10 cookie sandwiches. After the cookies cooled, we placed some of the frosting on top and then place them in the freezer for 10 minutes to set the frosting before placing the second cookie on top. Otherwise, the frosting tends to smoosh out the sides a bit. If you won;t be serving them immediately, I recommend keeping them in the fridge until just before serving.
Print Recipe
Thanksgiving Leftovers Sliders
The day(s) after Thanksgiving are my favorites. Instead of dressing up and stuffing my face, I get to lay around the house is the coziest of sweat pants, stuffing my face with leftovers. Things just always seem to taste better the next day. And these are no exception! There's not so much a recipe here as a meal idea and a great way to get creative with leftovers. We like sliders because they're easier to whip up than a whole sandwich and still taste great, plus they help us use up our yeasty dinner rolls before they hit that 2nd day after mark and start getting a little...rock hard. Anyway, you get the idea! A little less talking, a little more assembling tiny, adorable leftovers finger sandwiches. Let's eat!
INGREDIENTS
LEFTOVERS! We used: 4 dinner rolls 1/4 cup goji cranberry sauce 1/2 cup cranberry apple walnut stuffing 1/2 cup celeriac mashed potatoes 1/2 cup easy miso gravy a few sprigs of fresh thyme DIRECTIONS In a microwave or over the stove, reheat your favorite Thanksgiving leftovers. Cut dinner rolls in half, then top with cranberry sauce, stuffing, mashed potatoes + a hearty dollop of gravy. Garnish with fresh thyme, and serve immediately. Enjoy! NOTES These are pretty customizable. Use whatever leftovers you have! Vegan Fluffernutter Sandwich!
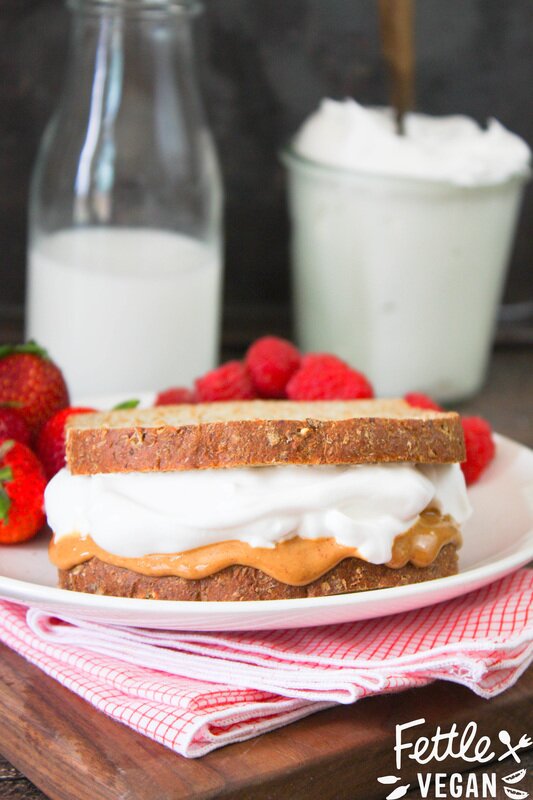
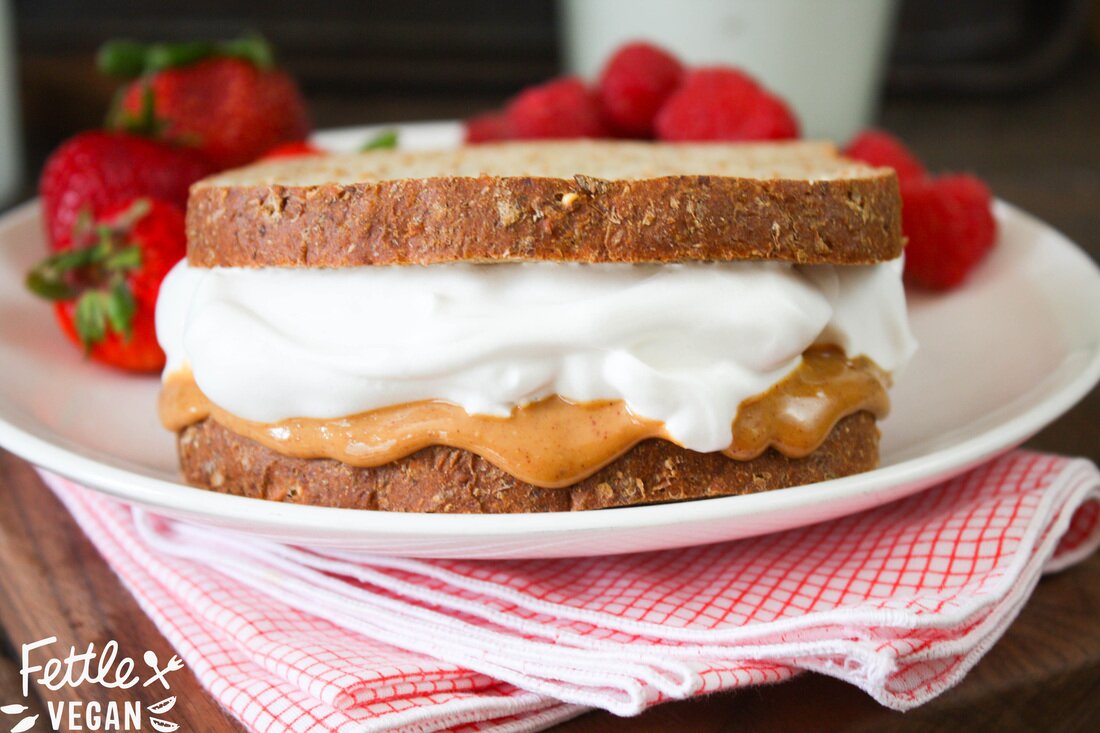
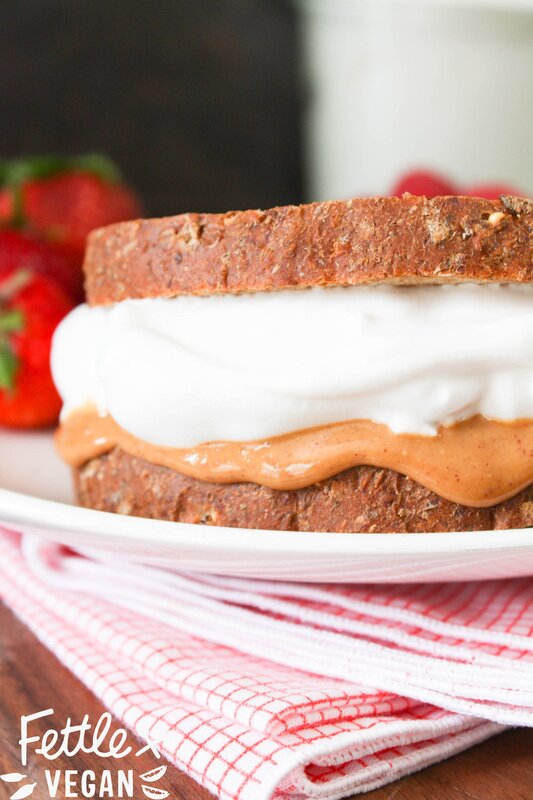
I grew up in a tiny town in Southern Maine. My mom usually packed our lunches for us and did a great job- but we always wanted Dad to do the packing. When Dad packed lunches, my little sister, Jade, and I would always get a fat fluffernutter sandwich on whole wheat bread, sliced into 4 triangles and wrapped in aluminum foil. We'd open up the gooey, tin foil wrapped sandwich at lunch and bury our faces into the marshmallow-y goodness. Now, if you've gotten this far and you're still like "WHAT THE HELL IS FLUFFERNUTTER?" then you obviously didn't grow up on the East Coast. A fluffernutter is a combo of peanut butter and marshmallow fluff, slathered into sandwich form. I remember eating these CONSTANTLY (I wasn't much into jam) as a kiddo, and haven't had one in YEARS. Especially since, as a vegan, marshmallow fluff (while it DOES exist) can be hard to find and expensive to buy. Luckily, the world of vegan food experiments in now a pretty wide world.
If you've been living under a rock, you may not have noticed the trend sweeping the vegan community, but it's all about bean juice and it's called aquafaba. Aquafaba is the term used to describe the thick liquid you usually pour down the sink when draining a can of beans (any kind of beans- black, garbanzo, navy beans- will work). Some brilliant genius realized you could whip the liquid (similar in protein build) just like egg whites and get similar results in things like meringues, pavlovas, and marshmallows. Only now, they're VEGAN versions! When we first heard of this idea, we immediately drained a can of beans and got to work. We loved how similar the texture of the 'fluff' was, though it was slightly less sticky than what I remember (and thus easier to wipe off your face afterwards), but that's probably due to the lack of corn syrup in this recipe. Aquafaba is a crazy, fun thing to experiment with, and I have found myself thinking of ways to add it to EVERYTHING. It just adds a light, whipped quality that I think would be AMAZING in baked goods. Before that though, whip up this easy, basic fluff recipe, make yourself a fluffernutter sandwich, and put Blossom on Netflix for a total afternoon revival of my East Coast childhood. Let's EAT!
INGREDIENTS:
1/2 cup aquafaba liquid (about 1 - 15 oz. can beans, drained) 1 teaspoon vanilla 1/2 cup organic, granulated sugar 1/8 teaspoon xantham gum 1/8 teaspoon cream of tartar peanut butter (about 1/4 cup per sandwich) sliced wheat (or white) bread, 2 slices per sandwich DIRECTIONS: 1. Drain aquafaba from one can of beans into a small bowl. Refrigerate unused beans. 2. Strain aquafaba liquid through a piece of cheesecloth or fine sieve to remove any beans pieces or skin. 3. Pour aquafaba into an electric mixing bowl, and begin to whisk at a medium to high speed. 4. As aquafaba whips, slowly add vanilla, granulated sugar, and finally xantham gum + cream of tartar. Whip mixture 10-15 minutes, until stiff peaks form. The mixture should be thick enough that if you remove the whisk attachment and wave it around the air a bit, the 'fluff' should't go anywhere- kind of like the blizzard trick at Dairy Queen. 5. Assmeble your sandwich by spreading 1 slice thickly with peanut butter and the other slice with a generous serving of fluff. Slap the two slices together and munch away! Makes enough for 2-4 sandwiches, though there is so much that can be done with aquafaba, the leftovers might be great as a meringue topping or mixed into baked goods. Leftovers can be refrigerated in an airtight container for up to 3 days, but may need to be re-whipped before consumption. NOTES: - About 3 tablespoons of aquafaba= 1 'egg white' - Any bean liquid should work, but we used canned white bean and chickpea liquid over here. -Experiment! This new trend has lots of possibilities and is super fun to work with. Just don't get frustrated! -You can find more info on aquafaba hits + misses in this AMAZING Facebook group OR at aquafaba.com.
print recipe
Field Roast Fiesta Burger!
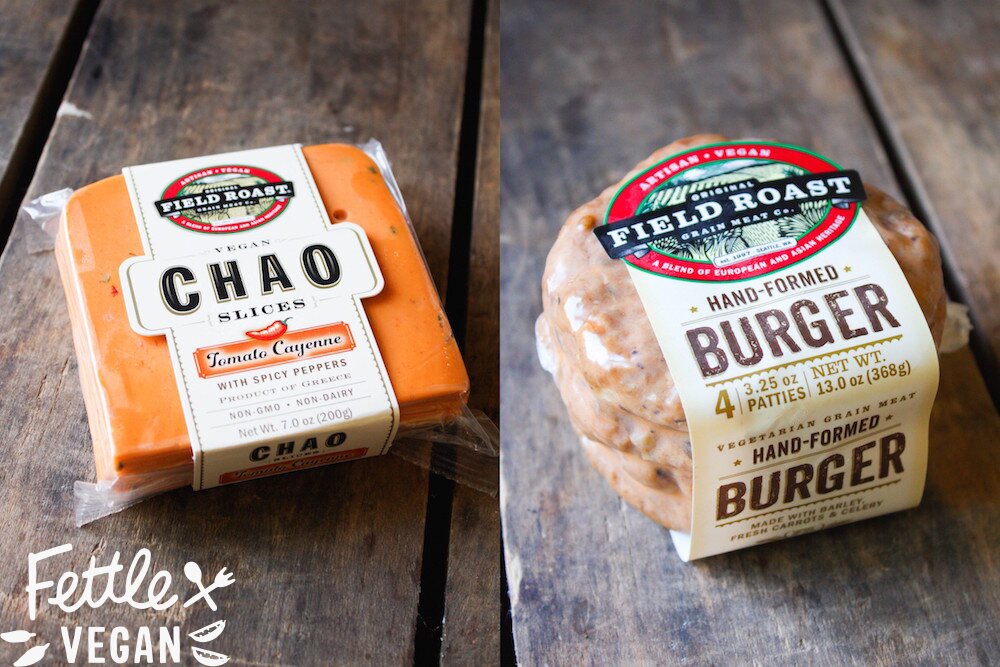
We've been fans of Field Roast for a few years now and have always loved incorporating their flavorful grain-based sausages in jambalaya, soups, and on their own in a bun and slathered in mustard and onions. At Expo West this year, we FINALLY tried the long-awaited and AMAZING Chao cheeses in all three flavors - tomato cayenne, creamy original, and coconut herb. They're super realistic in flavor + texture to what I remember munching on a kid and they are the perfect filling for an ooey-gooey grilled cheese. Alex is big on finding the PERFECT veggie burger- and as far as texture and flavor goes, Field Roast's Hand-Formed is his first choice. Is it the most realistic looking burger to a meat patty we've seen yet- especially pre-cooked. You could convince any meat eater that whats in the plastic is a turkey burger for sure...if you trash the label, of course. The burger base is a blend of whole barley, carrots, garlic, onions, and celery- and of course, a secret blend of spices! They're high in protein and non-GMO, and are hand-made in small batches, by hand, in Seattle.
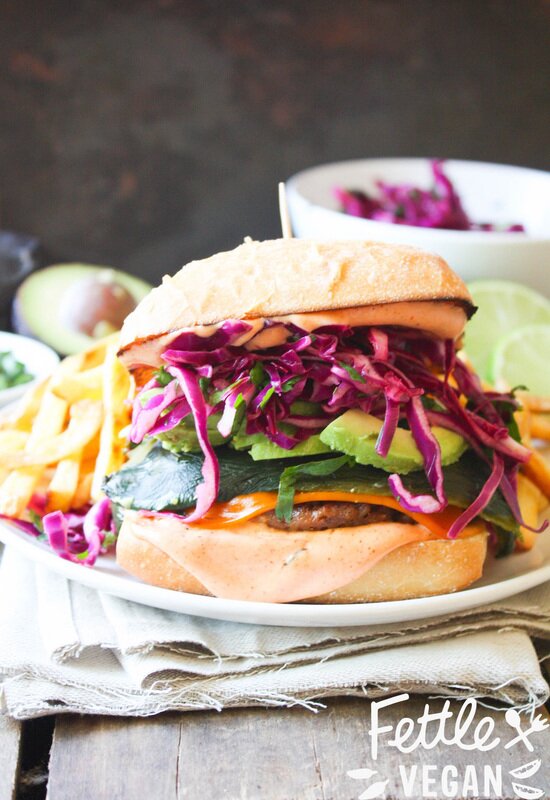
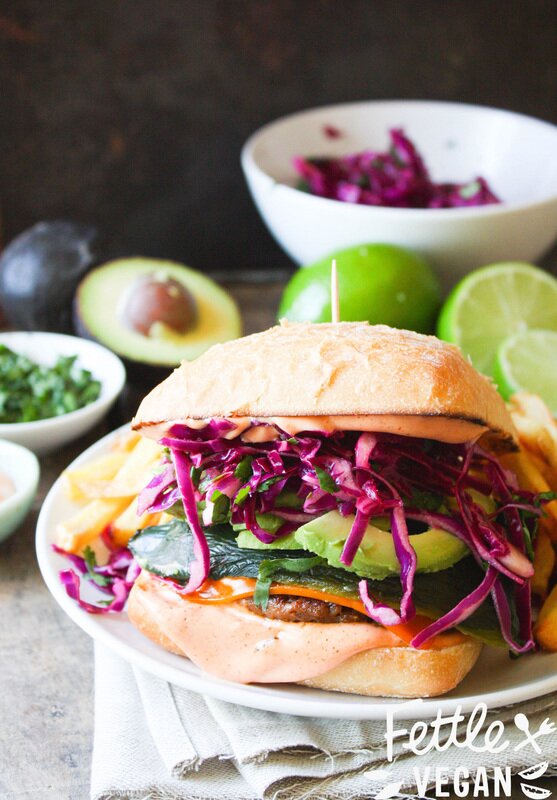
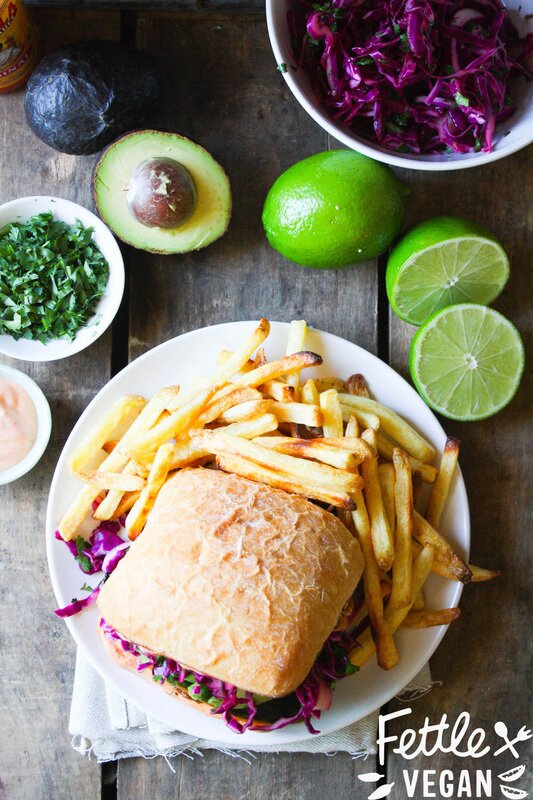
When we were sent a few extra samples after the Expo, we decided to create (what we're calling) a Fiesta Burger smothered in Firecracker Sauce, Roasted Poblano Peppers, and Cilantro Lime Cabbage Slaw...and its fucking delicious. So, let's just pretend we're celebrating Cinco de Mayo three weeks early, grab a margarita, and get cooking. Olé!
INGREDIENTS
2 Field Roast Hand-Formed Burgers 2 slices of Field Roast Chao Tomato Cayenne Cheese 2 focaccia buns, sliced 1 large or 1 medium poblano peppers 2 cups shredded purple cabbage 1/4 cup chopped cilantro 1/4 cup freshly squeezed lime juice 1/2 teaspoon salt 1/2 cup vegan mayo 1-2 tablespoons hot sauce 1/2 teaspoon smoked paprika 1 avocado, pitted and sliced DIRECTIONS Roasted Peppers: Preheat oven to 425 degrees. Roast washed, halved, and seeded peppers on a lined baking sheet for 15-25 minutes, until skin gets bubbly and brown. Remove from oven, let cool, and peel off bubbly skin so you're left with just the meaty part of the pepper. Set aside. Cilantro Lime Cabbage Slaw: In a large mixing bowl toss together cabbage, cilantro, lime juice, and salt. Set aside. Firecracker Sauce: In a small bowl combine mayo, hot sauce, and paprika. Stir well to combine. Fiesta Burger: Heat a teaspoon of oil over medium heat in a large cast-iron pan. Fry Field Roast patties until crisp and browning on one side. Flip burgers, toss on a slice of tomato cayenne cheese, and let burgers cook until equally crisp and browning on the bottom side. While the burgers cook, slather bottom patties with about 2 tablespoons each of the Firecracker Sauce. Top with the cooked burger and melty cheese, then layer on the roasted poblano peppers, Cilantro Lime Cabbage Slaw, and sliced avocado. Spread a bit more Firecracker Sauce on the top bun, add it to the pile, and enjoy! Serves 2. Leftover slaw + firecracker sauce can be refrigerated for up to a week. Chickpea Scramble Breakfast Sandwich
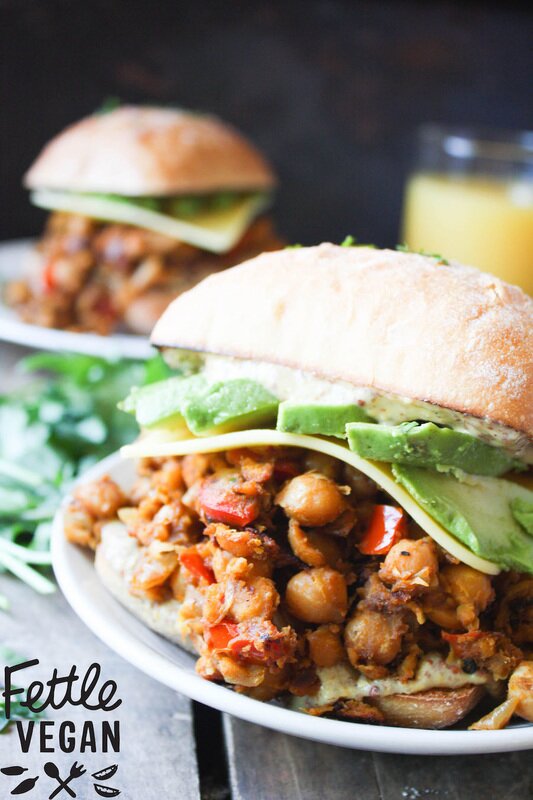
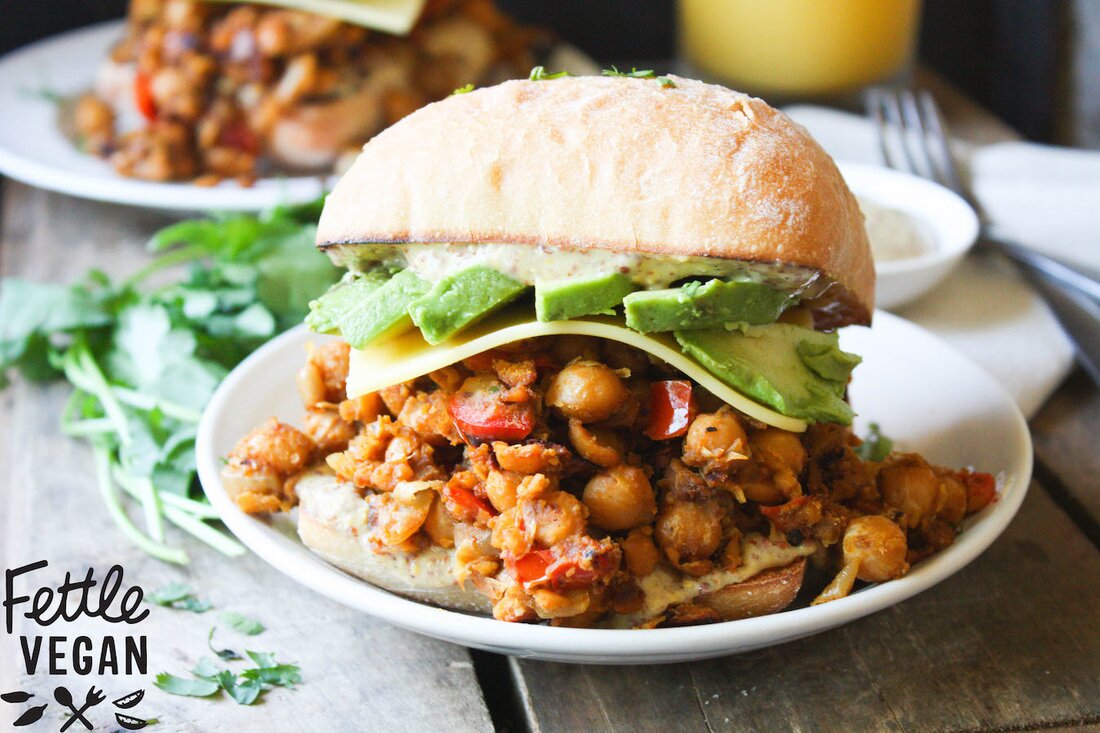
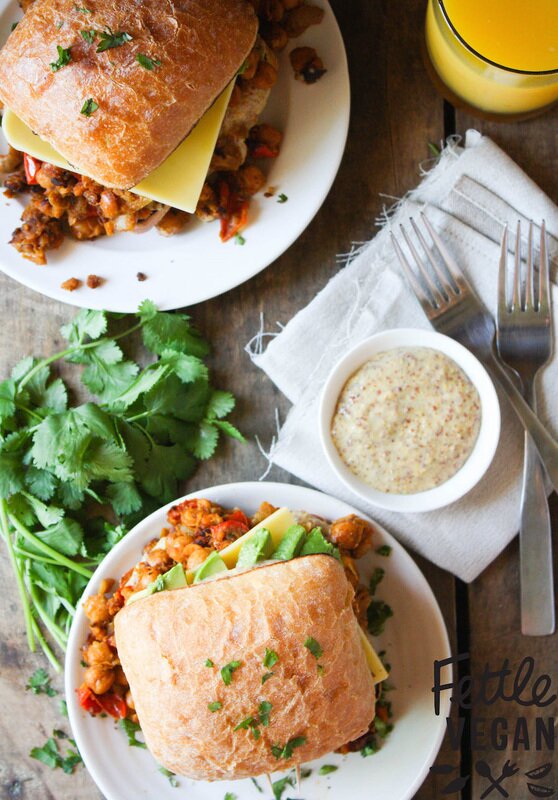
We love making protein-packed breakfasts around here. It helps get us through the day without getting sluggish, puts an end to mid-morning snacking, and gets us through our afternoon runs with the pup. One of our favorite ways to do that is to whip up a big batch of spicy chickpea scramble! We toss slightly mashed chickpeas into a large skillet, toss in whatever veggies we have and some of our favorite spices (usually some combo of cumin, chili powder + lots of garlic), and cook it until the whole thing is heated through and the veggies are soft. Its super easy to whip up, reheats well, and last about a week in the fridge! When I'm on top of my shit and food prepping, this is one of my faves. Sometimes though, eating the same breakfast can get boring. You've been there- breakfast rut is the worst! To mix things up we bought focaccia buns, piled 'em high with chickpea scramble, creamy avocado, a slice of Field Roast's new Chao cheese, a smattering of mustard, and a sprinkle of cilantro. PERFECTION! So much flavor and such a nice change from the usual faux meat + faux egg combo. So, let's eat!
print recipe
INGREDIENTS:
Mexican Chickpea Scramble (about 1/2 cup per sandwich) 2 focaccia buns 2 slices of Field Roast Creamy Original (or your favorite sliced vegan) cheese 2 tablespoons spicy mustard 1 avocado, pitted and thinly sliced DIRECTIONS: Make up your chickpea scramble (the day before, if you like!) and heat it over medium heat until it is heated through. In a toaster or on a griddle, lightly toast the inner sides of the focaccia buns. Spread the inside of the bottom and top of the buns with 1-2 teaspoon of mustard each. Layer hot scramble onto the bottom bun, then top with a layer of sliced vegan cheese and sliced avocado. Serve and enjoy! Makes 2 breakfast sandwiches. Scramble can be refrigerated 4-5 days in the fridge and reheated. Lean Green Portobello, Pesto & Artichoke Panini
I used to work as the Head Chef at cute vegetarian cafe in Orange County, and it's where I really fell in love with sandwiches. Experimenting everyday was fun and made me really appreciate how much variety can exist between two slices of bread. Of course, the key here is really great bread. Now if you're completely off gluten, I apologize- because I haven't found a GF bread yet that compares to a freshly baked loaf of sourdough. There's just nothing like it! And while I think this combo would taste great on really any bread, I recommend splurging on a great loaf if you can enjoy it. The portable acts as the meaty base, with a spread of homemade hemp seed basil pesto and topped with artichoke hearts, onions, and creamy avocado. It's got a ton of flavor and makes a great lunch, plus takes just a few to whip up. Let's eat!
INGREDIENTS:
2 teaspoons coconut oil 2 slices of sourdough (or your favorite) bread 1 medium portobello mushroom 3-4 tablespoons of hemp seed basil pesto 2-3 artichoke hearts, roughly chopped thinly sliced onion (I like a lot. Put as much as you like!) 1/2 avocado, thinly sliced DIRECTIONS: Gently clean the mushroom cap, remove stem, and thinly slice the cap. Lightly sauté in 1 teaspoon of coconut oil in a medium frying pan for 3-4 minutes, until slightly softened. Remove from heat. Meanwhile, heat 1 teaspoon of coconut oil on a large griddle over medium heat or preheat your panini press and spray with non-stick spay. Spread each slice of bread with pesto on one side & assemble portobellos, artichoke hearts and sliced onion on top. Place sandwich on the griddle and cook until golden, then flip. When finished, remove from heat and add the avocado slices. Slice, and enjoy!
print recipe
<
|
tagsAll  RSS Feed RSS Feed
|

