Jackfruit Burrito Bowls
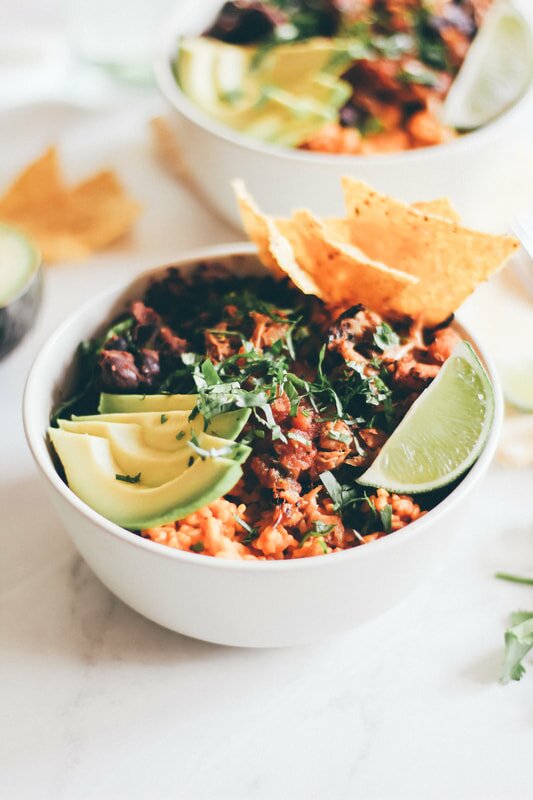
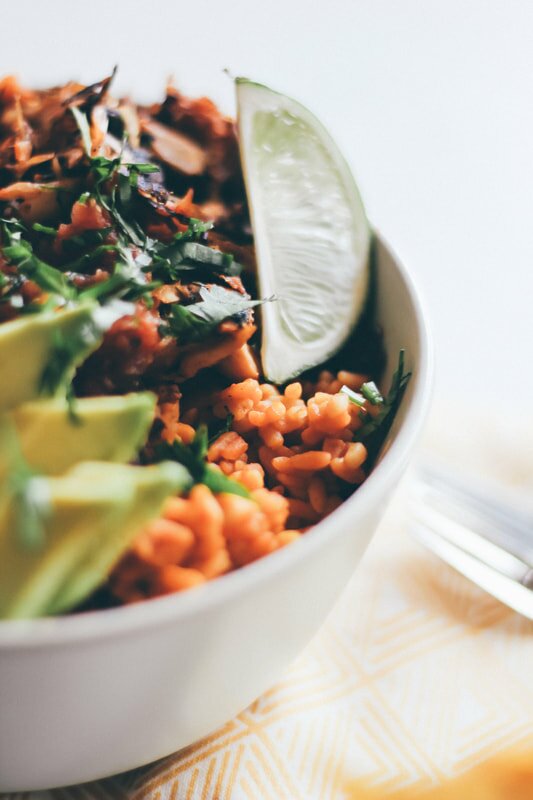
I didn't eat a ton of Mexican-inspired dishes growing up on the East Coast, and when I did they involved a lot of weird things like black olives and shredded mozzarella cheese. Eep. Now that I've been a California resident for officially a decade, I have a much finer appreciation for traditional Mexican dishes - and a serious love for hot hot salsa. When I want something a little spicy, my go-to is almost always tacos; but sometimes, you just need to mix it up - or in this case, you just happen to be out of tortillas! Which is fine, because even bowl style with crunchy corn tortilla chips and jackfruit instead of carne asada, these bowls are still so so much better and - dare I say - much closer to the original. I took all my favorite ingredients and tucked them into one bowl, and it's a simple one to toss together, too. The jackfruit is a great option for meat-free friends or meatless Monday meal inspiration, and the addition of RightRice as a protein / carb base elevates the flavor and takes the nutritional punch of the dish to the next level. Plus, it's easy to make for two or to pack half for lunch leftovers!
The big key here is really keep your ingredients as fresh as possible. There's just something about limp, wilted cilantro and browning avocados that makes any meal look sad and like it should've been served up days earlier. Plus, little customizable add-on's to the dish like corn chips, lime slices, and hot sauce can take your bowl from chipotle-style to personal chef status realllll quick. And THAT means meal prep for the week just got a lot more exciting. Get it, girl. Recipe below!
Ingredients:
-1 bag of Spanish RightRice (or use brown rice here for another healthy option) -1 10 oz package of Upton’s Chili Lime Jackfruit (or buy and season your own) -1 15 oz. (445 ml) can black beans -1 tablespoon lime juice -1 teaspoon salt -1 teaspoon chili powder -1 teaspoon cumin -avocado, cilantro, salsa, tortilla chips and limes for topping Directions: Prepare the Spanish Right Rice according to the instructions on the package, then set aside. Sauté the jackfruit in a medium-sized cast iron or frying pan until the edges brown, and set that aside while you cook the black beans. To cook the beans, pour them into a second, smaller pan and add the lime juice, salt, chili powder, and cumin. Add a splash of water and cook over medium heat, stirring occasionally, until heated through. When your beans are done, it’s time to construct the bowls! To prep the bowls, layer in Spanish Right Rice, jackfruit, and black beans. Top with avocado slices, chopped cilantro, and salsa. Serve tortilla chips and limes on the side for garnish and flavor. Serves 2. Enjoy!
Print Recipe
Dang - I LOVE a good bowl, and this is a really great bowl! I can't wait to hear what you think, especially if you try it with the RightRice - I have been loving it as a sub for regular rice a few times a week for something different and a little more well rounded nutritionally, especially now that I'm working out so much more often. What are your favorite healthy food / snack subs?? Would love to hear how you switch it up in the comments below. Enjoy, babes!
0 Comments
Loaded Vegan Nacho Fries
Hi friends! We love great plant-based cheeses over here and one of our favorite brands, Daiya Foods, is launching a bunch of new, improved, and DELICIOUS products TODAY, March 10th, at Expo West! Expo is the biggest food show of the year and only the best products make an expo launch - so you KNOW they're gonna be great. How else can you trust that they're better than ever? Because (lucky me!) I got to taste-test all the new styles and flavors and I can promise you - they are SO good! They're still churning out delicious, dairy-free, soy-free, gluten-free plant-based alternatives, but are introducing a few new products this weekend as well - both the improved Daiya Shreds Cutting Board Collection and Cheeze Slices in several flavors. A noticeable improvement from the original version, Daiya is officially stepping up the plant-based cheese game with their new shreds and slices! The new cheeses are made with coconut oil but have the same incredible melt, stretch and taste as dairy-based cheese and can be enjoyed hot or cold. Plus, the cheeses do not contain any titanium dioxide OR carrageenan and are a great source of calcium!
I love that Daiya Foods is passionate about keeping their products plant-based for everyone - whether they’re dairy-intolerant, allergic, vegan, or simply living a healthy lifestyle. As someone with a lot of allergies and dietary restrictions, eating Daiya is a delightfully mindless indulgence. It's comfort food with a conscience! And it's available nearly everywhere these days! In over 22,000 grocery stores across the US and Canada, including Whole Foods, Kroger, Safeway and Publix. Going to Expo West tomorrow? Or not and wondering what all the fuss is about? Check out our 2015 + 2016 blog posts to find out why EVERYONE in the vegan/ blogging/ health field will be there!
INGREDIENTS
1 lb. frozen or fresh-cut french fries 1/4 cup enchilada sauce 1/2 cup Daiya Pepperjack Shreds - Cutting Board Collection 1 cup cooked black beans 1 medium tomato, chopped 1/2 medium red onion, finely chopped 1 jalapeno, thinly sliced 1/2 avocado, halved + thinly sliced cilantro, finely chopped lime wedges, for garnish DIRECTIONS Bake the fries on a baking sheet according to directions or at about 350 degrees for about 40 minutes, flipping halfway through. When finished, move the cooked fries to an oven-safe pan or container (this will be where you assemble your nachos) and set the oven to 'broil' or to at least 450 degrees. Drizzle the enchilada sauce over the fries evenly, then top with the Daiya Pepperjack Shreds. Place the dish in the oven until the cheese is melty, about 3-6 minutes depending on the temperature. Remove the dish from the oven and top the nacho fries evenly with the cooked black beans, chopped tomato and onion, jalapeño, avocado, cilantro + lime and enjoy immediately! NOTES You could also sub in Daiya Shreds - Cutting Board Collection in Cheddar, if you prefer. We loved the extra kick of spicy that the pepper jack gave here! Serves 2-4, depending on your appetites.
Keep an eye out for these updated packages on the shelves from Daiya soon! (And if you'll be at Expo today, come visit me at the Ozery Booth in Hall E before heading upstairs to Hall D to try Daiya's samples 😊) The Daiya Slices are the perfect addition to your favorite sandwiches. They are round in shape for convenience, and come in an updated, re-sealable package. Available in four crave-worthy flavors, including Cheddar Style, Swiss Style, Provolone Style, and the newest flavor - American Style. The new Daiya Shreds – Cutting Board Collection are perfect on pizza, cheesy pastas, your favorite Mexican dish (like our Nacho Fries above!), or in a simple grilled cheese sandwich. With a more dairy-like flavor and texture compared to Daiya Original Shreds, the Cutting Board Collection features the same amazing melt and stretch in Cheddar Style, Mozzarella Style and Pepperjack Style. You can find more on the new - and all of - Daiya Food's products here. See you all at Expo this weekend!
Black Bean Citrus Slaw Tacos + BEETxBEET Giveaway!
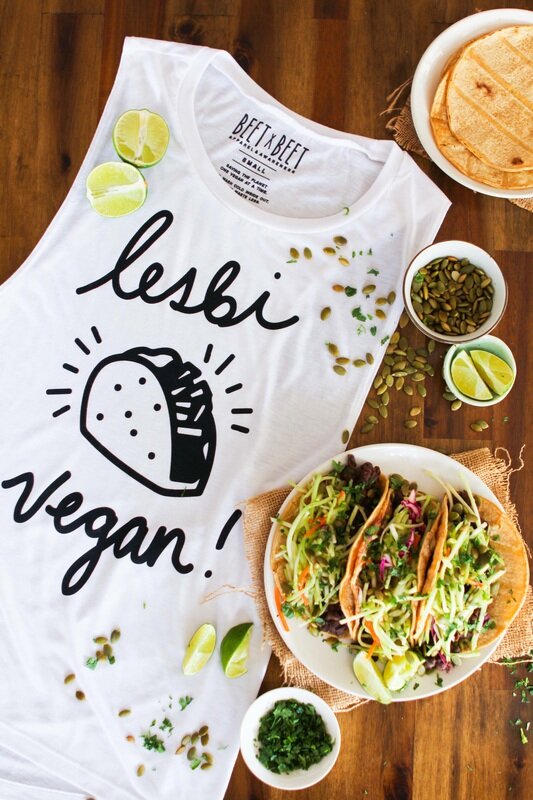
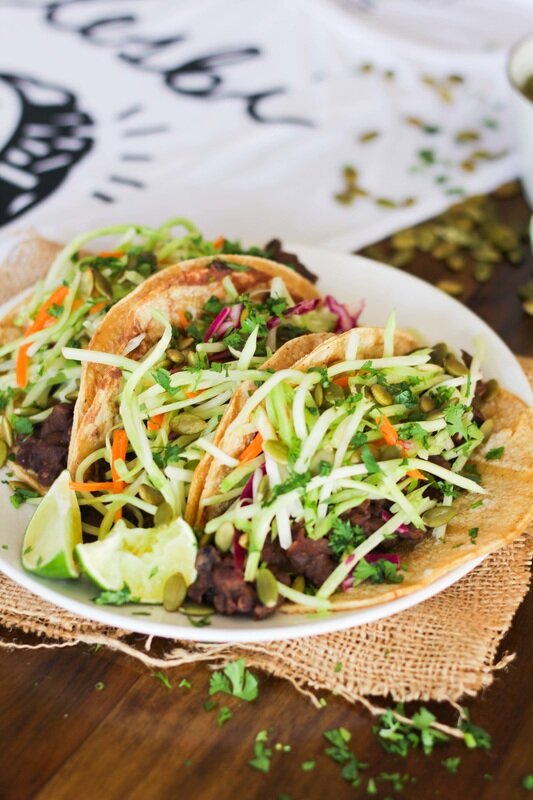
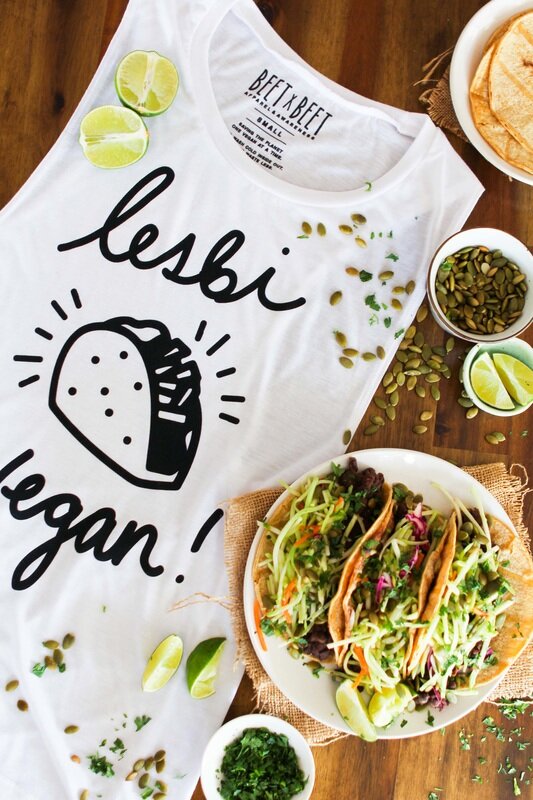
Today happens to be National Taco Day! Yup, it's the best, most real of all the Taco Tuesday's we're going to celebrate this year. To get the party started, my friend Jacky and I from vegan apparel company BEETxBEET have teamed up to to share with you one of our favorite, easy Taco Tuesday recipes paired with a 'Lesbi Vegan' taco t-shirt giveaway - perfect for anyone who loves a good taco!
I love the vegan clothing and awareness company BEETxBEET and that they stand up for our animal friends, but I love owner, activist and girl boss Jacky Wasserman even more. We've been friends for a few years now after meeting at a vegan Oktoberfest and interviewing her about her company back where she first started. She works her ass off saving animals and making rad clothing, which has expanded from a few humble t-shirts to hats, notebooks and sometimes even customized cup cozies! She's had some great new, clever shirts come out lately so we decided to team up and create a recipe based on each of her most popular styles - and pair them each with a giveaway of the t-shirt itself! We made some great meals we think you guys are going to love - and then got to eat them ALL. Haha, but only to make sure they tasted perfectly before we shared them. Promise. (Ahh, the life of a food blogger. It's rarely glamorous, but it is full of taste-tests!) You can get the recipe by scrolling down a bit. To enter the giveaway to WIN your very own 'Lesbi Vegan' tee, scroll all the way down to the bottom of the page and fill out the widget. We'll let the widget randomly choose one winner and we'll email that person directly for size information + gender preference. GOOD LUCK!
INGREDIENTS
2 - 15 oz. cans black beans, drained (OR about 2 cups cooked black beans) 1 tablespoon coconut oil 1 tablespoon lime juice 1 teaspoon apple cider vinegar 1 teaspoon soy sauce 1 teaspoon cumin 1/2 teaspoon salt 1/2 teaspoon garlic powder 1/2 teaspoon smoked paprika 1/2 teaspoon chili powder 3 cups broccoli slaw (store bought OR just shredded broccoli, carrots + red cabbage) 2 tablespoons lime juice 1 tablespoon olive oil 1/2 teaspoon salt tortillas, for serving pepitas, for garnish fresh chopped cilantro, for garnish DIRECTIONS In a medium cast iron or sauce pan combine the beans, coconut oil, lime juice, cider vinegar, soy sauce, cumin, salt, garlic powder, smoked paprika and chili powder. Stir to combine, and simmer over low-medium heat. While the beans cook, make the broccoli slaw by tossing together the shredded broccoli, carrots + red cabbage with lime juice, olive oil, and salt. Set aside. Prepare the tortillas by heating them on a cast-iron skillet over medium-high heat until hot, then flip and heat through. Keep warm tortillas wrapped in a clean towel or a tortilla warmer until ready to serve. Once the beans have cooked, portion them evenly into the tortillas then top with broccoli slaw, pepitas and freshly chopped cilantro. Serve immediately! NOTES Serves 2-4. Leftovers can be refrigerated separately for up to a week.
print recipe
a Rafflecopter giveaway
Smoky Kale + Butter Bean Soup
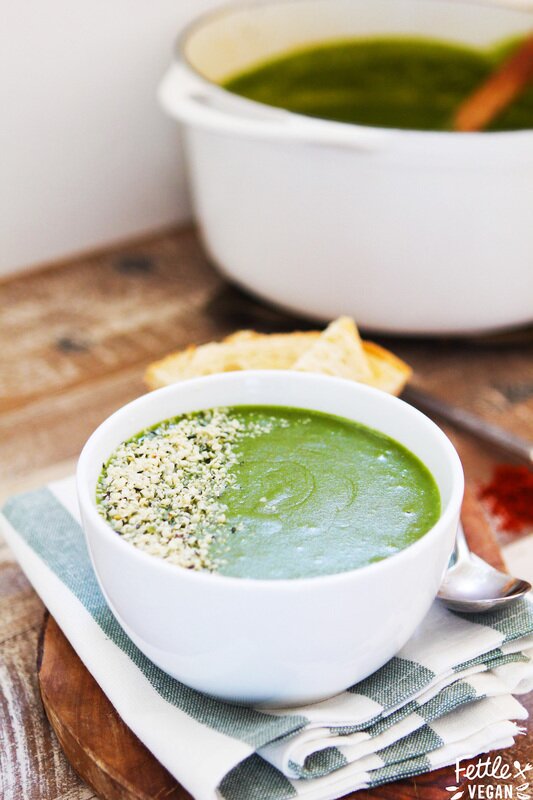
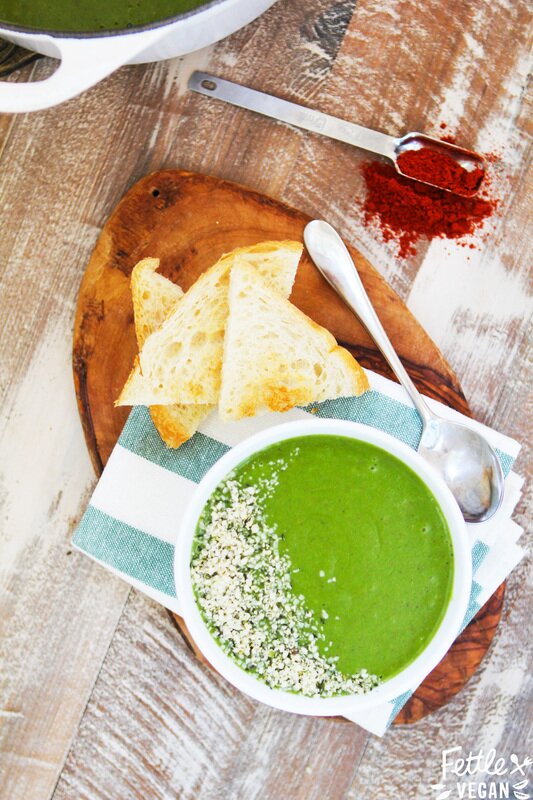
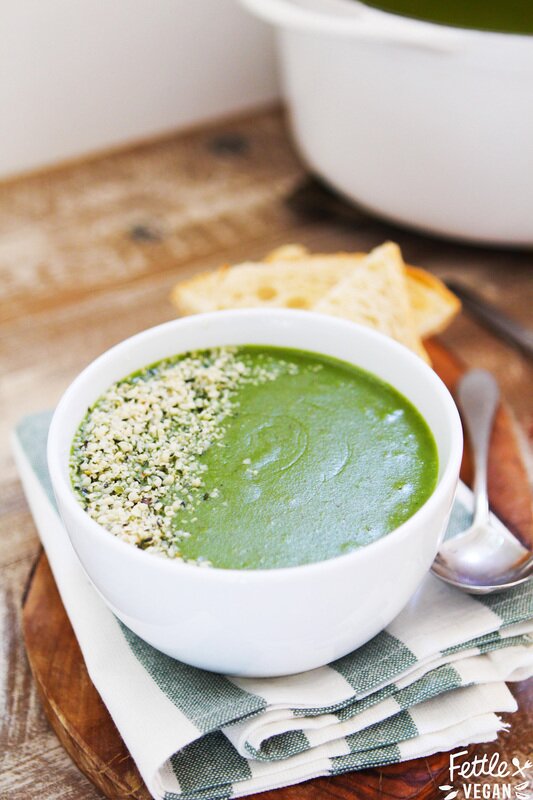
I know what you're thinking - GREEN kale soup?! Am I crazy?? I'm not, and I promise - this soup is kind of mind-blowingly good. Years ago at a restaurant I had a thick, green soup with a ton of spice. I doubt it was vegan, but I've been thinking about it ever since. And while I never got the secret recipe, I did do my very best to match the flavors and textures from that soup in this one. And I think I came pretty close. This creamy soup is packed with kale (so it's basically a salad, right?) and potatoes for creaminess, with a smattering of butter beans throughout and a ton of rich, smoky flavor. It tastes fantastic alongside a slice of crusty bread or topped with hemp seeds or oyster crackers for a little crunch. Alex gave this soup some pretty dirty looks before he took a bite - but he was totally pleasantly surprised! If he's a convert, I think I can make you one too. Either you're in or you're out at this point...so let's get cooking!
INGREDIENTS
1 tablespoon olive or coconut oil 2 cloves garlic, minced 1 medium yellow onion, chopped 2 cups red potatoes, cut into 1-inch cubes 4 cups vegetable broth 2 teaspoons smoked paprika 1 teaspoon salt 1/4 teaspoon black pepper 2 1/2 cups cooked butter (lima) beans 3 packed cups kale, stems removed hemp seeds, for garnish DIRECTIONS Heat the oil in a large pot or dutch oven over medium heat. Sauté the garlic and onions together until fragrant, 3-5 minutes. Pour in the potatoes, vegetable broth, smoked paprika, salt and pepper. Continue cooking over low-medium heat about 20-30 minutes, until the potatoes are fork tender. Add in the beans, reserving a 1/2 cup to the side, and the kale. Stir to combine, and cook 5-10 more minutes. Remove from heat. Blend the soup with an immersion blender or in batches in a high-speed blender until smooth. Pour in the remaining butter beans and stir. Serve immediately with a garnish of hemp seeds or crackers! NOTES Serves 6. Butter beans are also known as lima beans, so use whichever. You can also sub white beans here. Leftovers last about a week in the fridge or in the freezer indefinitely.
Print Recipe
Party-Sized Jackfruit Nachos!
Whether you're into football or not, you probably know that the Super Bowl is this weekend. I've never been much of a football fan myself, but I'm always down for a party centered around eating! We're going to have some friends over the day before for a little get together and these nachos will absolutely be making an appearance. They're deceptively simple to make, big enough to share with a crowd, and so good your guests might not even believe you made them yourself! We start by smothering toasted tortilla chips with our spicy seasoned jackfruit, then pour on our homemade queso cheese and all the toppings you can imagine - plus we added guac!
This is a dish you won't want to share - it is THAT good! Which is also why we supersized it, so maybe it'd make it juuuuust a little easier to share? No matter what team you're rooting for, you'll be glad you made these nachos to munch on...and so will your guests!
INGREDIENTS
1 large bag of tortilla chips 1- 15 ounce can black beans, drained 2- 20 ounce cans of jackfruit (in brine), prepared and cooked to our Jack Asada recipe instructions 1-2 cups homemade queso cheese (or sub whatever dairy-free cheese you prefer), warmed 1/2 cup red onion, chopped small 1/2 cup black olives, sliced 1/4 cup fresh cilantro, chopped the BEST guacamole, for serving limes, for garnish DIRECTIONS Preheat the oven to 375 degrees. Line a baking sheet with parchment paper (or aluminum foil). Spread the tortilla chips evenly over the baking sheet and scatter the drained black beans over the top. Layer the seasoned, cooked jackfruit evenly over the top, then place the baking sheet in the oven for 10 minutes heat the chips, beans and jackfruit together. When finished, pull the baking sheet from the oven and immediately top with the queso cheese, chopped red onion, black olives, cilantro and guacamole. Serve immediately! NOTES Save time by preparing the jackfruit and queso a day ahead, then just reheat as necessary! If you use a different cheese (daiya, for example) we would recommend adding the cheese layer BEFORE baking so it melts while in the oven. Add whatever other toppings you like! Some suggestions? Cabbage, salsa, hot sauce, green onions, jalapeños, tomatoes! Easy Chickpeasy Breakfast Burritos
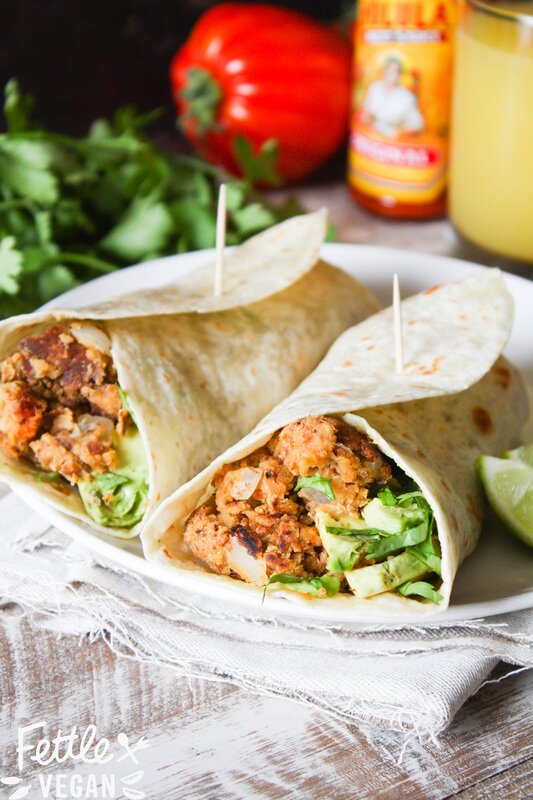
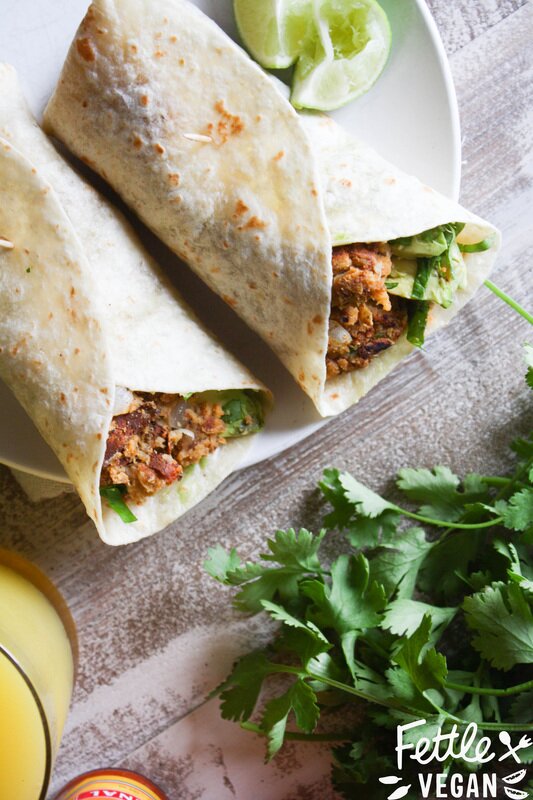
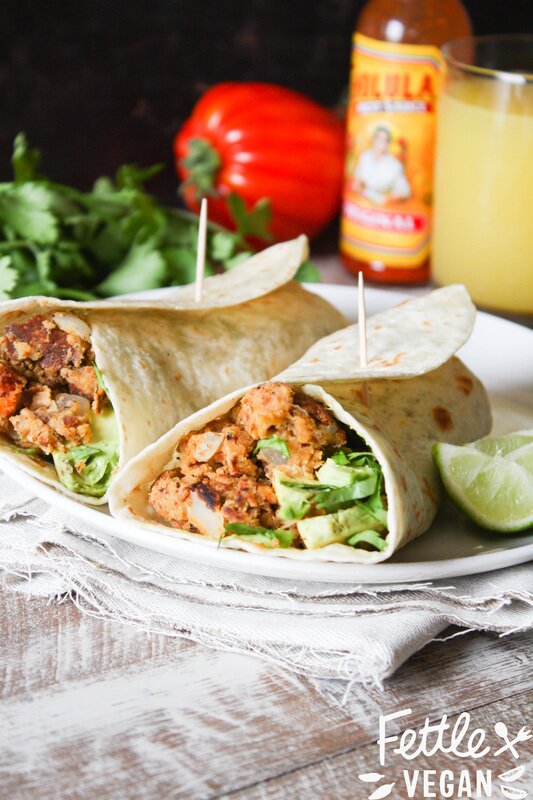
We love grab-and-go breakfasts around here. Alex and I both work early most days, so a lot of time a kiss on the way out the door is all you've got time for- let alone a full fledged balanced breakfast. In our attempt to whip us some easy breakfast burritos, Alex had a brilliant idea. Why not use the AMAZING, fluffy, egg-white-like properties of aquafaba to help keep our breakfast light + similar to the 'potato tacos' so popular here in So Cal? So we did it! And they were a hit. Plus, they're perfect for making ahead and freezing, so you can just grab one on your way out the door and heat it up later. The aquafaba keeps the texture of the chickpeas 'egg like' and you cook 'em up just like you would a pan of scrambled eggs. You can toss in any chopped veggies you like, but we liked them slathered in avocado, hot sauce, and cilantro. They have a slightly hummus-y flavor and they're packed with protein. And even though we've been enjoying them in the mornings, they're great ANY time of the day. They whip up in under 15 minutes, so let's eat!
INGREDIENTS
1 teaspoon coconut oil 1- 15 oz. can chickpeas NOT DRAINED 1 clove garlic 1 teaspoon cumin 1 teaspoon smoked paprika 1/2 teaspoon each salt + pepper 2 tortillas 1 lime, quartered avocado, halved and sliced hot sauce, to taste (opt.) cilantro, roughly chopped (opt.) DIRECTIONS Heat a teaspoon of coconut oil in a medium skillet over medium heat. Pour entire can of chickpeas INCLUDING the brine, or ‘aquafaba’, into a blender or food processor. Toss in garlic and spices and blend until mixture becomes mostly smooth, but pourable. Pour mixture into the heated pan, using a spatula to move mixture around as it begins to cook, letting it get slightly browned before flipping mixture onto itself (like scrambled eggs). Continue cooking mixture until it has thickened and browned slightly, becoming almost mashed potato in texture. Lay a tortilla flat, scooping about half of the chickpea mixture on top. Top with slices avocado, hot sauce, cilantro, and a squeeze of fresh lime. Fold tortilla around mixture and enjoy! To make freezer burritos, simply fold the tortilla around the chickpea mixture and wrap the whole burrito tightly in tin foil. Freeze indefinitely. When ready to reheat, remove and bake at 350 degrees until the inner mixture is heated through and tortilla begins to brown. Add avocado and condiments + eat ‘em up. Makes 2 burritos.
print recipe
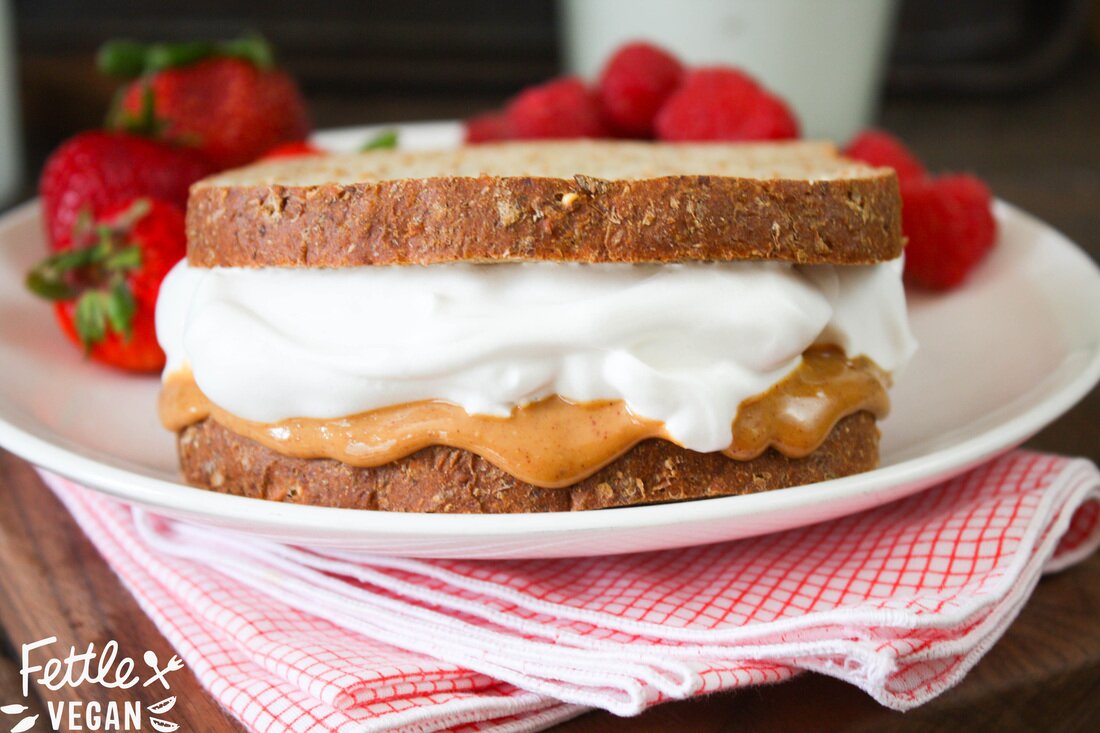
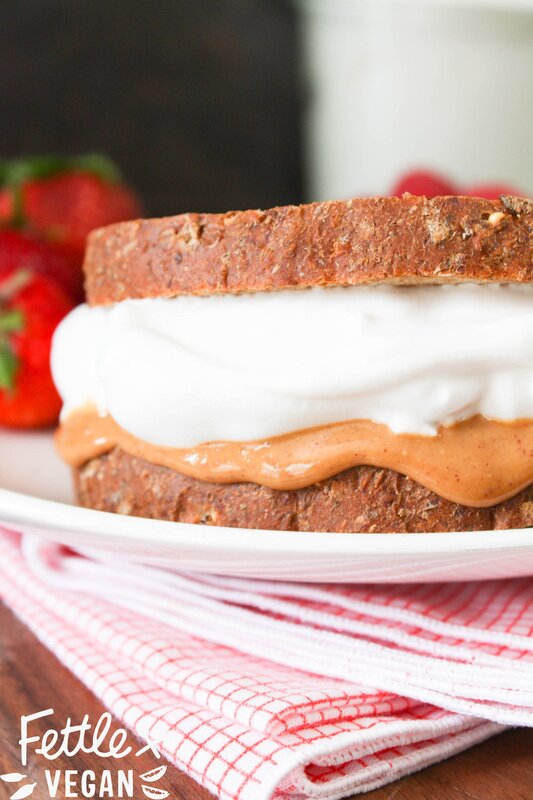
Vegan Fluffernutter Sandwich!
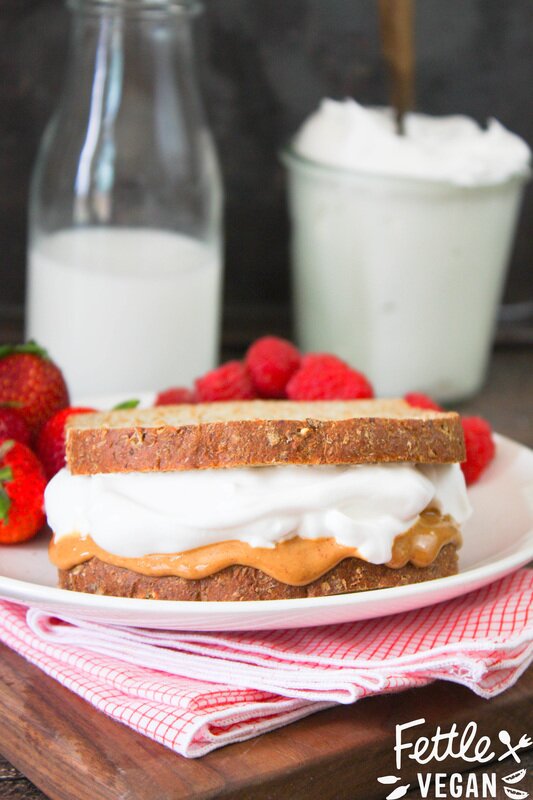
I grew up in a tiny town in Southern Maine. My mom usually packed our lunches for us and did a great job- but we always wanted Dad to do the packing. When Dad packed lunches, my little sister, Jade, and I would always get a fat fluffernutter sandwich on whole wheat bread, sliced into 4 triangles and wrapped in aluminum foil. We'd open up the gooey, tin foil wrapped sandwich at lunch and bury our faces into the marshmallow-y goodness. Now, if you've gotten this far and you're still like "WHAT THE HELL IS FLUFFERNUTTER?" then you obviously didn't grow up on the East Coast. A fluffernutter is a combo of peanut butter and marshmallow fluff, slathered into sandwich form. I remember eating these CONSTANTLY (I wasn't much into jam) as a kiddo, and haven't had one in YEARS. Especially since, as a vegan, marshmallow fluff (while it DOES exist) can be hard to find and expensive to buy. Luckily, the world of vegan food experiments in now a pretty wide world.
If you've been living under a rock, you may not have noticed the trend sweeping the vegan community, but it's all about bean juice and it's called aquafaba. Aquafaba is the term used to describe the thick liquid you usually pour down the sink when draining a can of beans (any kind of beans- black, garbanzo, navy beans- will work). Some brilliant genius realized you could whip the liquid (similar in protein build) just like egg whites and get similar results in things like meringues, pavlovas, and marshmallows. Only now, they're VEGAN versions! When we first heard of this idea, we immediately drained a can of beans and got to work. We loved how similar the texture of the 'fluff' was, though it was slightly less sticky than what I remember (and thus easier to wipe off your face afterwards), but that's probably due to the lack of corn syrup in this recipe. Aquafaba is a crazy, fun thing to experiment with, and I have found myself thinking of ways to add it to EVERYTHING. It just adds a light, whipped quality that I think would be AMAZING in baked goods. Before that though, whip up this easy, basic fluff recipe, make yourself a fluffernutter sandwich, and put Blossom on Netflix for a total afternoon revival of my East Coast childhood. Let's EAT!
INGREDIENTS:
1/2 cup aquafaba liquid (about 1 - 15 oz. can beans, drained) 1 teaspoon vanilla 1/2 cup organic, granulated sugar 1/8 teaspoon xantham gum 1/8 teaspoon cream of tartar peanut butter (about 1/4 cup per sandwich) sliced wheat (or white) bread, 2 slices per sandwich DIRECTIONS: 1. Drain aquafaba from one can of beans into a small bowl. Refrigerate unused beans. 2. Strain aquafaba liquid through a piece of cheesecloth or fine sieve to remove any beans pieces or skin. 3. Pour aquafaba into an electric mixing bowl, and begin to whisk at a medium to high speed. 4. As aquafaba whips, slowly add vanilla, granulated sugar, and finally xantham gum + cream of tartar. Whip mixture 10-15 minutes, until stiff peaks form. The mixture should be thick enough that if you remove the whisk attachment and wave it around the air a bit, the 'fluff' should't go anywhere- kind of like the blizzard trick at Dairy Queen. 5. Assmeble your sandwich by spreading 1 slice thickly with peanut butter and the other slice with a generous serving of fluff. Slap the two slices together and munch away! Makes enough for 2-4 sandwiches, though there is so much that can be done with aquafaba, the leftovers might be great as a meringue topping or mixed into baked goods. Leftovers can be refrigerated in an airtight container for up to 3 days, but may need to be re-whipped before consumption. NOTES: - About 3 tablespoons of aquafaba= 1 'egg white' - Any bean liquid should work, but we used canned white bean and chickpea liquid over here. -Experiment! This new trend has lots of possibilities and is super fun to work with. Just don't get frustrated! -You can find more info on aquafaba hits + misses in this AMAZING Facebook group OR at aquafaba.com.
print recipe
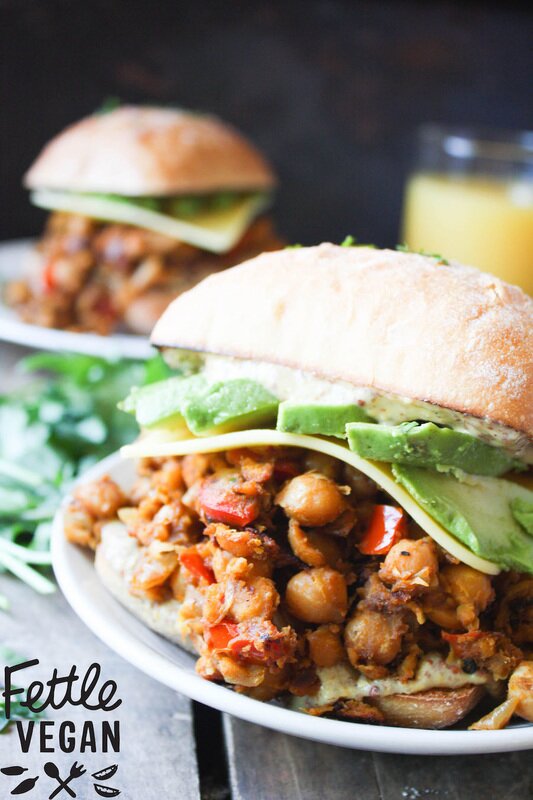
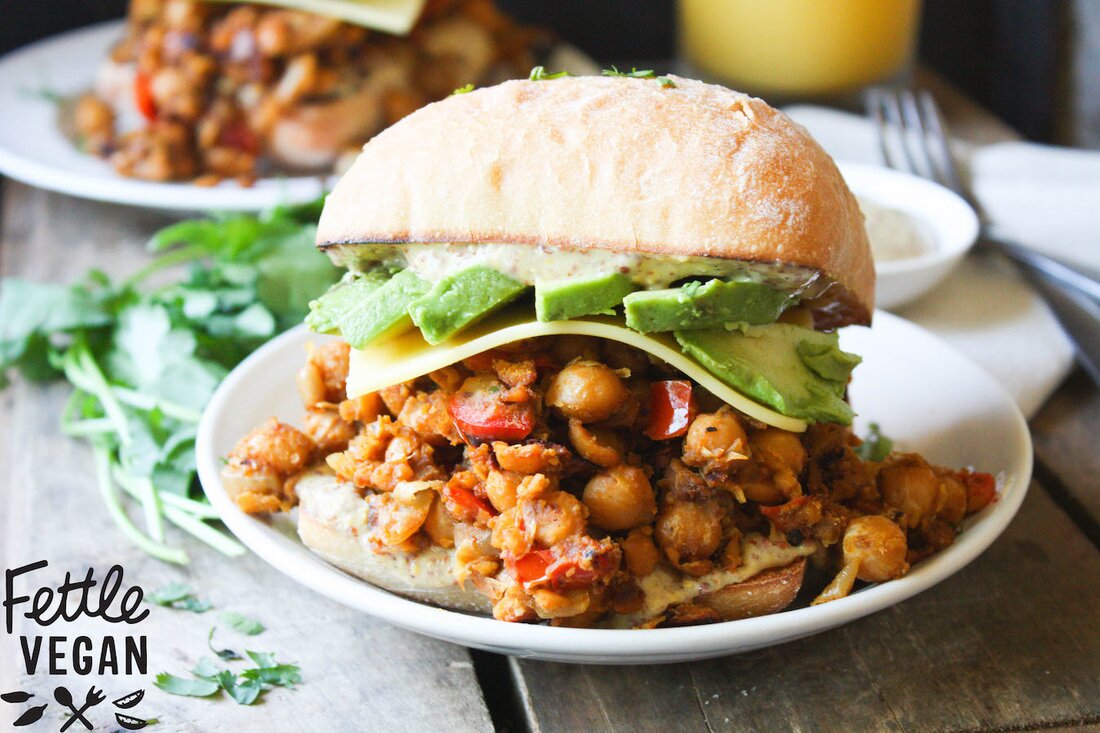
Chickpea Scramble Breakfast Sandwich
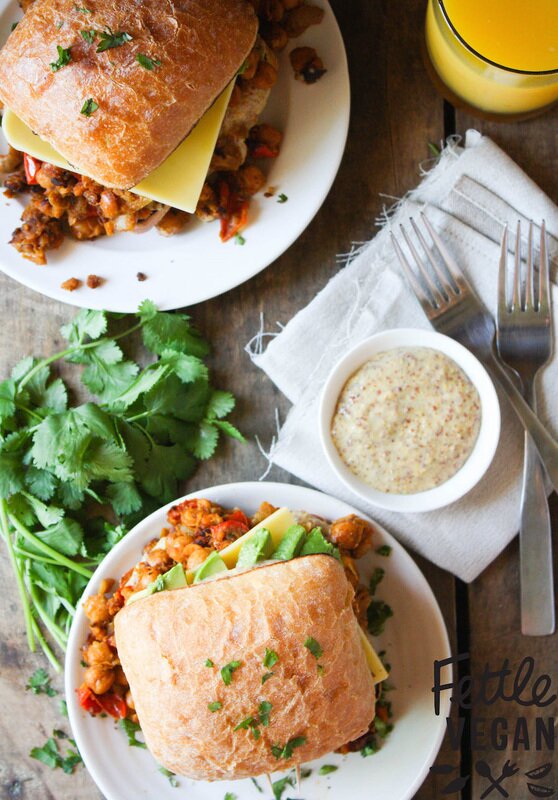
We love making protein-packed breakfasts around here. It helps get us through the day without getting sluggish, puts an end to mid-morning snacking, and gets us through our afternoon runs with the pup. One of our favorite ways to do that is to whip up a big batch of spicy chickpea scramble! We toss slightly mashed chickpeas into a large skillet, toss in whatever veggies we have and some of our favorite spices (usually some combo of cumin, chili powder + lots of garlic), and cook it until the whole thing is heated through and the veggies are soft. Its super easy to whip up, reheats well, and last about a week in the fridge! When I'm on top of my shit and food prepping, this is one of my faves. Sometimes though, eating the same breakfast can get boring. You've been there- breakfast rut is the worst! To mix things up we bought focaccia buns, piled 'em high with chickpea scramble, creamy avocado, a slice of Field Roast's new Chao cheese, a smattering of mustard, and a sprinkle of cilantro. PERFECTION! So much flavor and such a nice change from the usual faux meat + faux egg combo. So, let's eat!
print recipe
INGREDIENTS:
Mexican Chickpea Scramble (about 1/2 cup per sandwich) 2 focaccia buns 2 slices of Field Roast Creamy Original (or your favorite sliced vegan) cheese 2 tablespoons spicy mustard 1 avocado, pitted and thinly sliced DIRECTIONS: Make up your chickpea scramble (the day before, if you like!) and heat it over medium heat until it is heated through. In a toaster or on a griddle, lightly toast the inner sides of the focaccia buns. Spread the inside of the bottom and top of the buns with 1-2 teaspoon of mustard each. Layer hot scramble onto the bottom bun, then top with a layer of sliced vegan cheese and sliced avocado. Serve and enjoy! Makes 2 breakfast sandwiches. Scramble can be refrigerated 4-5 days in the fridge and reheated. Maple Baked Beans & Cornbread Casserole from 'But I Could Never Go Vegan!' + Cookbook Giveaway!2/5/2015
Maple Baked Beans & Cornbread Casserole from
|
tagsAll  RSS Feed RSS Feed
|


