S'mores Brownies
It's officially feels like summer here in So Cal with temps in the low 90s this week. Ugh. On the plus side, it's been warm enough that we've started planning our first camping trips of the season. And I can't wait! Sometimes dragging all the ingredients for s'mores - the vegan chocolate, marshmallows, and graham crackers, and of course a good stick! - can be a pain in the butt. And often, I end up forgetting at least one of the necessary ingredients! These days, I save myself time and space in the cooler by just pre-making a tray of these fudge, ooey-gooey S'mores Brownies instead. They whip up quickly, taste BETTER (yup, I said it) than the traditional version, and make late-night campfire munching a breeze! Instead of graham crackers, the marshmallows and chocolate chunks are nestled into rich, chocolatey brownie batter - no stick needed. I like to put them in the fridge for a bit before cutting into them for even fudgier brownies. And they couldn't be easier to travel with: they last sealed in a ziplock bag in the car or on the counter up to 3 full days. Pack up the tent and preheat the oven - we've got some s'mores to eat!
INGREDIENTS
1 tablespoon ground flax + 3 tablespoons warm water 1 cup sugar 1/2 cup unsweetened almond milk 1/2 cup vegetable oil 1 teaspoon vanilla 1 cup all purpose flour 1/3 cup cocoa powder 1/2 teaspoon baking powder 1/2 teaspoon salt 1/2 cup chocolate chunks 1/2 cup vegan marshmallows (we used Dandies!) DIRECTIONS Preheat the oven to 350ºF. Grease or line an 8x8 inch baking dish. In a small bowl which together the ground flax and warm water. Set it aside to gelatinize. In a medium mixing bowl, whisk together the sugar, unsweetened almond milk, vegetable oil and vanilla. Add in the flax mixture and stir well to combine. In a separate large mixing bowl combine the flour, cocoa powder, baking powder and salt. Make a well in the center and pour in the wet ingredient mixture. Whisk together until a smooth batter forms. Fold in the chocolate chunks and marshmallows and pour the mixture into the prepared baking dish. Bake for 20-30 minutes, until an inserted toothpick comes out clean. Let cool completely before slicing. Enjoy! NOTES Makes 12 brownies. For even fudgier brownies, fridge the cooled brownies at least 2 hours before cutting into them.
print recipe
1 Comment
Vegan Fluffernutter Sandwich!
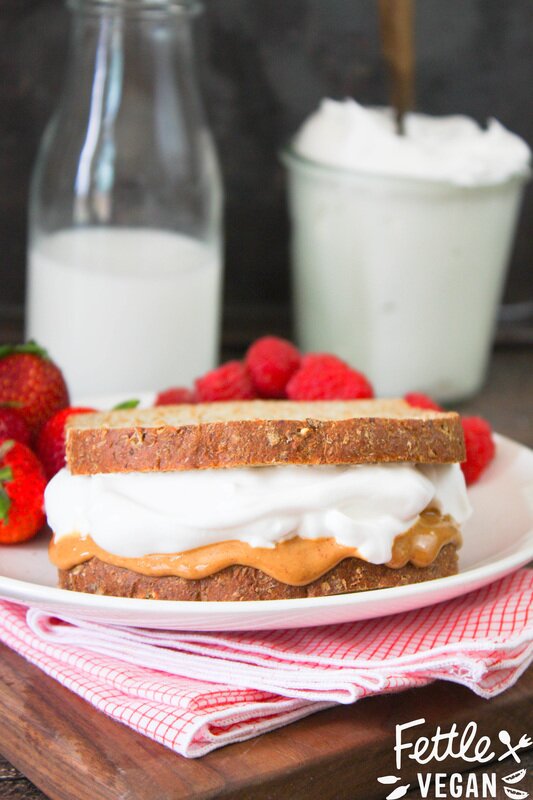
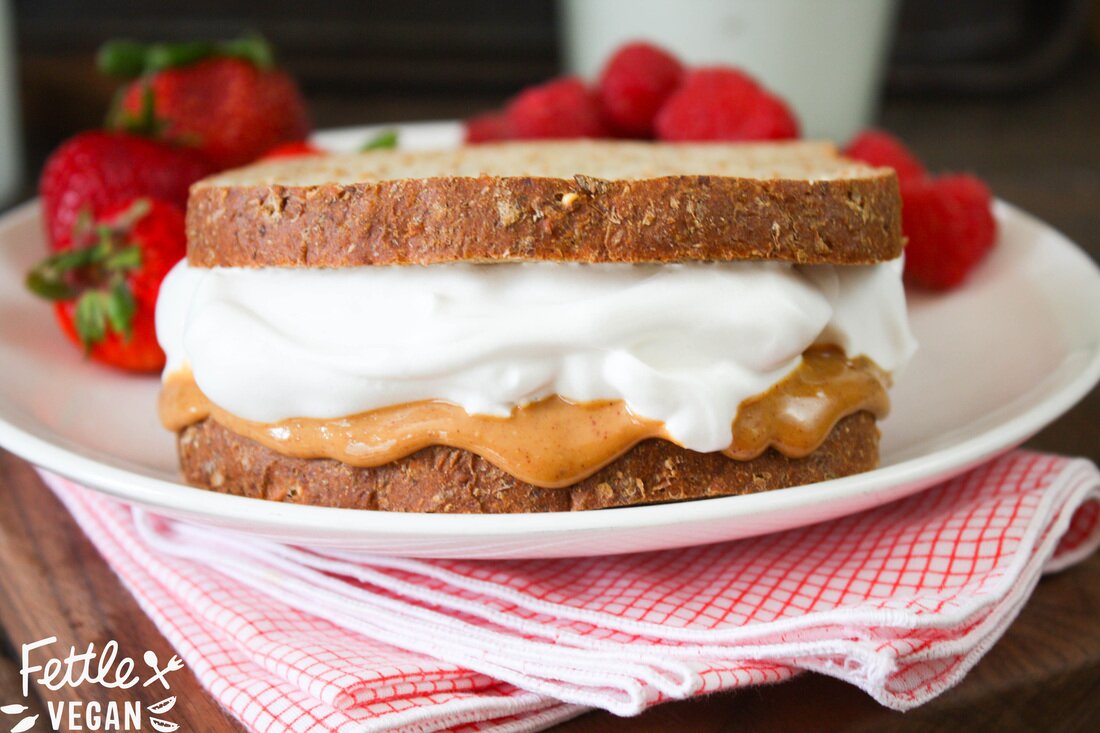
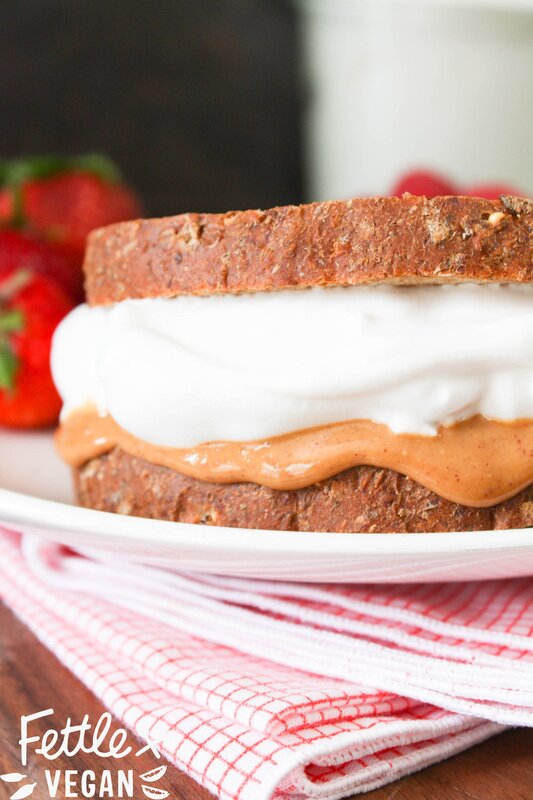
I grew up in a tiny town in Southern Maine. My mom usually packed our lunches for us and did a great job- but we always wanted Dad to do the packing. When Dad packed lunches, my little sister, Jade, and I would always get a fat fluffernutter sandwich on whole wheat bread, sliced into 4 triangles and wrapped in aluminum foil. We'd open up the gooey, tin foil wrapped sandwich at lunch and bury our faces into the marshmallow-y goodness. Now, if you've gotten this far and you're still like "WHAT THE HELL IS FLUFFERNUTTER?" then you obviously didn't grow up on the East Coast. A fluffernutter is a combo of peanut butter and marshmallow fluff, slathered into sandwich form. I remember eating these CONSTANTLY (I wasn't much into jam) as a kiddo, and haven't had one in YEARS. Especially since, as a vegan, marshmallow fluff (while it DOES exist) can be hard to find and expensive to buy. Luckily, the world of vegan food experiments in now a pretty wide world.
If you've been living under a rock, you may not have noticed the trend sweeping the vegan community, but it's all about bean juice and it's called aquafaba. Aquafaba is the term used to describe the thick liquid you usually pour down the sink when draining a can of beans (any kind of beans- black, garbanzo, navy beans- will work). Some brilliant genius realized you could whip the liquid (similar in protein build) just like egg whites and get similar results in things like meringues, pavlovas, and marshmallows. Only now, they're VEGAN versions! When we first heard of this idea, we immediately drained a can of beans and got to work. We loved how similar the texture of the 'fluff' was, though it was slightly less sticky than what I remember (and thus easier to wipe off your face afterwards), but that's probably due to the lack of corn syrup in this recipe. Aquafaba is a crazy, fun thing to experiment with, and I have found myself thinking of ways to add it to EVERYTHING. It just adds a light, whipped quality that I think would be AMAZING in baked goods. Before that though, whip up this easy, basic fluff recipe, make yourself a fluffernutter sandwich, and put Blossom on Netflix for a total afternoon revival of my East Coast childhood. Let's EAT!
INGREDIENTS:
1/2 cup aquafaba liquid (about 1 - 15 oz. can beans, drained) 1 teaspoon vanilla 1/2 cup organic, granulated sugar 1/8 teaspoon xantham gum 1/8 teaspoon cream of tartar peanut butter (about 1/4 cup per sandwich) sliced wheat (or white) bread, 2 slices per sandwich DIRECTIONS: 1. Drain aquafaba from one can of beans into a small bowl. Refrigerate unused beans. 2. Strain aquafaba liquid through a piece of cheesecloth or fine sieve to remove any beans pieces or skin. 3. Pour aquafaba into an electric mixing bowl, and begin to whisk at a medium to high speed. 4. As aquafaba whips, slowly add vanilla, granulated sugar, and finally xantham gum + cream of tartar. Whip mixture 10-15 minutes, until stiff peaks form. The mixture should be thick enough that if you remove the whisk attachment and wave it around the air a bit, the 'fluff' should't go anywhere- kind of like the blizzard trick at Dairy Queen. 5. Assmeble your sandwich by spreading 1 slice thickly with peanut butter and the other slice with a generous serving of fluff. Slap the two slices together and munch away! Makes enough for 2-4 sandwiches, though there is so much that can be done with aquafaba, the leftovers might be great as a meringue topping or mixed into baked goods. Leftovers can be refrigerated in an airtight container for up to 3 days, but may need to be re-whipped before consumption. NOTES: - About 3 tablespoons of aquafaba= 1 'egg white' - Any bean liquid should work, but we used canned white bean and chickpea liquid over here. -Experiment! This new trend has lots of possibilities and is super fun to work with. Just don't get frustrated! -You can find more info on aquafaba hits + misses in this AMAZING Facebook group OR at aquafaba.com.
print recipe
Chocolate S'mores Cookies
Alright, alright- I've been drinking my green morning juices, my lemon water, and my kale salads. I've been running damn near daily and am right back on the healthy motivation train that the New Year inevitably brings. NOW GIVE ME A DAMN COOKIE! Maybe even two. Or seven.
These cookies are a spin on my favorite chocolate cookie base, but are PACKED with scrumptious s'more goodness in every bite. The ooey-gooey marshmallows, the rich dark chocolate, and the crunch of buttery graham cracker...excuse me while I wipe the drool off my keyboard. But seriously, these are a crowd-pleasin', sweet tooth satisfying, chocolate-lover's dream cookie. They're perfect for sharing and giving as gifts...or hoarding. Plus, since I reduced the sugar by nearly half they're a little easier to recover from when you DO eat seven of them. Its guilt-free Thursday, haven't you heard? Let's EAT!
INGREDIENTS
2 cups gluten-free flour mix (we used Bob's Red Mill 1:1 GF Baking Flour. Whole wheat works here, too!) 2/3 cup cocoa powder 1 teaspoon baking soda 1/2 teaspoon xantham gum (optional- only necessary if your GF flour mix has none.) 1/2 teaspoon salt 1/2 cup coconut oil 1 cup maple syrup 1/2 cup dairy-free milk 1 tablespoon + 1 teaspoon ground flax 2 teaspoons vanilla 3/4 cup chocolate chips 3/4 cup crushed vegan-friendly graham crackers 3/4 cup mini vegan marshmallows or reglular-sized marshmallows quartered DIRECTIONS Preheat oven to 350°. In a large mixing bowl, whisk together flour, cocoa powder, baking soda, xantham gum (if using), and salt until well mixed. Set aside. In a mixer or with hand beaters cream together the softened coconut oil and maple syrup. Add ground flax, milk & vanilla extract and mix until totally combined. Add the dry ingredients to the wet mixture about a cup at a time, mixing them together until all of the dry ingredients are completely incorporated into the wet and a soft dough forms. Pour in chocolate chips, crushed graham crackers, & marshmallows and use a wooden spoon or spatula to work them into the dough. Use an ice cream scoop or a spoon to scoop 1 inch balls of dough onto a greased cookie sheet about 2 inches apart. Bake for 10-12 minutes, until edges are crisp and 'mallows begin to brown. Remove from oven, move to a cooling rack, and let cool. Once cool they can be moved to a plastic bag or airtight container and stored for about a week. Frozen they'll be good for several months- then you can pull out just one at a time instead of having an entire batch at your disposal. I never get that far. This recipes makes a batch of 20 (ish) cookies.
print recipe
|
tagsAll  RSS Feed RSS Feed
|


