CBD CHAMOMILE TEA LATTE
CBD seems to be all the rage these days. Which is kind of funny for me, because as a long-time marijuana user, I've always been a fan of it's healing properties. But now its trendy, and everyone is curious about the benefits! Probably because marijuana is becoming legalized all over the place, taking CBD has become more acceptable in larger communities. I'm all for more people becoming interested - I think the benefits of marijuana have barely been explored and could be super beneficial in healing and providing pain relief from painful and debilitating diseases. That said, I'm not a doctor. You probably knew that, but I feel like before dispensing any of the following advice, it's something we should just say out loud.
That said I think there are a lot of really great reasons to try CBD, and a whole bunch of different ways try it. Today we're infusing creamy, dreamy chamomile tea latte - but before we do, I want to break down some of the benefits of CBD, talk about some of the misconceptions, and breakdown for you exactly why CBD along will not get you high(I promise!), and talk a little vocab:
Now that those terms are cleared up for ya (they're all very similar and get super confusing if you're new to this!) let's talk benefits! CBD has been proven to help with inflammation, sleep, and anxiety and depression. Talk about a triple threat! Users also report lessened nausea, muscle tension, reduced blood sugar levels and reduced prosiasis when using CBD regularly! And I personally LOVE it for helping with period cramps and pain. It's a serious miracle worker. Always check with your doc before trying anything new, but know that CBD alone CANNOT GET YOU HIGH. As you can read above, CBD is literally defined as being non-psychoactive, so no sinking into the couch and craving frosted flakes-stuffed chocolate chip cookies. Most companies that produce CBD oil extract it from hemp, leaves, stalks, and flowers. The extraction method is called CO2. The THC and CBD parts of the plant are separated in most over-the-counter products, and CBD can be legally sold all over the US on its own. You've probably started seeing it pop up all over health food stores and on your instagram, and that's because now that marijuana is becoming legalized in the US, more people are willing to talk about it's healing sister friend: CBD.
For the purpose of today's recipe, we'll be using an unflavored, fully-CBD, coconut oil-based formula, but I'm going to share a list of different CBD products you might try here. Also, you should note that some CBD formulas are sold as full-spectrum, which means they DO contain THC, even in trace amounts. This may or may not affect you, but also may or may not show up on a drug test. So be aware, and read the label. While we're talking about types, let's also touch on DOSAGE. It varies for everyone, and you're going to need to experiment to find your optimal amount, but most people start with a few drops as directed on the bottle into whatever they're eating or drinking, or place it directly under the tongue. I think about 5-20 mg per serving is a nice place to start. You can always up the dosage to see if you need more, but best to start slow. Some people report CBD caused them increased anxiety, but I've never had a negative experience with it. Any maybe you'll find it isn't for you for whatever reason (cost, no real need, just wanted to try it out) and that's okay, too. It is important to remember that as with most trendy things, you've gotta decide if its actually right for you - not just hop on the bandwagon because all the girls at work are trying it.
Touching back on consumption, there are a lot of different ways you can find and buy CBD these days - tinctures, pills, infused foods and beverages, topicals / creams, and even bath bombs. It depends on what you're using it for really, and how quickly you'd like it to start working. Ingesting it is a great way to spread the effects throughout the body quickly, but a topical cream is more appropriate for an injury or sore muscles. For today's recipe, and a great way to start adding CBD to your life in general, is with squeezable CBD drops. They are usually favored, but you can find them unflavored OR often made in a tincture with coconut oil. I'll share some of my favorite brands below, but lately I've been particularly loving the Dr. Raw Organic Coconut Oil CBD Drops. They're totally tasteless and can be used sublingually, topically, or in cooking! You can order them online OR head to your local health food store or dispensary and see what your options are. These are a full-spectrum drop. We'll be using 10 mg (about 1 dropper full of Dr. Raw's brand) in our beverage today.
Brands worth checking out - some are full-spectrum, some are not:
Dr. Raw Organics Focus Formula (my fave) The Daily Hit - CAP Beauty (made with added adaptopgens) Green Mountain CBD Alpine Hemp Essential Daily CBD Those are just a few I'm familiar with. remember to check your local stores, too! ONE MORE NOTE: Technically, CBD can be extracted from either HEMP or MARIJUANA. Where it is extracted from may influence your ability to buy it depending on legalization in your state. HEMP-extracted is legal all over the US, while MARIJUANA-extraced in only legal in states with legalized marijuana laws like California, Colorado and Washington (ect). If you're having trouble getting CBD shipped to you and don't live in a legalized state, be sure it is HEMP-derived so you can receive it directly shipped to your home. Keep scrolling for the recipe!
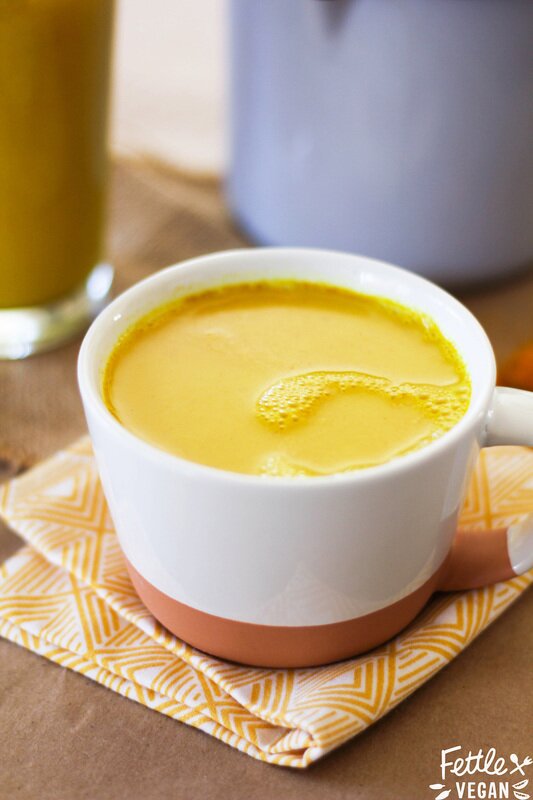
CBD Chamomile Tea latte (Serves 1-2)
Ingredients: 2 cups (480 ml) unsweetened almond milk 2 chamomile tea bags OR 2 tablespoons (10 g) loose leaf tea in a strainer 2 tablespoons (30 ml) maple syrup 10 mg CBD oil (we used 1 dropper full of Dr. Raw's Focus Formula infused coconut oil) 1/8 teaspoon ground ginger 1/8 teaspoon freshly ground nutmeg chamomile flowers, for garnish Directions: Heat the milk and tea in a medium-sized saucepan until hot, but do not bring to a boil. Remove the tea bags or strainer and whisk in the maple syrup, CBD isolate, ginger and nutmeg. Using a milk frother or high speed blender, add your desired amount of foam to the drink. Garnish with chamomile flowers and serve immediately! Tips: You can use any tea you like in place of the chamomile. Strong green, fruity black and earthy herbal teas all taste great!
PRINT RECIPE
Interested in ingesting your CBD or THC? Check out our '5 Best Vegan Medicated Edibles' and check out our Infused Holiday Gravy recipe! For more info on CBD products and how to use them, head here. Then let us know how your CBD experience was! We want to know your fave brands and how you like to use them in the comments below, babes!
7 Comments
Healthy Matcha Waffles
I was always a pancakes-kind-of-girl growing up. Every Sunday morning my family would pile into the car and drive to our local diner, Brownies, for some really greasy, disgustingly delicious brunch food. Picture the most quintessential diner heart attack food - now you're there! Haha. I would order a stack of flapjacks with butter and syrup and always got an extra side of syrup. I usually also got a side of corned been hash or bacon, and literally could almost finish it all - even at 10 years old. Yikes! These days, my kind of brunch usually involves much more of the color 'green', at least a few vegetables, and usually a mimosa or two. But sometimes, you just want to go back and have those childhood favorites - without the guilt or greasy food hangover!
These days I prefer the snap of a crispy waffle more a pile of soggy pancakes, and lucky for me we just got a new waffle iron for Christmas! It was time to test it out and make some crispy waffles to satisfy my cravings. I didn't just want any old waffles, so I used my sugar-free protein batter base and added a pop of color and antioxidants with the addition of matcha powder! The matcha powder turned them a lovely shade of green, too. Might have to whip these back out in time for St. Patty's day this year!
I can promise you after rounds and rounds of testing - nothing binds together the batter AND gives the cooked waffles a crispy edge like adding in some protein powder. Plus, all of a sudden my waffles carry a protein content of over 20 grams. BONUS! Now they're not only a great breakfast addition, but the perfect post-workout snack, too. The freeze and reheat really well, and I've taken to making a double or triple batch and freezing the leftovers for easy grab-and-go breakfasts. Let's get out the waffle iron and get cooking!
INGREDIENTS
1 cup all-purpose or whole wheat flour (both work well! For GF use 1/2 c almond + 1/2 c Teff flour) 1/4 cup vegan protein powder* 2 tablespoons matcha powder 2 teaspoons baking powder 1/2 teaspoon salt 1 1/3 cups water 2-3 drops vanilla stevia (optional, for a sweeter waffle) 1 tablespoon oil DIRECTIONS In a medium mixing bowl combine the flour, protein powder, baking powder and salt. Create a well in the center of the mixture, and pout into it the water, stevia and oil. Whisk the mixture together until the batter just comes together. Its okay if there are a few lumps! Do not mix until smooth - unless you want flat, chewy waffles. Ick! Let the mixture set for about 5-10 minutes, let scoop the appropriate amount of batter into your waffle iron and let it cook up until the waffle is perfectly fluffy with crispy edges. Keep it going until all your waffles are cooked up. Enjoy! (I like mine with butter and syrup or a bit of peanut butter and fruit!) Leftovers freeze and reheat really well - I highly recommend making a double batch and sticking some in the freezer for easy toaster breakfasts later! NOTES Makes 2-4 waffles, depending on the size of your waffle iron. *I use Sprouts brand Vegan Vanilla Protein Powder. It's pea protein based and has just 1 g of sugar per serving, which is how I am able to keep the sugar in these waffles nearly nonexistent. Use your favorite protein here, but account for textural differences if it is not pea protein. I usually use softened coconut oil here, but you can sub in any flavorless oil you like.
Print Recipe
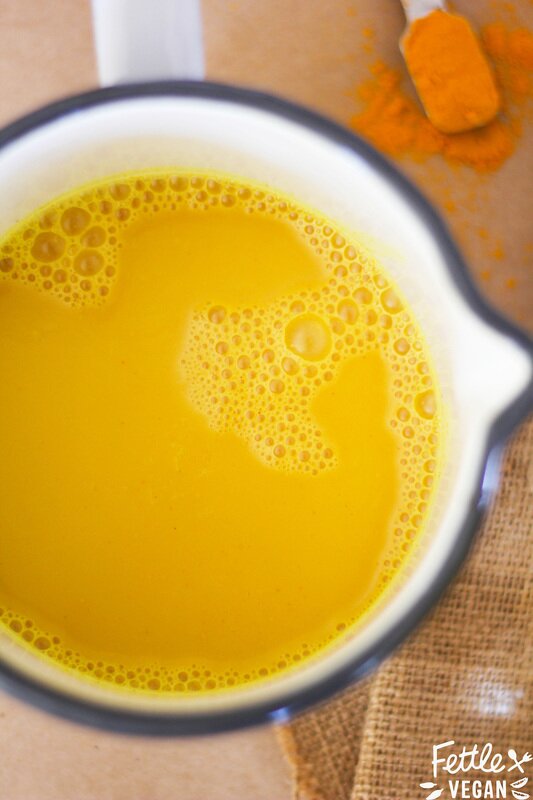
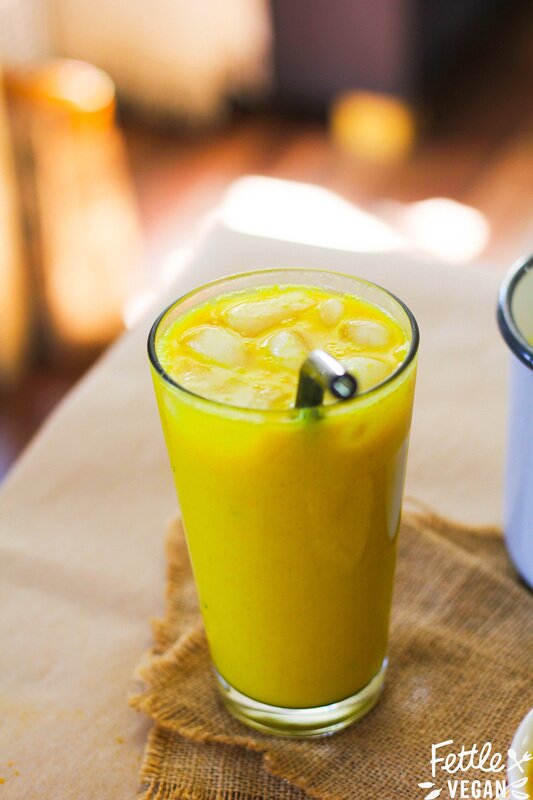
Golden Milk: Hot or Iced!
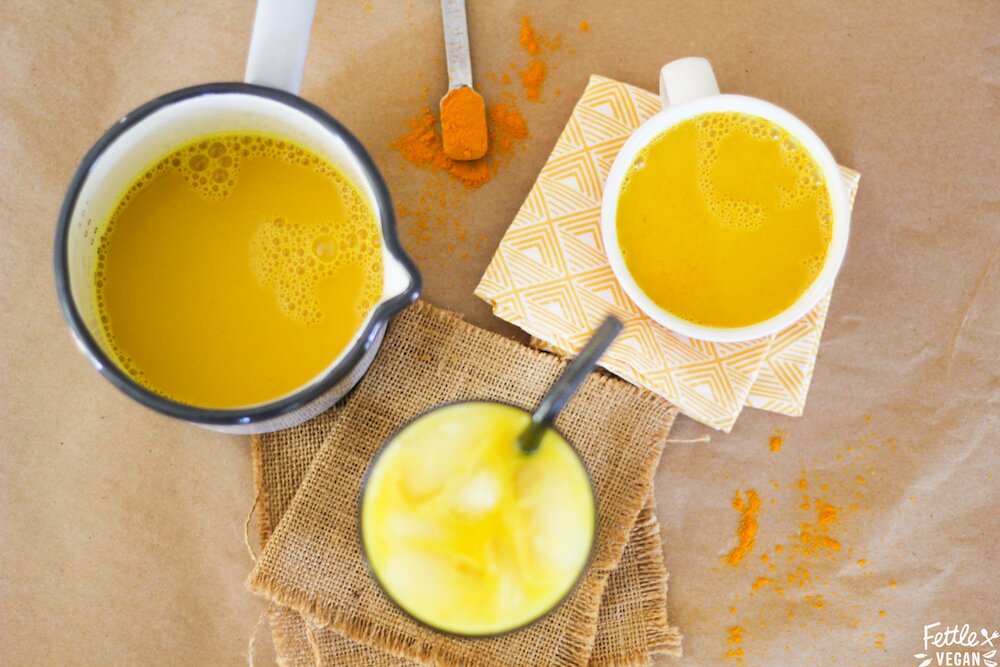
I'm a little late to the party when it comes to posting about golden milk, but I am OBSESSED. And I had to share this in case any of you haven't been lucky enough to stumble upon it yet. If you're still staring at me like 'What the heck is GOLDEN milk?' then let's back this caboose up a bit; Golden Milk is made from steaming milk and blending in spices, sweetener and vanilla to create a steamer that tastes similar to a chai or spiced tea, but is much creamier due to the milk, and a little warmer thanks to the addition of the turmeric. Golden Milk recipes have kind of exploded online lately, and I was lucky enough to try some at a friends a few months ago, where I totally fell in love with it. We'd also tried an amazing version by Califa Farms at Expo West this year, but it wasn't worth paying $4 a bottle for. So I've started making it myself at home! It's way cheaper and feels good knowing I can make an equally delicious version at home for about a tenth of the price.
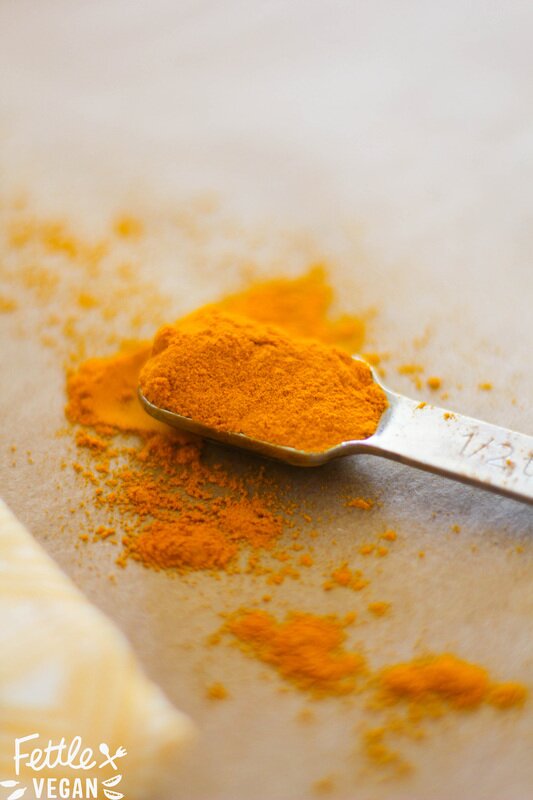
I love whipping one up whenever I want a sweet, warm drink or after a workout to help curb next-day soreness. Turmeric is a flavor you may recognize typically from curries, but but pairs perfectly with the sweetness of this drink. On top of being an anti-inflammatory, turmeric also boasts antioxidant and anti-depressant properties, as well as is considered a 'cure-all' spice for overall health and wellness in India. Plus, turmeric naturally whitens teeth! Seriously, just look up everything turmeric does - it's a pretty amazing little spice and something we should all be incorporating a bit more of into our daily lives. Which is why this super simple recipe is the PERFECT way to try it for yourself. Chances are you already have all the ingredients on hand to make it - so what're you waiting for? Cheers to your health!
INGREDIENTS
16 ounces (2 cups) almond or coconut milk 2-3 tablespoons maple syrup 1 teaspoon ground turmeric 1 teaspoon vanilla 1/2 teaspoon ground ginger 1/4 teaspoon cinnamon 1/8 teaspoon cardamom 1/8 teaspoon nutmeg pinch of black pepper DIRECTIONS Heat your almond or coconut milk in a small saucepan over medium heat (do NOT bring to a boil). Add in the maple syrup, turmeric, vanilla and other ingredients, whisking until the spices are completely dissolved. Simmer for 4-5 minutes, until the milk is hot and everything is well combined. Taste and adjust the flavors to your preference, if you like. Serve immediately OR let the milk cool to room temperature, then serve over ice. Refrigerated leftovers can either be reheated or served chilled over ice as well. NOTES Serves 1-2. Leftovers can be refrigerated and reheated or enjoyed over ice for up a week. Turmeric STAINS. Badly. Avoid using white dishes to cook or serve in unless you can wash them right after, and if you do get some turmeric stains on your countertop, I've read that vegetable oil and regular cleanser will usually get it off. Turmeric DOESN'T stain your teeth! It's actually proven to be a tooth whitener, so no need to brush your teeth after drinking unless your prefer it. Some people make this tea with fresh turmeric, whole cinnamon sticks, and fresh ginger. If that's what you prefer, we support you! Also, use whatever other spices you like - maybe some cloves or cayenne. We just use ground spices because they're convenient and encourage us to actually MAKE this! 😝
Print Recipe
Lavender Tea Latte
I wanted to post this recipe nearly a week ago for you but first my trackpad on my laptop stopped working and I was forced to travel to the deep dark depths of the Apple Store to get it fixed. As soon as I got it back, my host server was down! Ugh, what a week. We do, however, have some exciting events coming up!
This Friday, June 17th we'll be doing our last Tacolepsy pop-up at Green Bliss Cafe in Fullerton. Starting on July 15th we'll be at Renewable Farms in Anaheim with music, art, and a full outdoor patio under the lights. Oh yeah, and BEER! Its the best way to spend a Friday night for sure, and is totally family-friendly, so make sure you come eat with us. Starts at 6pm and goes until about 10pm! This Tuesday, July 21st, for Fullerton's Day Of Music, we're working with Wander Outfitters to make and serve vegan chili and cornbread for everyone out celebrating. Stop by to say hi and for a warm bowl of spicy, homemade chili and to see some of our new Plant-Based Adventures merch! But anyway, back to this recipe. Buying tea lattes costs way too much these days. It’s rarely under $5, especially with the up-charge for non-dairy milk. And who can afford that nonsense? Well now you don’t need to! This easy-to-make Lavender Tea Latte is like the chai lattes prettier, more summery cousin - and can be made totally caffeine-free! Soothing and sweet, with just the right amount of creaminess, this drink is the perfect morning treat or nighttime sipper.
INGREDIENTS:
12 oz unsweetened almond milk 1 lavender tea bag OR 1 tablespoon loose leaf lavender tea in a strainer 1 tablespoon maple syrup, agave or sweetener of choice 1/8 teaspoon ground ginger 1/8 teaspoon vanilla extract lavender flowers, for garnish dollop of coconut whipped cream (optional) DIRECTIONS: Heat the milk and tea in a medium-sized saucepan until hot, but do not bring to a boil. Remove the tea bags or strainer and whisk in the maple syrup, ginger and vanilla. Using a milk frother or high speed blender, add your desired amount of foam to the drink. Scoop in a dollop of coconut whip, if you choose, then sprinkle with fresh lavender flowers for garnish and enjoy immediately! NOTES: Serves 1 You can use any tea you like in place of the Lavender to create a tea latte. Strong green, fruity black and earthy herbal teas all taste great! Don't leave the tea to steep in the milk more than a couple minutes after removing it from the heat. It is easy for floral teas like lavender to get bitter if it sits too long.
print recipe
|
tagsAll  RSS Feed RSS Feed
|
