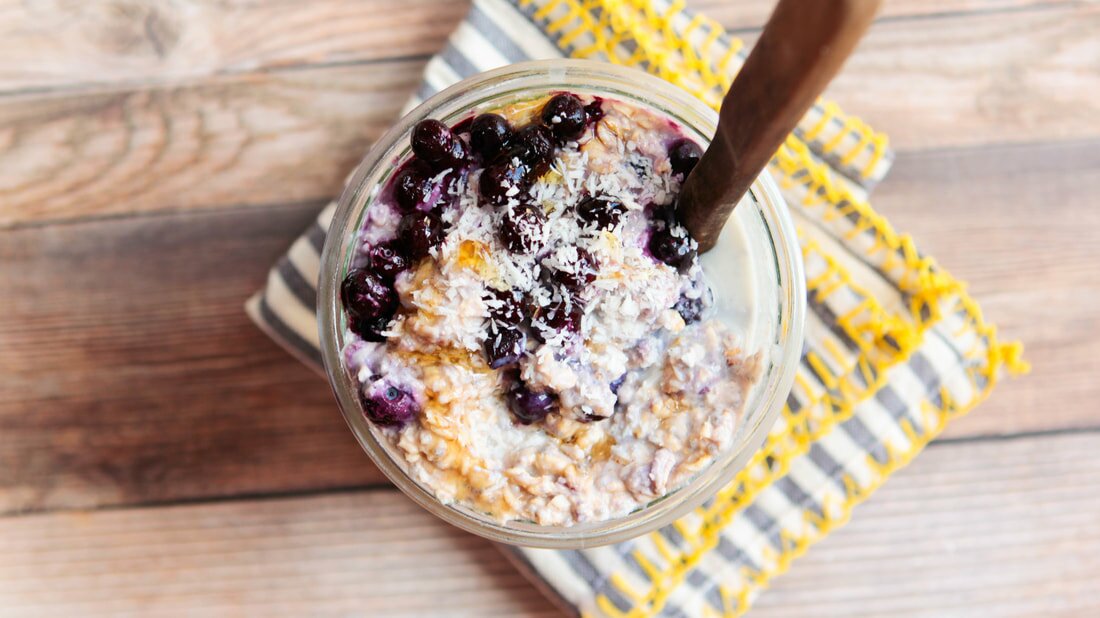
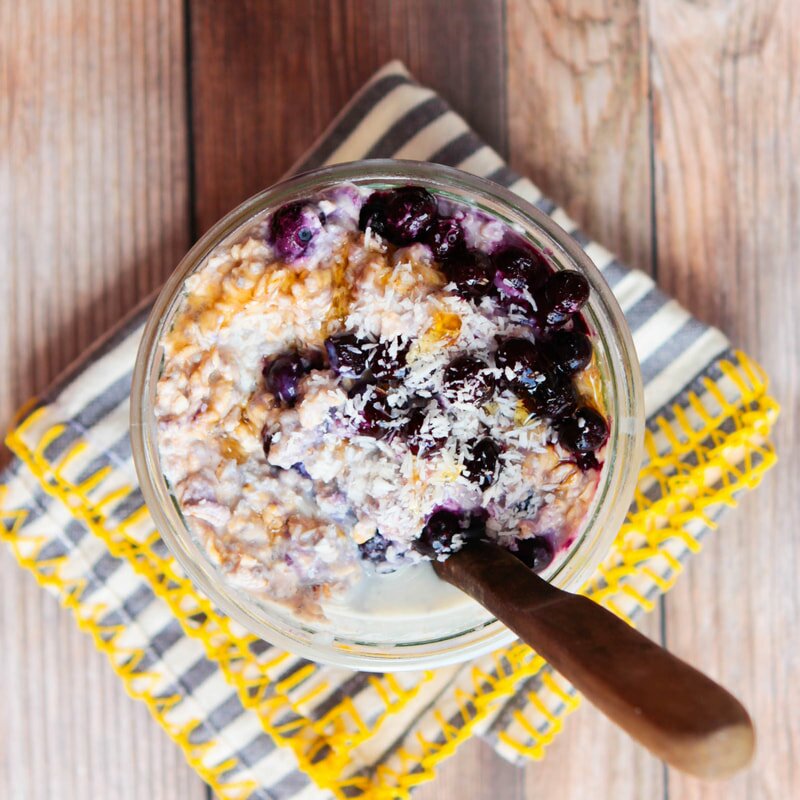
Wild Blueberry Overnight Oats
This is a super simple recipe, but sometimes those are the best recipes. I get into food moods all the time, and lately I've been super busy and hooked on easy, on-the-go breakfasts and lunches that pack some real nutrition and can keep me filled up when I have to teach back to back classes with no snack time in between. Being a Maine girl at heart my berries of choice were of the small, tart, and wild variety - but you can sub in whatever fruit or berries you prefer here, instead. The addition of coconut butter adds healthy, hearty, good-for-you fats that'll help keep you moving and the chia seeds add just a little extra texture (and a whole lotta omegas!) to the mix. All you'll need is a few simple ingredients that you probably already have on hand, a glass jar, and a serious appetite. Let's eat!
Before you make your way down to the recipe, a quick reminder that I'm currently teaching 4x a week at CorePower Yoga in Brea, if you're looking to get your sweat on - and soon will have my own yoga vids for you guys to access on my YouTube whenever you need to flow! Send me your flow requests and I'll try to make them happen. Alright - keep scrolling!
INGREDIENTS:
1/2 cup almond milk 2 teaspoons chia seeds 1 tablespoon coconut butter (or nut butter of choice) 1 tablespoons maple syrup 1/2 cup (GF) rolled oats 1/2 - 1 cup wild blueberries (fresh or frozen) DIRECTIONS: In a mason jar or small bowl, combine the almond milk, chia seeds, coconut butter, and maple syrup and stir or shake to combine. The coconut butter doesn't need to be completely mixed with the almond milk - and you'll get swirls of coconut butter to enjoy the next day! Add the oats and blueberries and stir or shake a few more times. Make sure all of the oats are saturated in the wet mixture. Cover and place in the fridge overnight or for at least 6 hours to set. When ready, simply pull out the oats, give 'em a stir and enjoy! You can add extra fruit or toppings as desired. Enjoy! NOTES: Leftovers last in the fridge up to 2 days, but are best enjoyed within 24 hours. Serves 1, but recipe is easily doubled.
Print Recipe
0 Comments
Nearly Sugar-Free Muddy Buddies
The Holidays are in full swing and I've been feeling ALL the stress! Between present buying, prepping for the New Year - and my Husband's 30th birthday immediately after, writing my 2nd cookbook manuscript and preparing for yoga auditions at my favorite studio just after the New Year - I've been busy! But we all are this time of year. Wrapping up everything in 2017 up nicely before tearing into the giant gift that is 2018!
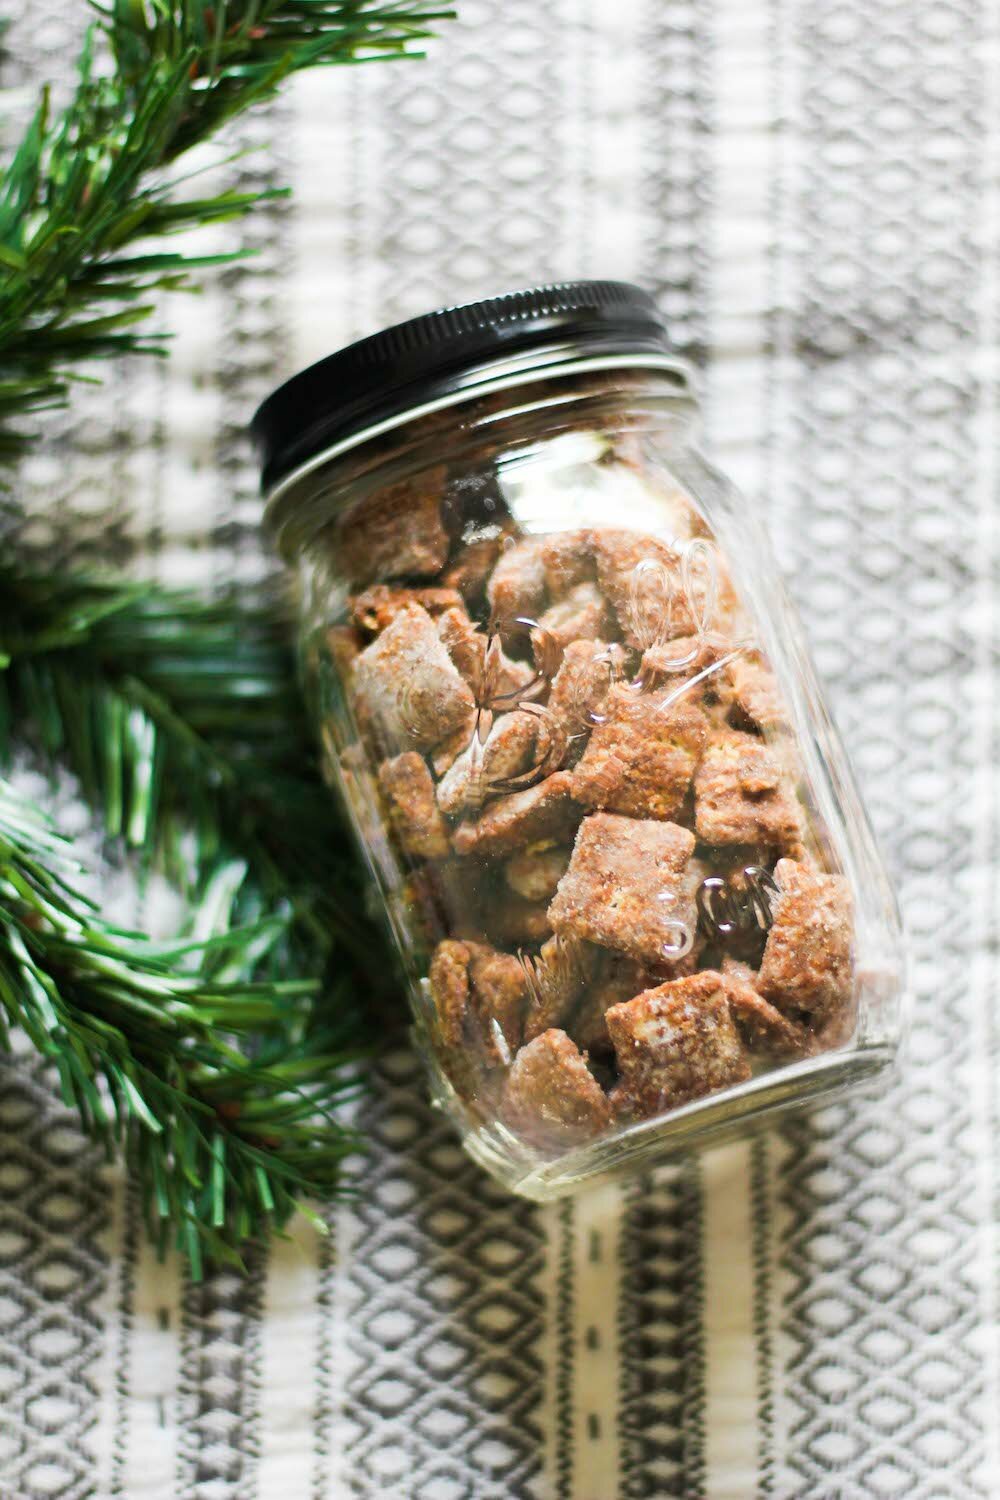
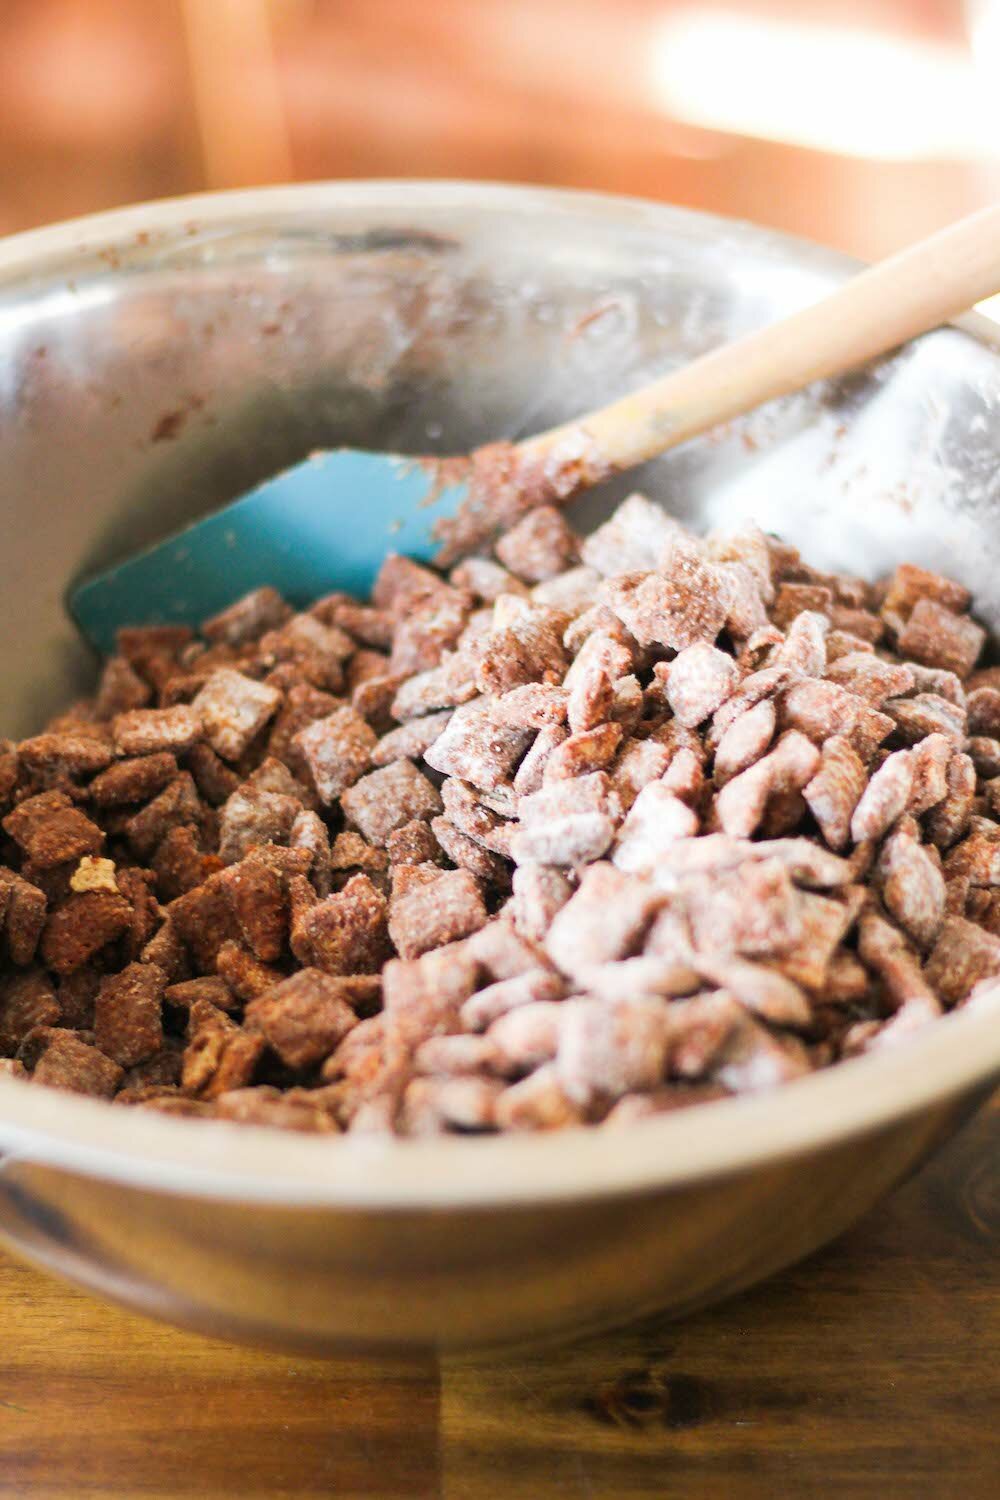
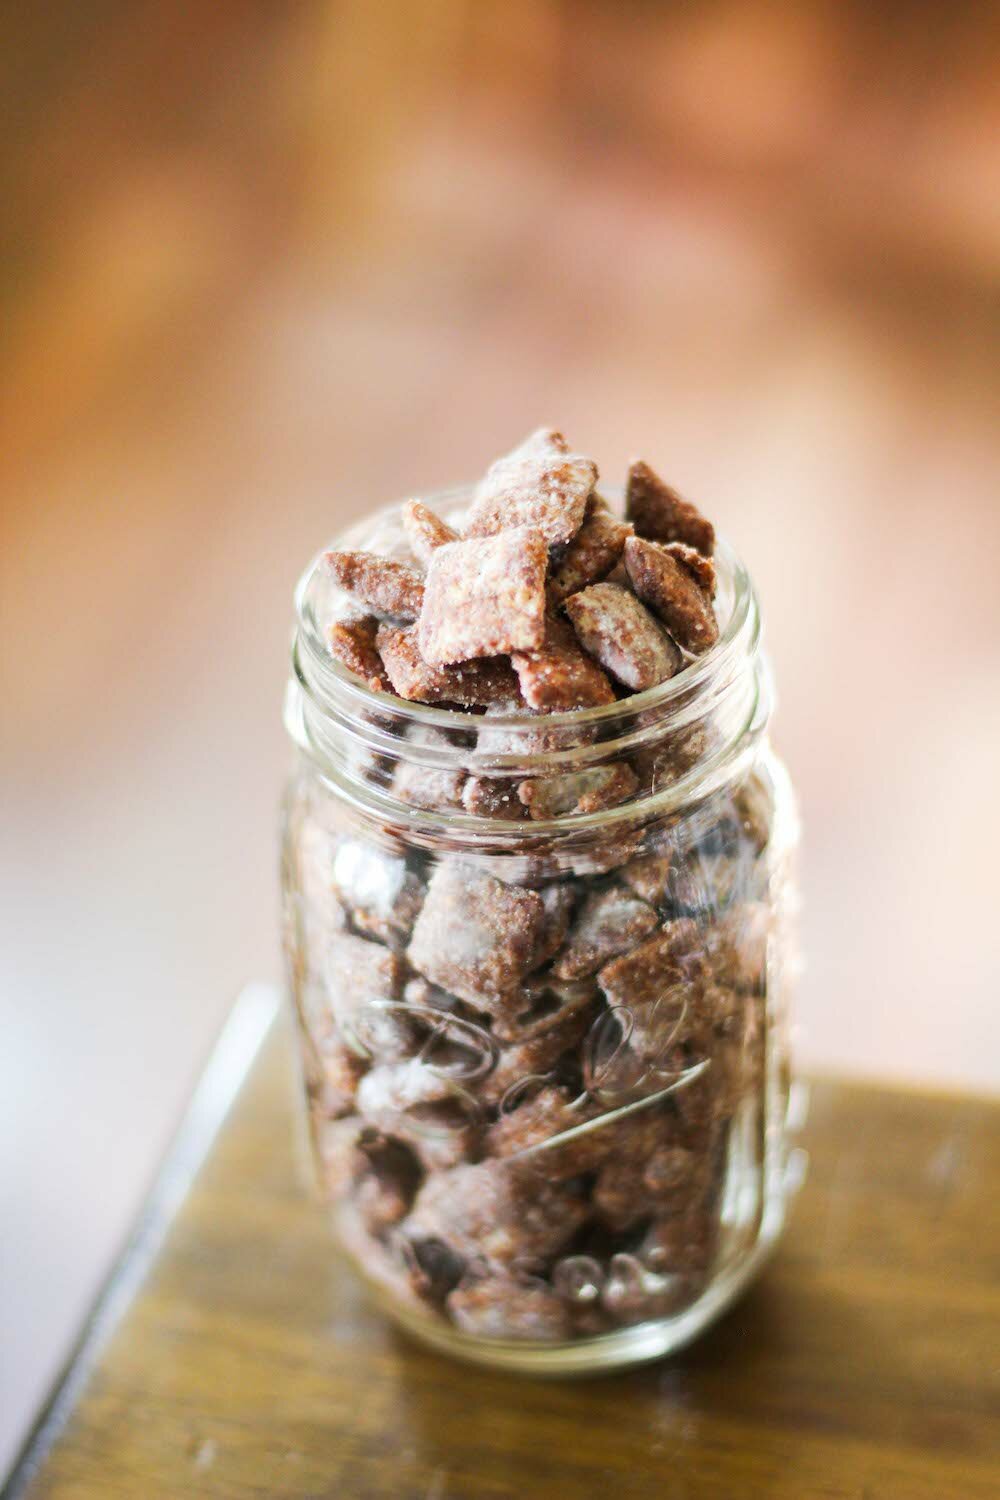
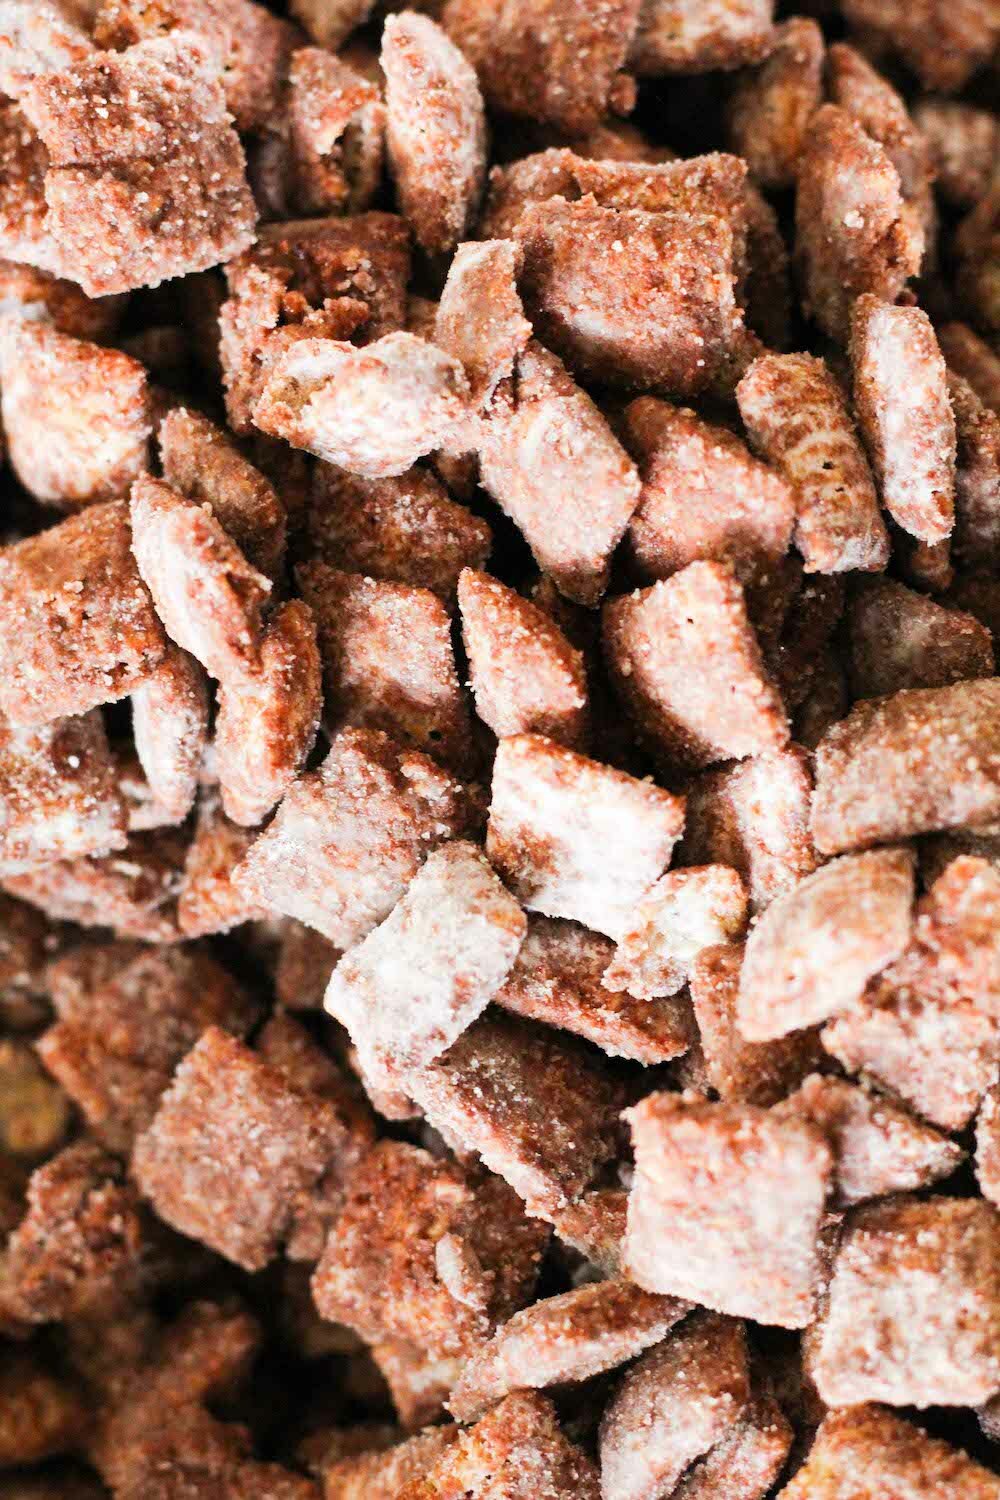
Because I'm a totally stress eater, I try to help myself out during this crazy time of year by NOT having tons of sweet treats around to pick at. It's only trouble if I do! That said, it just isn't the Holidays if there isn't some type of snackable chocolate something on the counter! This year I decided to reform my normal chocolate Muddy Buddies recipe and make them something I could snack on - guilt and nearly sugar-free - through Christmas. So I subbed out the powdered sugar for a homemade, sugar-free, monkfruit version, instead! Muddy Buddies are a totally Holiday classic in this house and one of my Husband's favorite things to snack on while watching Christmas movies. The only sugar in these babies are the trace amounts in the cereal and dark chocolate chunks we melted down for coating! We used EnjoyLife's Mega Chocolate Chunks for this recipe since they're allergen-free (and I have all the allergies), but you can use whatever chocolate makes your heart happy. Let's make some muddy buddies!
INGREDIENTS
9 cups Rice Chex (they're vegan - but you can use whatever kind or brand you prefer!) 2 cups powdered monkfruit sweetener OR 1 cup regular monkfruit sweetener (we used Lakanto - but you can also use powdered stevia or even regular powdered sugar here if you prefer) 1 cup vegan chocolate chunks (we used this brand) 1/2 cup smooth peanut butter 1/4 cup vegan butter 1 teaspoon vanilla DIRECTIONS In a large bowl, measure and set aside the cereal. If you're using prepared powdered sugar, go on to the next step. If you've got regular monkfruit sweetener and need to make it in into powdered 'sugar', simply place 1 cup of sweetener into a blender or food processor and process for 1-2 minutes, until the sugar has pulverized into a finer, powered sugar. It should double in size using this method. Set aside. Using the double boiler method (or a microwave!), melt together the chocolate chips, peanut butter, vegan butter and vanilla until creamy, stirring consistently. Pour the melted chocolate mixture over the cereal and use a wooden spoon to gently toss and stir until the cereal is evenly coated. Pour the powdered sugar evenly over the mixture and continue to use the wooden spoon to toss and stir the mixture until the chocolate-coated chex are all evenly covered in a fine layer of powdered sugar. Enjoy or save in air-tight container on the counter or in the fridge for up to a week. Enjoy! NOTES If you prefer regular sugar here, go ahead and use it. If you find another sugar substitute you prefer, use that instead. I can't guarantee the quantity exchange will be 1:1, but a little taste test should help guide you if you're unsure. Serves 8-10.
Print Recipe
Double Fudge Brownies - grain-free + sugar-free!
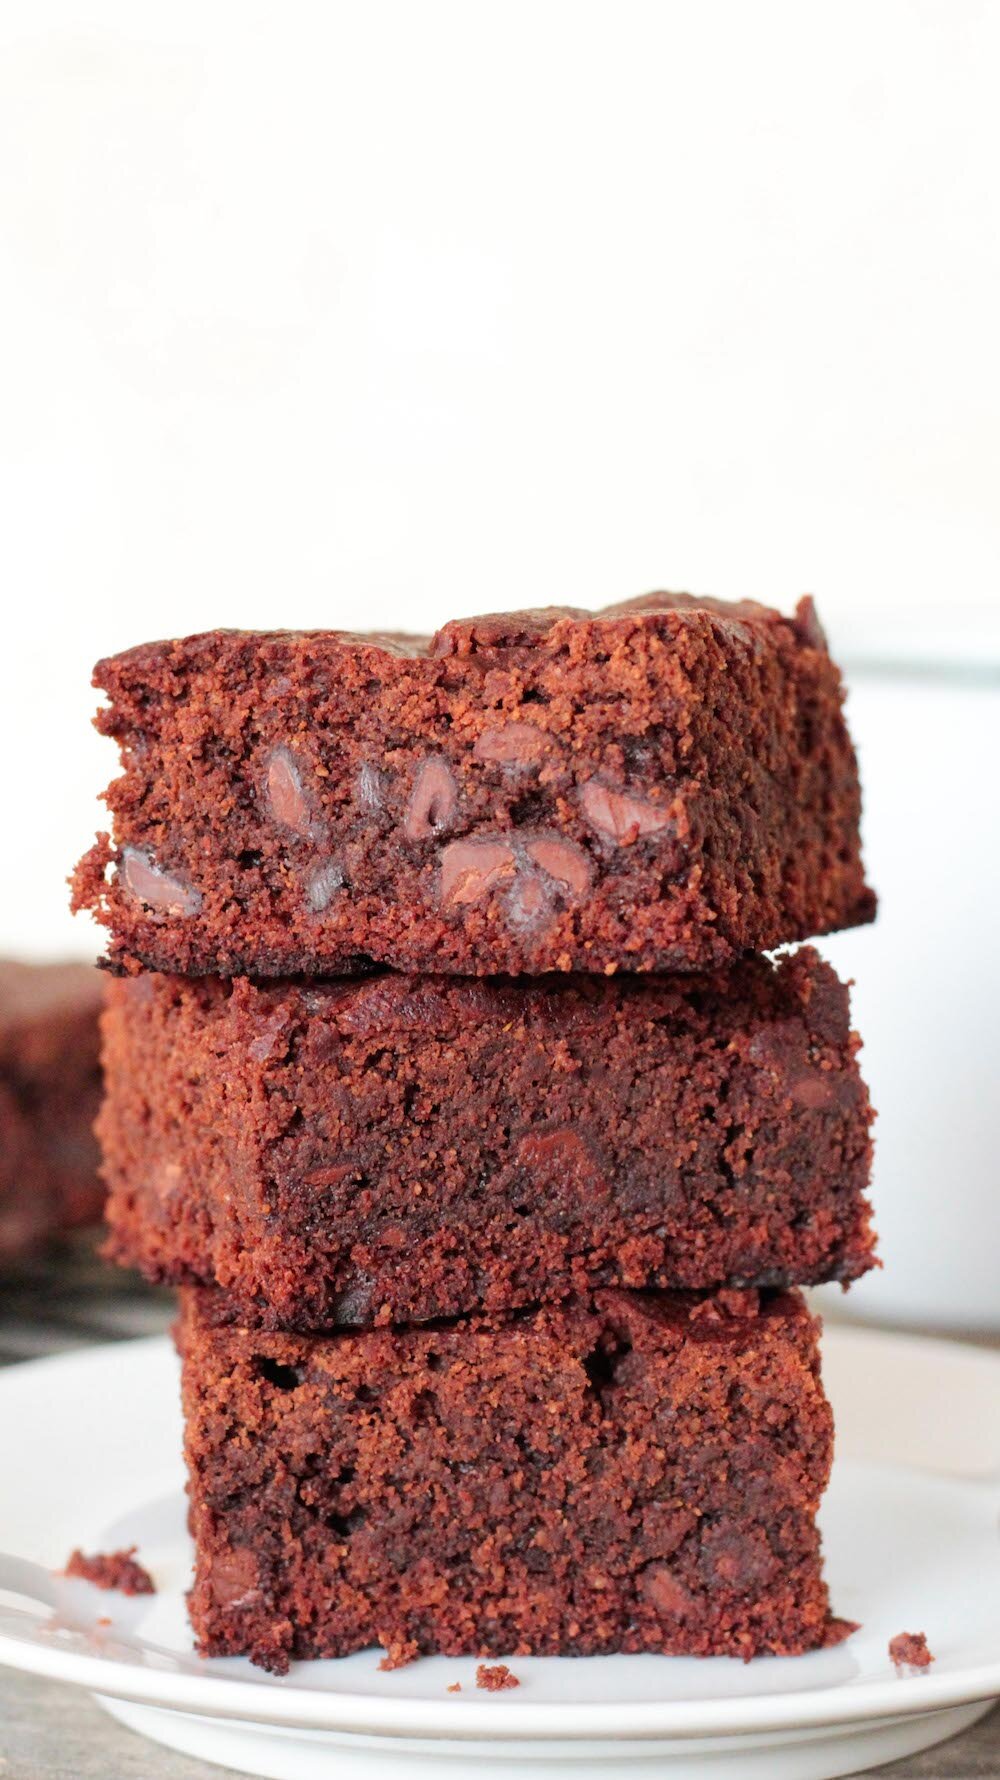
IT'S FINALLY HERE! Well, TWO things are finally here! First, I leave for my bachelorette weekend in Palm Springs tomorrow with 14 of my closest friends to spend the weekend poolside - and I'm SO excited! We'll be doing yoga, tie-dyeing, taking selfies on pool floaties, and just generally chilllllling before I have to get back to the stress of wedding planning on Monday. I can't wait! But before I go, I also teased you guys last week on instagram with this recipe, and figured it was only right to share it with you babes before I left on this long weekend adventure. It's a recipe I'm super proud of and super into because it's totally free of ANY sugar (you'll see how!) and all grains, making this the perfect batch of brownies to make for someone with food allergies or who is just crazy strict watching their diet, like I am in prepping for this wedding. (I wanna look badass and feel my best!)
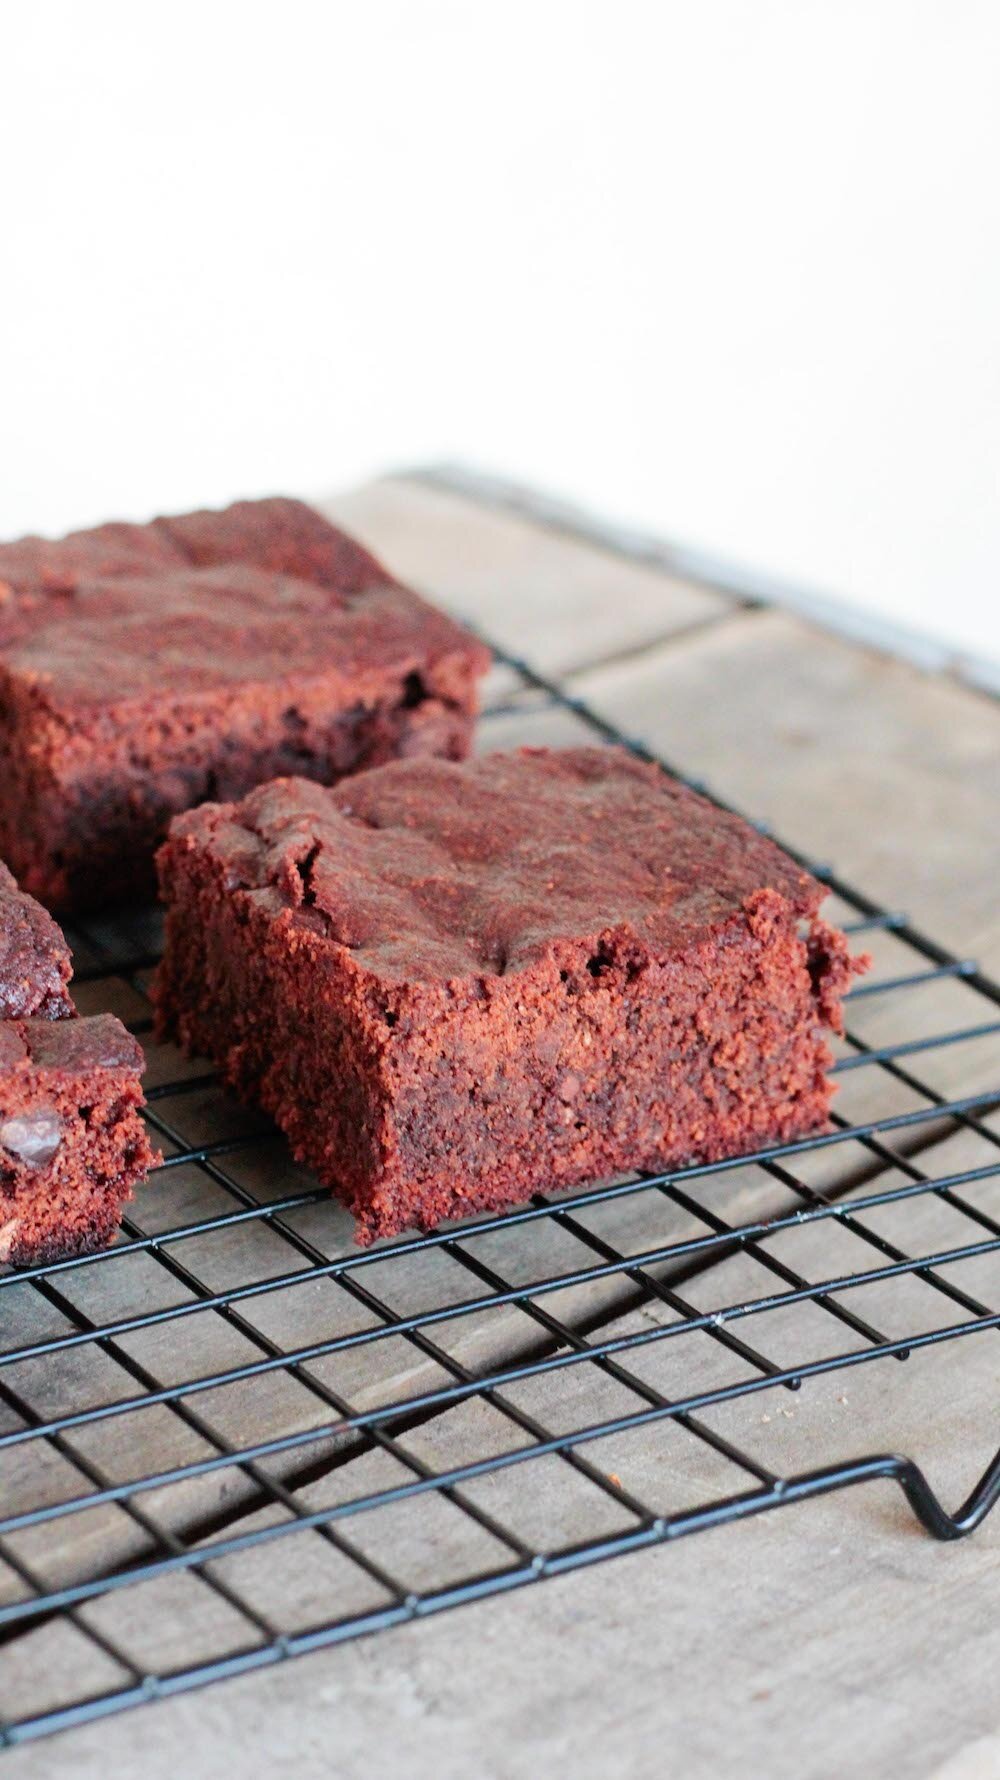
I based the recipe off of the Double Fudge Mint Brownies recipe in my cookbook, Homestyle Vegan, but the original version is full of flour and sugar and all things generally off limits for people with food allergies. Of course, if you need to tweak it to suit your particular preferences please do so, but let us know what changes you make in the comments! It can be helpful for other readers to see what substitutions worked...and which didn't. These are the ultimate fudgy brownies, soft and dense with a chewy outer crust. You can pull them from the oven a few minutes early if you like 'em even fudgier, but either way I think they're best served warm with a glass of almond milk on the side. Anyway, I've got bathing suits and sunscreen to pack, but trust me - you're going to love every second of eating these - and you're going to love how healthy they are even more!
INGREDIENTS
1/2 cup almond flour 1/2 cup oat flour 1/2 cup cocoa powder 1/2 cup monk fruit sweetener (we use Lakanto Classic) 2 tablespoons cornstarch 1 teaspoon baking powder 1/2 teaspoon salt 1/3 cup coconut oil, melted 1/2 cup monk fruit syrup (we use Lakanto Maple Syrup to keep it sugar-free) OR maple syrup OR agave nectar 1/4 cup unsweetened almond milk 1 teaspoon vanilla extract 1/2 cup vegan chocolate chips or chunks DIRECTIONS Preheat oven to 350º. Grease or line an 8x8 in baking dish. In a large whisking bowl whisk together the flours, cocoa powder, monk fruit sweetener, cornstarch, baking powder and salt. In a separate mixing bowl, combine the melted coconut oil, monk fruit syrup, unsweetened almond milk and vanilla extract. Pour these wet ingredients into the dry ingredient mixture and use a wooden spoon to combing the mixture completely. The batter may be stiff, so feel free to get in there and use your hands if you like. Once the batter is uniform, pour in the chocolate chips or chunks and stir to evenly distribute them throughout the batter. Press the mixture into the prepared baking dish, using the back of the wooden spoon to press the mixture down evenly into the dish. Bake for about 30 minutes, or until an inserted toothpick comes out almost completely clean. If you bake them too long, they will become dryer and much more cake-like than fudge-like in texture. Remove the dish from the oven and place it on a cooling rack to cool completely before slicing. For the ULTIMATE fudge brownies, see the tip below. Once cooled, slice and enjoy! NOTES Make these brownies EXTRA FUDGY by refrigerating them after cooling for at least 1-2 hours before slicing. The fridge helps cool the core before it has set completely, resulting in some of the best damn brownies ever! Leftovers can be left on the counter or in the fridge in an airtight container for up to three days. After that they'll start drying out. Strawberry Chia Pudding Parfait
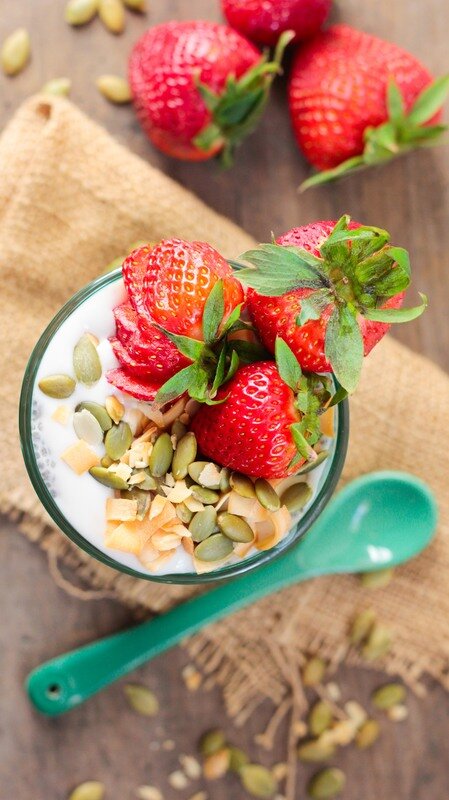
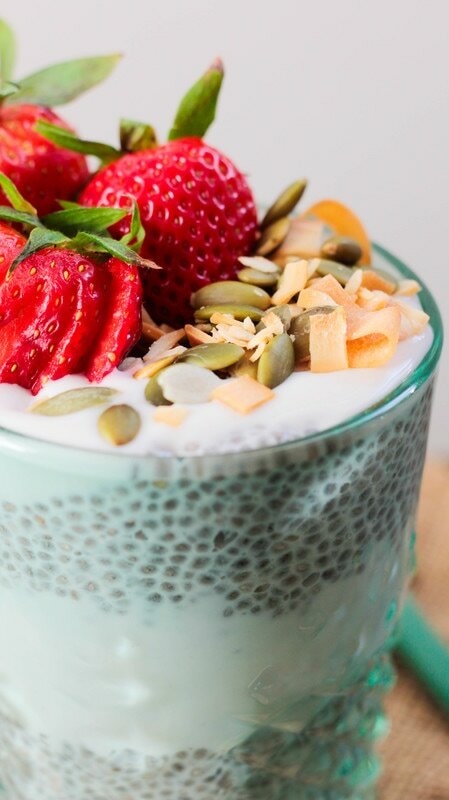
It feels like summer here in LA and we've got just about 80 days left on the wedding countdown, so we're keeping the snacks as light, healthy, and sugar-free as possible! This easy chia parfait has been my go-to snack lately. It's light enough to make a great breakfast or guilt-free dessert, but hearty enough to kill your sweet cravings and make a great post-workout meal. The chia seeds are packed with fiber, protein and Omega-3 fatty acids and are considered a superfood - so we could all use more of them in our diets! Plus, they make an excellent stand in for thick, creamy pudding. We are totally crushing on Forager's new unsweetened, cashew-based yogurt right now and used it to make our parfait. You can use whatever yogurt you like, but try to choose one without added sugar or preservatives. The real-er, the better. Especially when you're snacking! Strawberries are already in season here in California, but you can sub in whatever fruit makes you swoon. Toppings are customizable too, so you do you babes. The real point here is make a healthy, hearty, on-the-go snack that you can feel good about eating. And this one you for sure can!
Looking for other strawberry recipes this season? Try our Strawberry Lemon Crisp, Strawberry Cheesecake Smoothie, Strawberry Rhubarb and Rosemary Galette, and Peanut Butter and Berry Acai Bowl!
INGREDIENTS
Vanilla Chia Pudding 1/3 cup chia seeds 1 1/2 cups unsweetened almond milk 1-3 drops of liquid stevia (or sweetener of your choice) 1/2 teaspoon vanilla Chia Pudding Parfait 1/2 cup vanilla chia pudding 1/2 cup unsweetened non-dairy yogurt 1/4 cup fresh strawberries, sliced coconut chips, garnish pepitas, garnish DIRECTIONS In a large bowl whisk together the chia seeds, almond milk, stevia (or sweetener) and vanilla. Let sit about 30 minutes, stirring occasionally, until the mixture is thick - the texture of pudding. Set aside. Chop your strawberries and prep your toppings. If you don't have (or like) coconut chips and pepitas, you can sub in nuts, granola, other fruits - whatever you've got on hand! To make the parfait, layer alternating 1/4 cups of chia pudding and yogurt into a cup or dish, and top with your favorite toppings and sliced strawberries. Easy peasy! NOTES Leftovers last in the fridge about 3 days in an airtight container. This recipe serves 1, but can be easily doubled or quadrupled for sharing! Loaded Vegan Nacho Fries
Hi friends! We love great plant-based cheeses over here and one of our favorite brands, Daiya Foods, is launching a bunch of new, improved, and DELICIOUS products TODAY, March 10th, at Expo West! Expo is the biggest food show of the year and only the best products make an expo launch - so you KNOW they're gonna be great. How else can you trust that they're better than ever? Because (lucky me!) I got to taste-test all the new styles and flavors and I can promise you - they are SO good! They're still churning out delicious, dairy-free, soy-free, gluten-free plant-based alternatives, but are introducing a few new products this weekend as well - both the improved Daiya Shreds Cutting Board Collection and Cheeze Slices in several flavors. A noticeable improvement from the original version, Daiya is officially stepping up the plant-based cheese game with their new shreds and slices! The new cheeses are made with coconut oil but have the same incredible melt, stretch and taste as dairy-based cheese and can be enjoyed hot or cold. Plus, the cheeses do not contain any titanium dioxide OR carrageenan and are a great source of calcium!
I love that Daiya Foods is passionate about keeping their products plant-based for everyone - whether they’re dairy-intolerant, allergic, vegan, or simply living a healthy lifestyle. As someone with a lot of allergies and dietary restrictions, eating Daiya is a delightfully mindless indulgence. It's comfort food with a conscience! And it's available nearly everywhere these days! In over 22,000 grocery stores across the US and Canada, including Whole Foods, Kroger, Safeway and Publix. Going to Expo West tomorrow? Or not and wondering what all the fuss is about? Check out our 2015 + 2016 blog posts to find out why EVERYONE in the vegan/ blogging/ health field will be there!
INGREDIENTS
1 lb. frozen or fresh-cut french fries 1/4 cup enchilada sauce 1/2 cup Daiya Pepperjack Shreds - Cutting Board Collection 1 cup cooked black beans 1 medium tomato, chopped 1/2 medium red onion, finely chopped 1 jalapeno, thinly sliced 1/2 avocado, halved + thinly sliced cilantro, finely chopped lime wedges, for garnish DIRECTIONS Bake the fries on a baking sheet according to directions or at about 350 degrees for about 40 minutes, flipping halfway through. When finished, move the cooked fries to an oven-safe pan or container (this will be where you assemble your nachos) and set the oven to 'broil' or to at least 450 degrees. Drizzle the enchilada sauce over the fries evenly, then top with the Daiya Pepperjack Shreds. Place the dish in the oven until the cheese is melty, about 3-6 minutes depending on the temperature. Remove the dish from the oven and top the nacho fries evenly with the cooked black beans, chopped tomato and onion, jalapeño, avocado, cilantro + lime and enjoy immediately! NOTES You could also sub in Daiya Shreds - Cutting Board Collection in Cheddar, if you prefer. We loved the extra kick of spicy that the pepper jack gave here! Serves 2-4, depending on your appetites.
Keep an eye out for these updated packages on the shelves from Daiya soon! (And if you'll be at Expo today, come visit me at the Ozery Booth in Hall E before heading upstairs to Hall D to try Daiya's samples 😊) The Daiya Slices are the perfect addition to your favorite sandwiches. They are round in shape for convenience, and come in an updated, re-sealable package. Available in four crave-worthy flavors, including Cheddar Style, Swiss Style, Provolone Style, and the newest flavor - American Style. The new Daiya Shreds – Cutting Board Collection are perfect on pizza, cheesy pastas, your favorite Mexican dish (like our Nacho Fries above!), or in a simple grilled cheese sandwich. With a more dairy-like flavor and texture compared to Daiya Original Shreds, the Cutting Board Collection features the same amazing melt and stretch in Cheddar Style, Mozzarella Style and Pepperjack Style. You can find more on the new - and all of - Daiya Food's products here. See you all at Expo this weekend!
Vanilla Cashew Butter Cups
Guys the countdown is on - I am officially 100 days away from my WEDDING! Don't worry, I'm not freaking out or anything (I'm totally freaking out) and the stress has been minimal (It's all LIES!), so it couldn't be going any smoother (Is it too late to elope?). That being said, I've only got so much control over the outside vendors and other things happening this far out, but I have total control over my workouts and diet, and that may be the only thing keeping me sane. I'm the kind of person who works really well with a goal date in mind, so knowing I want to tone up before the wedding has been fun to work toward. I'm in decent shape, but have been really stepping up my runs and strength-training workouts, and working on cutting out all the sugar from my diet. I've had great results lately, losing inches around my waist and thighs and I think more than the working out, it is due to the removal of sugar from my diet. We've all heard it by now - sugar is AS addictive as hard drugs to the brain. That's right, your brain's pleasure centers can't distinguish the two, they just know it feels great and they want it again. Being a sugar-addict sounds like a silly thing, but in reality most Americans are totally hooked and don't even realize it.
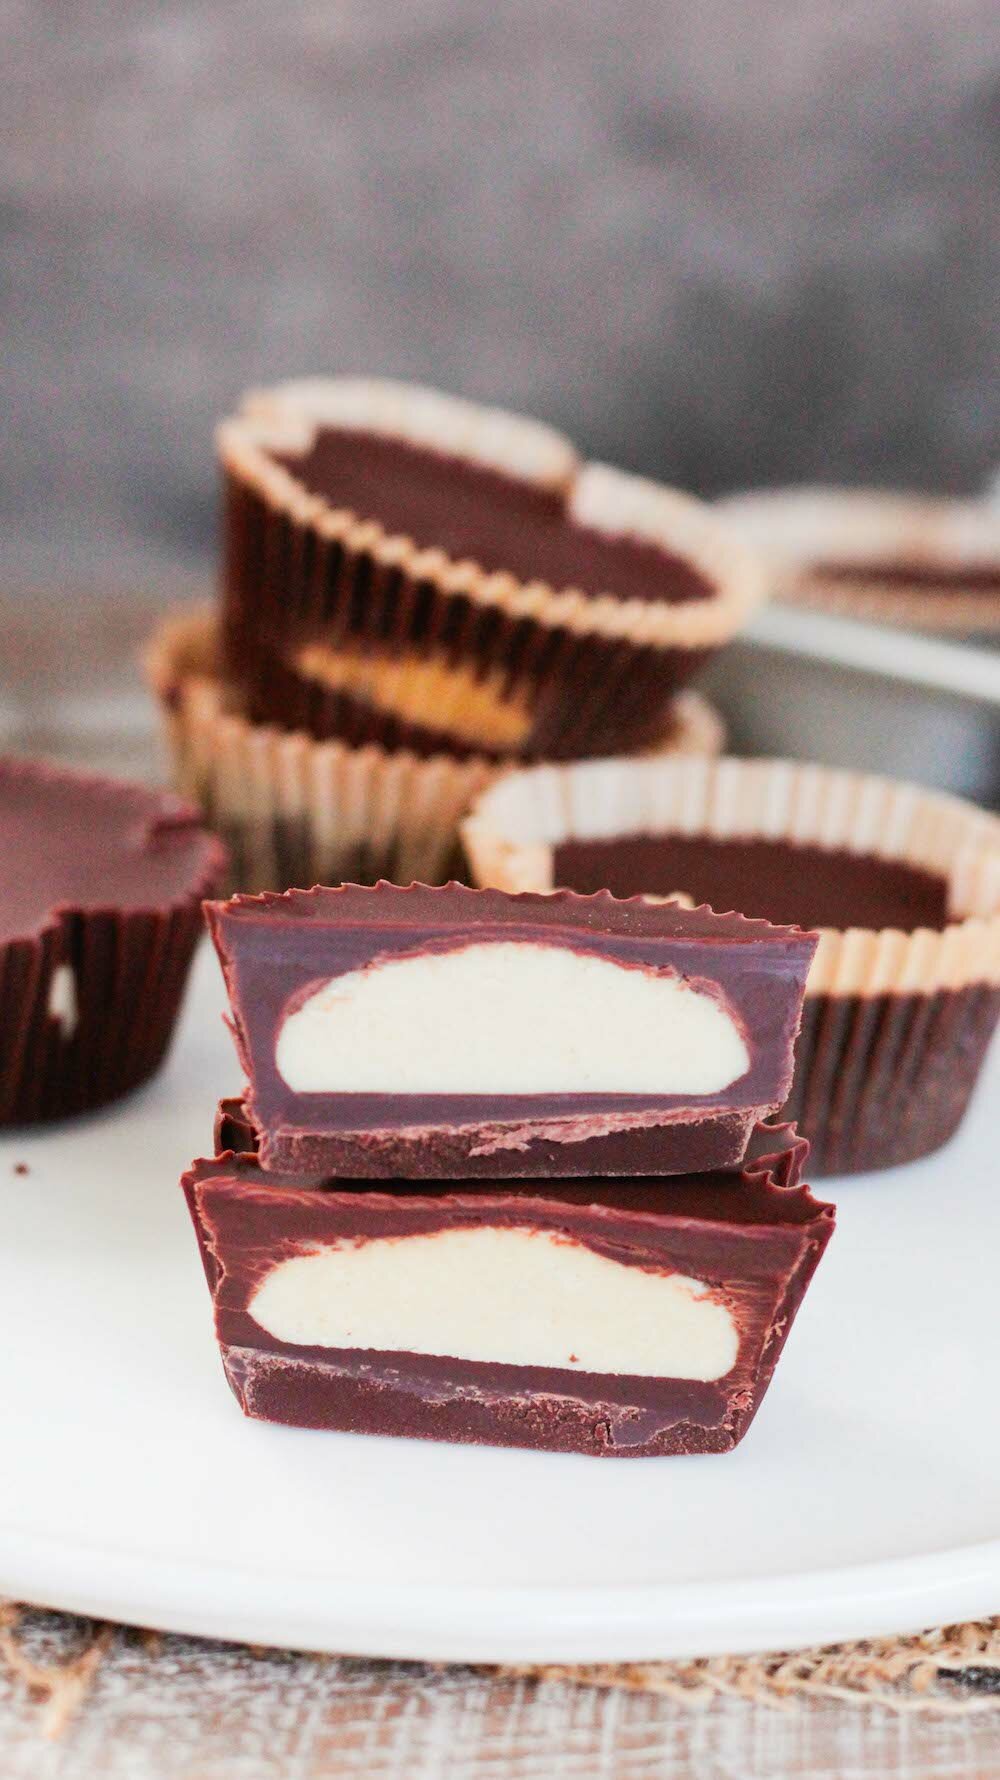
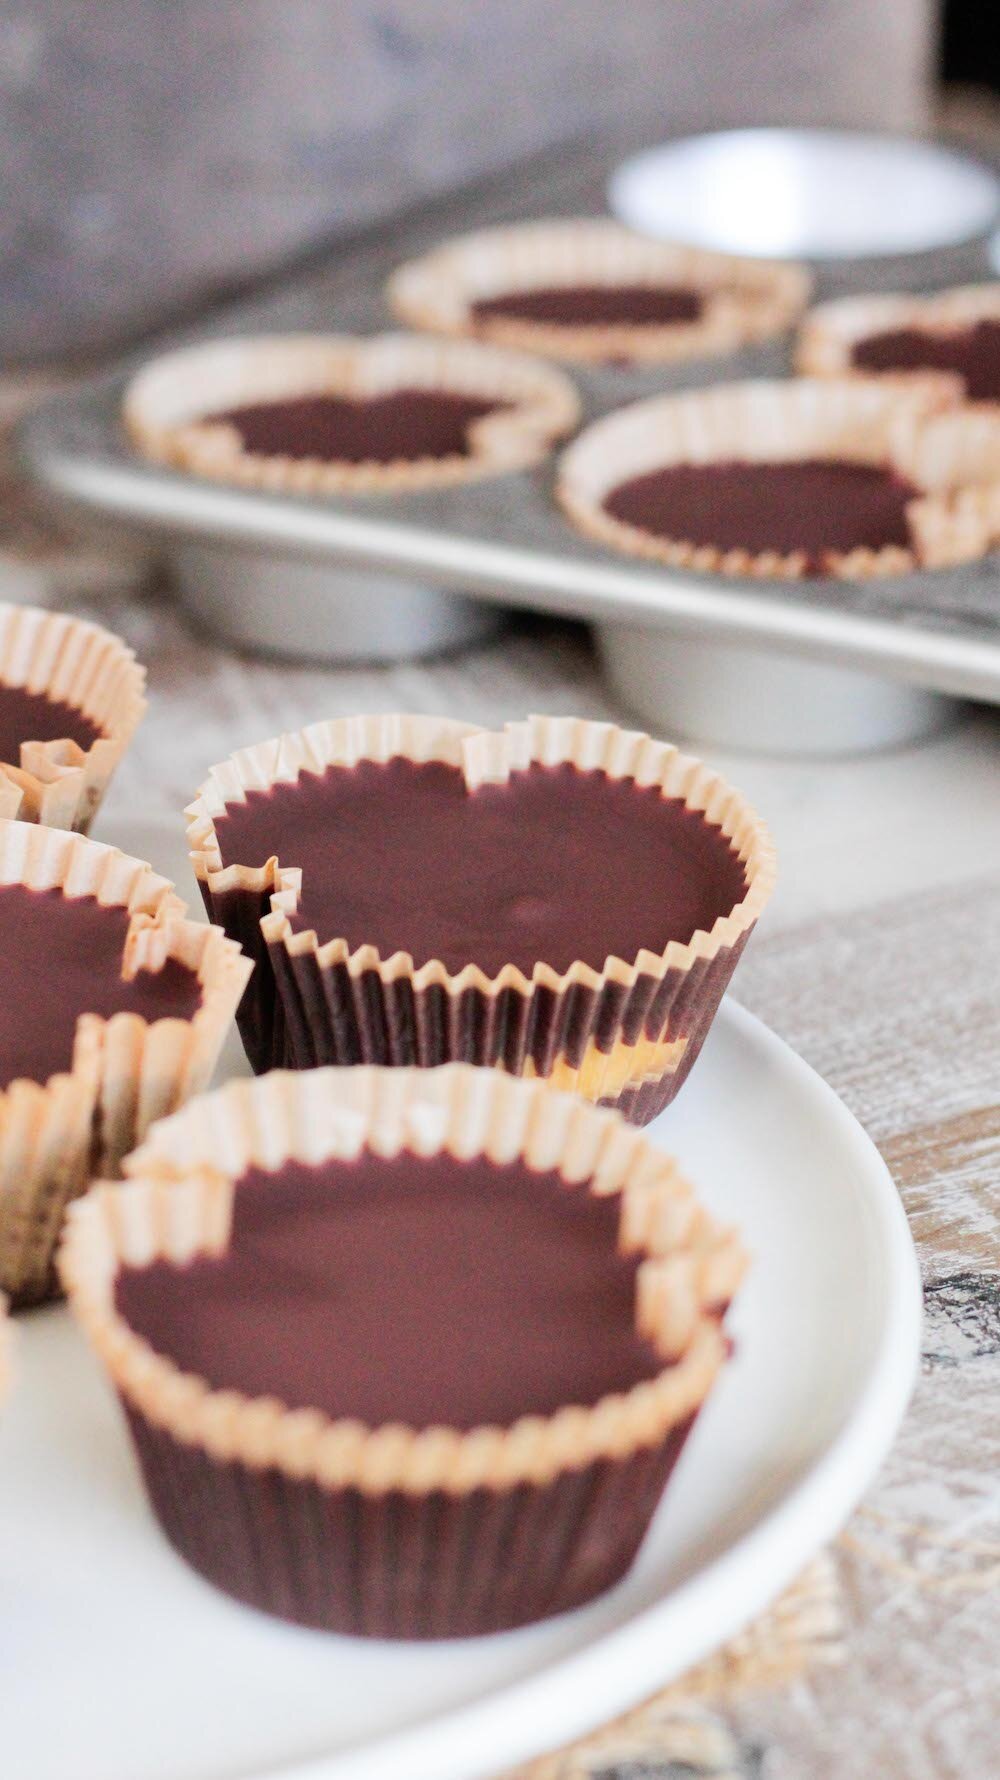
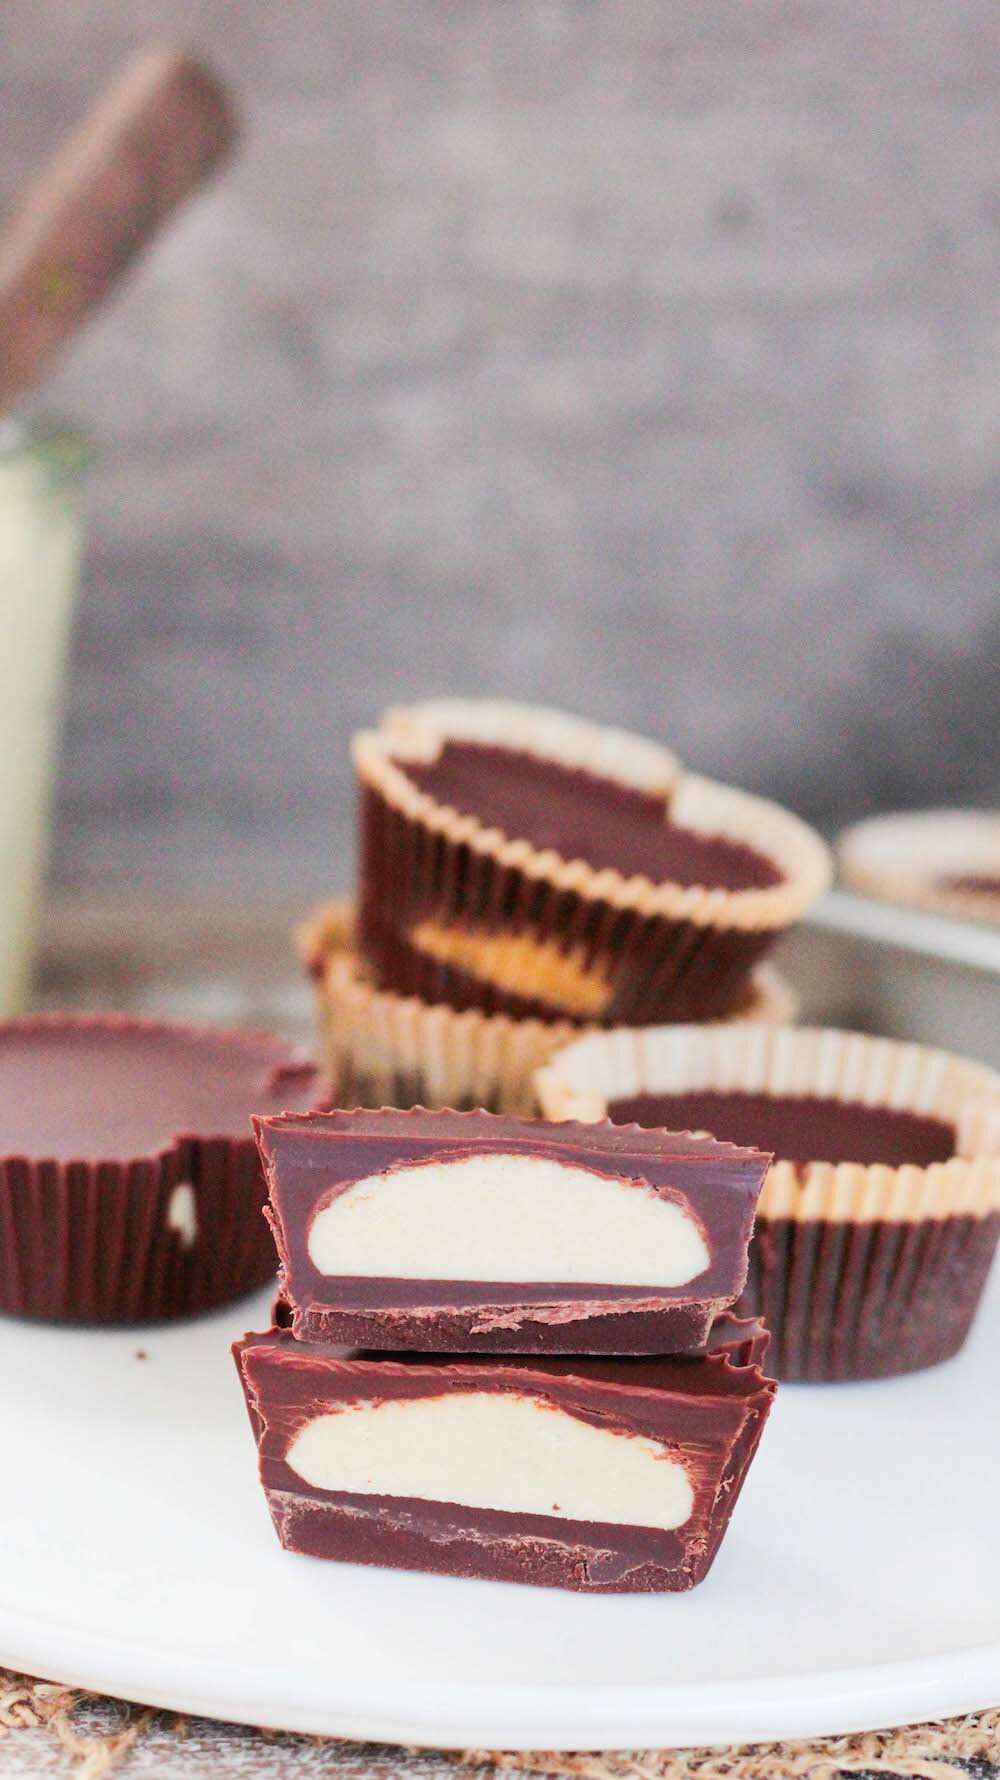
When I officially started cutting out the sugar, about three months ago, it was due to a combo of wedding prep and having rented 'That Sugar Documentary' and realizing it was time to make a change. The doc showed that the USDA recommends about 10% of calories per day come from sugar - this was about 25 grams of sugar per day, for most people - but the doc showed that most people are eating closer to 80 grams of sugar per day. WHAT?! That's more than 3x as much! I was blown away. And I immediately thought, 'Not me!' because of course I wanted to believe I was achieving something better and because we all want to believe that we're being successful. I'm a pretty healthy eater, but that doesn't mean I'm eating healthfully all the time. Pro tip: I WASN'T. When I started recording my eaten sugars I was totally embarrassed - the first day, I hit 36 grams by 3 pm and was still craving dessert all night. There just seem to be hidden sugars everywhere! Now, I'm not a total nut. I eat healthy, normal foods like fruit without checking the sugars, I just eat it in moderation. Because of course pancakes aren't the same as an apple. But not all people know that! So i'm here to give you a heads up. Cut the sugar out! It was a hard two weeks of cravings and a few headaches for me, but overall the withdrawal symptoms weren't as bad as I expected at all and now, I don't get the cravings at all. (Unless I'm on my period - those cravings conquer all.) So how did I cut the sugar out? Well, I started weaning myself off by making myself some sugar-free and super low-sugar treats to keep in the fridge. It helped hugely! Now when I wanted a sweet treat, I'd have a little nibble off of one of my guilt-free fridge treats instead of a 1/2 pint of ice cream. And it worked! Soon I wasn't craving the sweets as often, and when I did, I had a healthy solution to reach for before I could make an unhealthy choice instead. That's it! No magic pill, just an upcoming wedding and a solid amount of will power. You can do it too! And the perfect way to start is with these - almost TOO easy to make - Vanilla Cashew Butter Cups! They're rich, creamy, and decadent - and you'd NEVER know they had no added sugar. I used the recipe for the Vanilla Cashew Butter from my Homestyle Vegan Cookbook (it's got great reviews on Amazon!), but you could definitely use the nut butter of your choice here instead. Quick note: The chocolate you buy will affect the sugar in this dessert. If you buy a 70% + Dark Chocolate like I did, the sugar should be under 9 grams per serving, which is reasonably low. You can look for a sugar-free chocolate, but I think real, rich, dark chocolate really works great here. And plus, we don't want to demonize sugar, just eat a ton less of it. Looking for more low-sugar desserts? Find our favorites here. Also, we want to give a shout to Honeycomb Studio in Atlanta for the gorgeous, hand-made, small-batch porcelain plates in the photo. They are almost too pretty to use - we love them!
INGREDIENTS
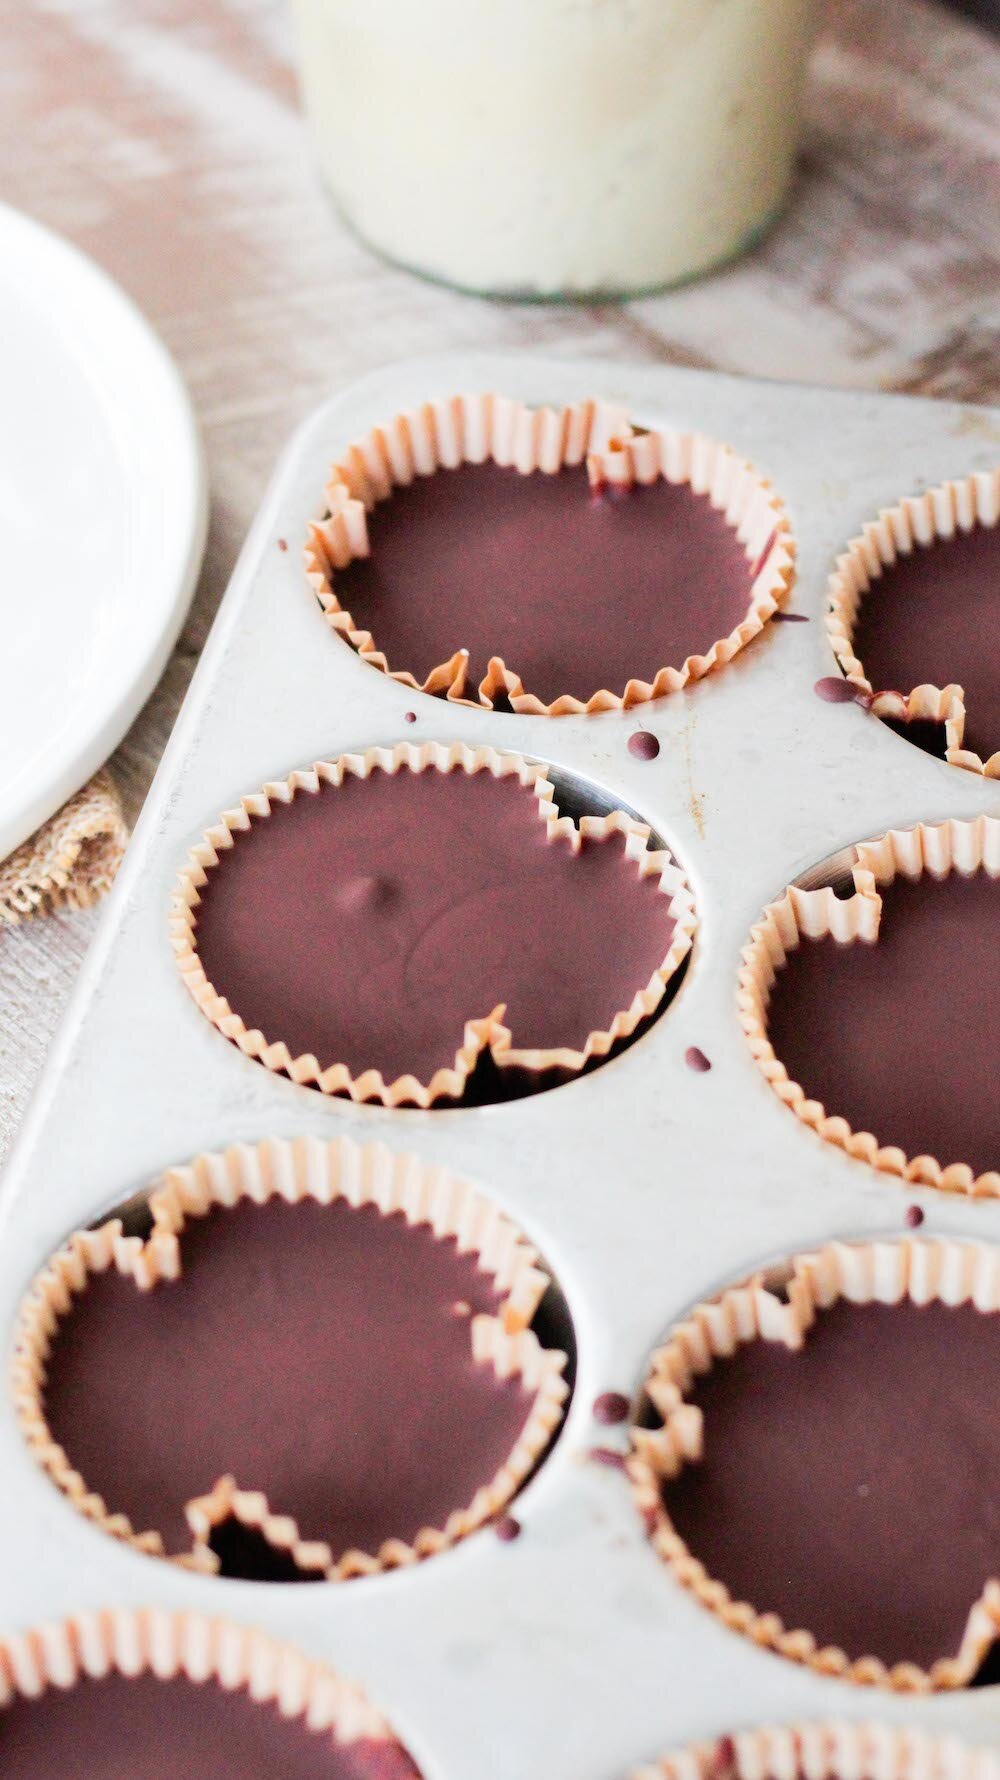
Vanilla Cashew Butter (from my Homestyle Vegan Cookbook) 2 cups raw cashews 1 vanilla bean, scraped 1/4 teaspoon cinnamon pinch of salt Vanilla Cashew Butter Cups 1 cup cashew vanilla cashew butter 1/4 cup coconut oil (optional) 3 cups dairy-free chocolate chips or chunks 1-3 drops vanilla stevia (optional) DIRECTIONS Vanilla Cashew Butter Preheat oven to 325º. Line a baking sheet with parchment paper. Spread the cashews onto the baking sheet and roast for 10-15 minutes, stirring once, until golden and fragrant. Let the cashews cool completely, then pour them into a food processor with the vanilla bean innards, cinnamon and salt and process until smooth. It might take a while - it took us about 5 continuous minutes of processing to get a super smooth consistency. Of course, if you prefer it a little chunky, you do you - just stop processing while there are still some chunks left. Pour the nut butter into an airtight container and set aside. Vanilla Cashew Butter Cups Line a muffin tin with paper liners and set aside. Using the double boiler method, begin to melt the chocolate chips over medium heat, stirring as they soften. Pour in the coconut oil and stevia, if using, and continue to stir until the chocolate is completely melted and smooth. Pour about 1 tablespoon of melted chocolate into each lined cup. Pop the tray into the freezer for 5-10 minutes to set. Pull the tray out and scoop about 1 tablespoon of the vanilla cashew butter onto the chocolate layer of each cup, centering it as best you can. Once all the cups have the cashew butter, pop the tray in the freezer for another 5-10 minutes to set again. While it sets, make sure your chocolate it still melty and ready to go. When set, pull the tray from the freezer again and top each cup with 1-2 tablespoons of the remaining melted chocolate mixture, until the cashew butter is completely covered or 'sealed' within each cup. Pop the tray back in the freezer to set, another 10-15 minutes. Once set, remove the cups from the tray and enjoy! They will soften at room temperature if coconut oil was added, so keep them in a cool place until you'r ready to eat them. NOTES Makes 12-14 cups. Leftover vanilla cashew butter doesn’t need to be refrigerated, and should keep at least two weeks out of the fridge. It will last indefinitely in the fridge. Leftover cups are best saved in an airtight container in the fridge or freezer for up to 6 months.
Print Recipe
Vanilla-Glazed Matcha Scones
Until recently, there was another Matcha Scone recipe on this site. It was from my gluten-free days that had mixed results when people made it. To be honest, I never really got the hang of baking with gluten-free flours, and it seemed like everyone that made the recipe got a different result. So, a few years later, I've decided to revisit the recipe and figure out what was going on. Except this time, I've ditched the GF free flours in favor of a more predictable wheat-based flour - I don't have any kind of wheat allergy - and had fantastic results!
I scrapped the old recipe entirely and started working from the proportions for a scone recipe from my Homestyle Vegan Cookbook and guys- they came out SO WELL! These scones are 1000x better than the first one were. They're sweet, fluffy, and moist inside - the PERFECT scone, especially if you like matcha! It's important to use a high-quality matcha powder to get a vibrant green color in your scones, too. The light drizzle of vanilla glaze sweetens them up just enough - they're perfect for breakfast AND dessert! Plus, we're only 2 months from St. Patrick's Day and they'd be PERFECT leprechaun-inspired fare for themed parties or as something to help soak up all the Guinness. 😝 Either way, LET'S EAT! Scroll down for the recipe, friends.
INGREDIENTS
Matcha Scones 2 cups whole wheat pastry flour 2 tablespoons matcha powder 1 tablespoon baking powder 1/2 teaspoon ginger 1/2 teaspoon salt 6 tablespoons cold vegan butter 3/4 cup mashed banana 1/4 cup almond milk 2 tablespoons maple syrup 1 teaspoon vanilla Vanilla Glaze 1/2 cup powdered sugar 1 tablespoon non-dairy milk 1/4 teaspoon vanilla DIRECTIONS Preheat the oven to 425ºF. Line a baking sheet with parchment paper. To make the scones, in a large mixing bowl, whisk together the flour, matcha powder, baking powder, ginger and salt. Using a pastry cutter or fork, cut in the cold vegan butter until small crumbs form. Pour in the mashed banana, almond milk, maple syrup and vanilla and stir together with wooden spoon until a sticky dough forms. Turn the dough onto a lightly floured surface and form a 1-inch thick disk. Cut the disk into 8 equal scone wedges, like a pizza. Place the scones on the prepared baking sheet and bake for 15-17 minutes, until golden. Place the scones on a wire rack to cool. While they cool, prepare the maple glaze by whisking together the powdered sugar, non-dairy milk and vanilla in a small bowl. Drizzle the glaze over completely cooled scones and enjoy! NOTES Makes 8 scones. Leftovers save well sealed in an airtight container on the counter for up to 3 days.
Print Recipe
Nearly Sugar-Free Chocolate Chip Cookies
With my new Homestyle Vegan cookbook hitting shelves November 1st, my first book signing event and the Holidays coming up, I've really been doing my best stay low stress and to avoid sugar. Not only do I have wedding I'm trying to look pretty great for, but sugar is just not my friend. It's the number one food that makes me gain weight and really screws with my face, causing breakouts. I really try not to eat much of it as part of my everyday diet. Besides foods with natural sugar like fresh fruit, of which I indulge plenty, I really don't eat it. Except when I'm menstruating - then all bets are off, friends. Then I will fight you for your french fries. Then I will eat an entire pint of ice cream with no regrets. Then I am unstoppable, and Alex knows it's best to just get out of my way and let me eat through the cramps and lower back pain. But since I can be kind of rage-binge-y at that time of the month, I've started combatting later, meaner, hungrier me with some seriously indulgent-tasting, nearly-sugar-free chocolate chip cookies!
They are soft, chewy, sweet, and taste like they should be packed with sugar - but NOPE! Just a couple of optional tablespoons in this recipe, and it doesn't even have to be refined. I've made these cookies maybe 30 times at this point and have gotten the recipe down to an exact science. They are the perfect dessert or sweet treat when you need one, and make a decent meal when you need more like 7. They're stuffed with chocolate chips, which I think helps to totally mask the flavor stevia in the recipe. This is actually the FIRST recipe on this site using stevia because I've always been so hesitant to bake with it. But I am experimenting with it and so far, so good. Even Alex says these cookies pass his 'no after-taste' test, which is good, because a lot of sugar-less sweeteners don't! These cookies taste heavenly and indulgent, but are lighter and way more guilt-free than you'd ever imagine. Plus, CHOCOLATE. So go ahead, have four. You know I'm going to!
INGREDIENTS
1 tablespoon ground flax 3 tablespoons warm water 1 1/4 cup whole wheat pastry flour (or AP flour) 1 teaspoon baking soda 1/4 teaspoon salt 1/2 cup softened coconut oil 2 tablespoons brown sugar, maple syrup, or your favorite sweetener (optional) 3/4 teaspoon liquid vanilla stevia 1/2 teaspoon vanilla extract (double if using unflavored liquid stevia) 3/4 cup non-dairy chocolate chips DIRECTIONS Preheat oven to 350 degrees F. In a medium mixing bowl combine the flax and water, set aside to gelatinize. In a separate, larger mixing bowl whisk together the flour, baking soda and salt. Form a well in the center and set aside. In the medium mixing bowl with the flax mixture add the coconut oil, sugar or maple syrup, stevia and vanilla. Whisk to combine completely, then pour the mixture into the well formed by the dry ingredients. Use electric mixers to beat the mixture together until well combined. If not using an electric mixer, mix with a wooden spoon until you can't anymore, then finish it off with your hands. Once combined, pour in the chocolate chips and mix 'em in. Use a cookie scoop or spoon to scoop 1-inch balls onto a lined or lightly greased baking sheet. Bake for 10-12 minutes, or until the cookies are golden. Remove from the oven and move the cookies to a cooling rack. Enjoy! NOTES Makes about 18 cookies. Leftover cookies save well in a sealed container on the counter for up to a week.
Print Recipe
Kettle Corn Donuts
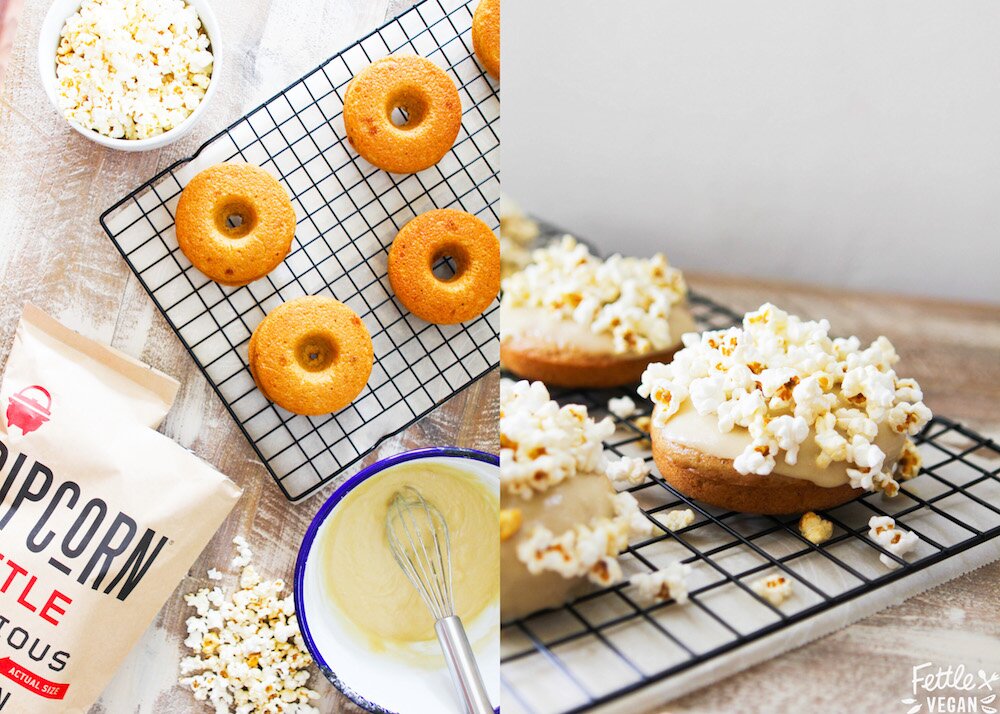
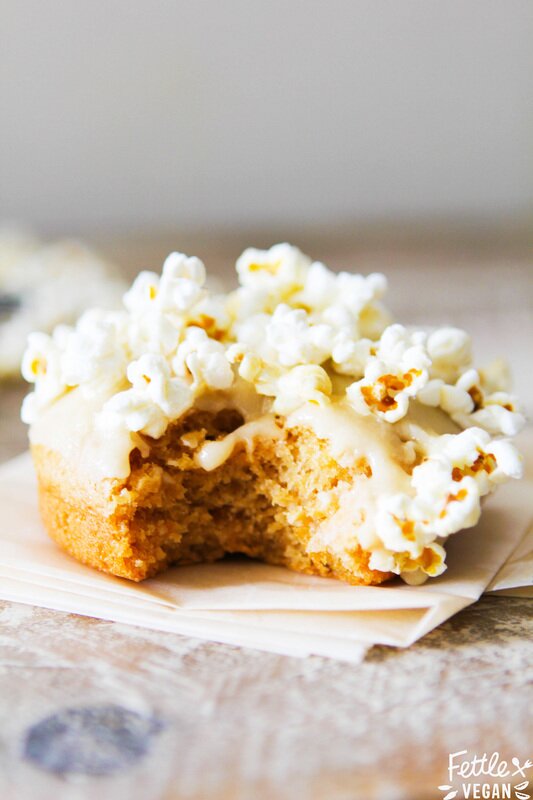
Kettle Corn is a pretty fantastic treat, on its own. That being said - what ISN'T better when you add donuts?! We adjusted our typical donut cake base to make a richer, brown sugar-sweetened donut, slathered it in rich butter glaze (yup, BUTTER GLAZE GUYS. I'm not messing around here.), and topped it with perfectly crunchy kettle corn. The kettle corn's combination of sweet and salty flavors was the inspiration for the whole combination. The sweet cake base slathered in thick, creamy butter glaze might be almost too rich without the addition of the popcorn, but with it becomes the perfect combo and sweet and salty! We used Pipcorn's Kettle Corn here because we love their simple, vegan-friendly ingredient list and that their kernels are smaller than normal kernels - perfect for topping donuts with!
They're super rich and delicious, which makes them perfect for sharing. Double the batch for a fun treat to share with friends or serve at a brunch, or make a single batch all for yourself! I would never judge when it comes to donut consumption. If you're looking for a creative new donut flavor, or just another excuse to squeeze a few more donuts into your day, these are definitely for you. So preheat your oven and let's get baking! Looking for more donut recipes? Try our Blood Orange Glazed Donuts or Baked Pumpkin Cinnamon Sugar Donuts!
INGREDIENTS
Donuts: 1 cup all purpose flour 1 tablespoon baking powder 1/4 teaspoon salt 1/4 cup unsweetened almond milk 1 tablespoon apple cider vinegar 6 tablespoons aquafaba (liquid) 1/4 cup sugar 1/4 cup brown sugar 2 tablespoons vegetable oil Glaze + Topping: 1 cup powdered sugar 1/4 cup vegan butter, melted 1 teaspoon unsweteened almond milk 1-2 cups kettle corn (we used Pipcorn) DIRECTIONS Preheat the oven to 375º. Lightly grease a 6-ring donut pan and set it aside. In a large mixing bowl whisk together the flour, baking powder and salt. In a small bowl, combine the almond milk and cider vinegar to curdle. Set them aside. In a separate mixing bowl whisk together the aquafaba, sugar, brown sugar and vegetable oil. Pour in the curdled milk mixture and stir to combine. Pour the liquid ingredients into the dry ingredient mixture and mix until just combined. Let the batter rest 5-10 minutes. Fill the donut pan molds with equal amounts of batter, then bake the donuts for 13-15 minutes until they're golden and fluffy. While the donuts bake, make the glaze by simply whisking together the powdered sugar, melted butter and unsweetened almond milk. When the donuts finish baking, let them cool slightly before moving them to a cooling rack to cool completely. Once completely cooled, dip each donut into the glaze or drizzle a bit over each donut. Immediately top the donuts with kettle corn. Enjoy! NOTES Makes 6 donuts. Leftover donuts last in an airtight container on the counter up to 3 days. Baked Churro Chips
Cinco de Mayo is TOMORROW! Are you ready?! If you aren't - and even if you are- these super easy Baked Churro Chips are the answer. They bake up in minutes with very little prep needed and are a total crowd pleaser! Who doesn't love a crispy baked corn chip (or wheat, if wheat tortillas are more your thing) coated in vegan butter, cinnamon and sugar? NO ONE. Yup, double negatives. Which means EVERYONE loves them! They're crispy, crunchy, sweet, and almost too easy to eat. So let's eat!
Looking for a few more last-minute Cinco de Mayo meal ideas? Try one of our favorites!
INGREDIENTS
14-16 small corn tortillas, cut into quarters 1/2 cup melted vegan butter or coconut oil 1 cup organic sugar 2 teaspoons ground cinnamon DIRECTIONS Preheat the oven to 350º. Line a baking sheet with parchment paper. Cut the tortillas into 4-6 equal triangles. Mix the sugar and cinnamon together in a bowl and set aside. Lay the chips onto the baking sheet and lightly brush each chip with some of the melted butter or oil. Sprinkle about half of the cinnamon sugar mixture over the chips so they're lightly coated, then flip 'em over, lightly brush the other sides and coat them in the remaining sugar mixture. Bake for 15-20 minutes. Let chips cool completely before removing from the baking sheet. Enjoy! NOTES You can use whatever tortillas you like, wheat or corn and any size. Just adjust accordingly!
Print Recipe
<
|
tagsAll  RSS Feed RSS Feed
|

