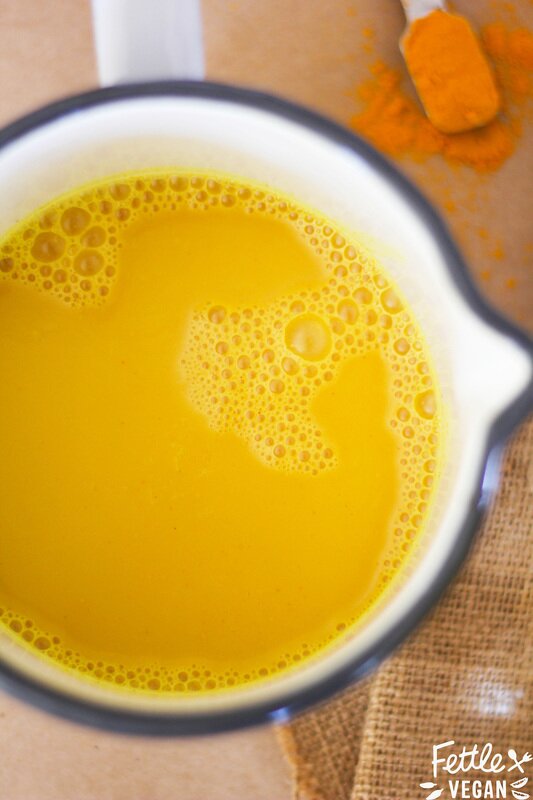
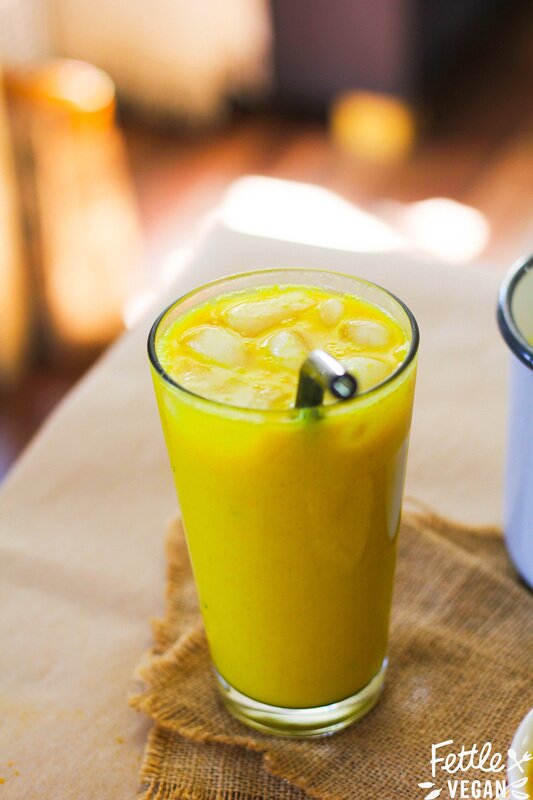
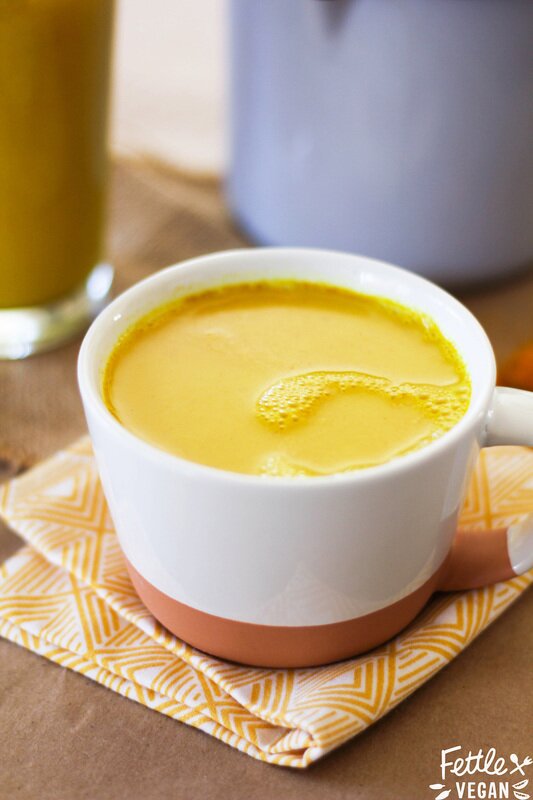
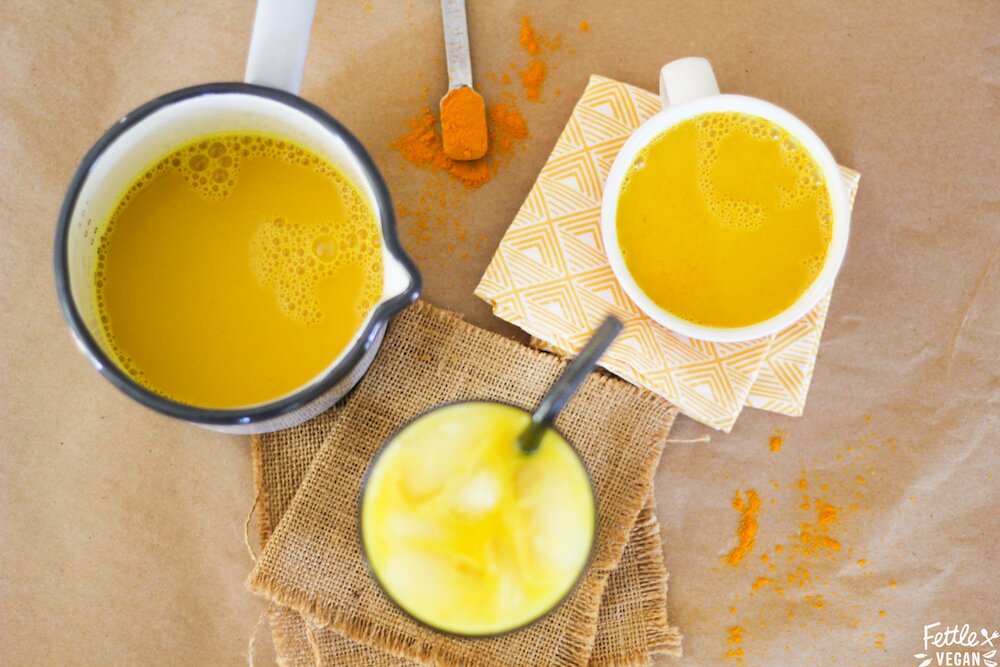
Golden Milk: Hot or Iced!
I'm a little late to the party when it comes to posting about golden milk, but I am OBSESSED. And I had to share this in case any of you haven't been lucky enough to stumble upon it yet. If you're still staring at me like 'What the heck is GOLDEN milk?' then let's back this caboose up a bit; Golden Milk is made from steaming milk and blending in spices, sweetener and vanilla to create a steamer that tastes similar to a chai or spiced tea, but is much creamier due to the milk, and a little warmer thanks to the addition of the turmeric. Golden Milk recipes have kind of exploded online lately, and I was lucky enough to try some at a friends a few months ago, where I totally fell in love with it. We'd also tried an amazing version by Califa Farms at Expo West this year, but it wasn't worth paying $4 a bottle for. So I've started making it myself at home! It's way cheaper and feels good knowing I can make an equally delicious version at home for about a tenth of the price.
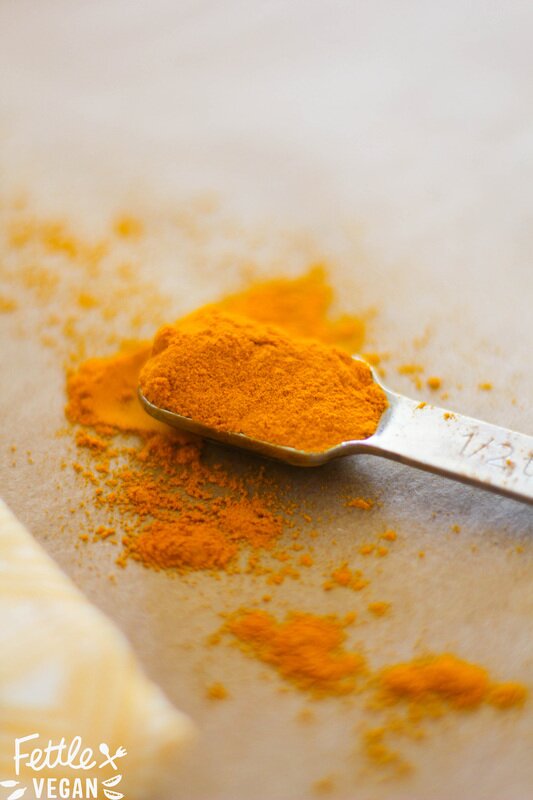
I love whipping one up whenever I want a sweet, warm drink or after a workout to help curb next-day soreness. Turmeric is a flavor you may recognize typically from curries, but but pairs perfectly with the sweetness of this drink. On top of being an anti-inflammatory, turmeric also boasts antioxidant and anti-depressant properties, as well as is considered a 'cure-all' spice for overall health and wellness in India. Plus, turmeric naturally whitens teeth! Seriously, just look up everything turmeric does - it's a pretty amazing little spice and something we should all be incorporating a bit more of into our daily lives. Which is why this super simple recipe is the PERFECT way to try it for yourself. Chances are you already have all the ingredients on hand to make it - so what're you waiting for? Cheers to your health!
INGREDIENTS
16 ounces (2 cups) almond or coconut milk 2-3 tablespoons maple syrup 1 teaspoon ground turmeric 1 teaspoon vanilla 1/2 teaspoon ground ginger 1/4 teaspoon cinnamon 1/8 teaspoon cardamom 1/8 teaspoon nutmeg pinch of black pepper DIRECTIONS Heat your almond or coconut milk in a small saucepan over medium heat (do NOT bring to a boil). Add in the maple syrup, turmeric, vanilla and other ingredients, whisking until the spices are completely dissolved. Simmer for 4-5 minutes, until the milk is hot and everything is well combined. Taste and adjust the flavors to your preference, if you like. Serve immediately OR let the milk cool to room temperature, then serve over ice. Refrigerated leftovers can either be reheated or served chilled over ice as well. NOTES Serves 1-2. Leftovers can be refrigerated and reheated or enjoyed over ice for up a week. Turmeric STAINS. Badly. Avoid using white dishes to cook or serve in unless you can wash them right after, and if you do get some turmeric stains on your countertop, I've read that vegetable oil and regular cleanser will usually get it off. Turmeric DOESN'T stain your teeth! It's actually proven to be a tooth whitener, so no need to brush your teeth after drinking unless your prefer it. Some people make this tea with fresh turmeric, whole cinnamon sticks, and fresh ginger. If that's what you prefer, we support you! Also, use whatever other spices you like - maybe some cloves or cayenne. We just use ground spices because they're convenient and encourage us to actually MAKE this! 😝
Print Recipe
1 Comment
Homemade Vegan Cheez-It Crackers
As a kid I was known as the girl who could eat a whole box of cheez-its in an afternoon. Okay, maybe thats not what people said about me to my face, but I'm pretty sure people thought I was weird and I know for sure that one friend's mom always made sure they had at least one full box before I came over. I just loved them. I was a big cheese kid, but was lactose intolerant, so to compensate and avoid a tummy ache I would just gorge on weird cheesy flavored foods whenever I could get my tiny hands on them. My parents certainly didn't condone it, they just had no idea. And I still got tummy aches, because really who needs to eat an entire box of cheez-its? These days, I 'm a lot better about portion sizes. The originals weren't healthy or good for you and were packed with chemicals - but they were delicious! I decided it was about time I recreated my favorite childhood treat, but knew I needed them to be totally vegan and WAY healthier. And they turned out SO GOOD! They're crispy, crunchy, cheezy, salty, savory and super snackable. Plus, there are only 9 ingredients - and you probably have them all on hand right now. These are the kind of snack you don't at all have to feel guilty about snacking on, even if you do go a bit overboard. Perfect for taking along for lunch or snack at work and bringing on camping or road trips - so let's get snackin'!
INGREDIENTS
3/4 cup all purpose flour 1/4 cup cornmeal 2 tablespoons nutritional yeast 1 teaspoon salt 1/2 teaspoon garlic powder 1/4 teaspoon baking powder 1/8 teaspoon turmeric 5 tablespoons vegan butter 3-4 tablespoons cold water DIRECTIONS Preheat the oven to 350º and line a baking sheet with parchment paper. Add the flour, cornmeal, nutritional yeast, salt, garlic powder, baking powder and turmeric to a food processor and process to thoroughly combine. Add the vegan butter and pulse until crumbly. Add the cold water, a tablespoon at a time, until the dough comes together. Remove the dough from the food processor and form it into a disk. Place the disk onto a lightly floured surface. Lightly dust the top with flour and use a rolling pin to roll it to about 1/8th inch thick. Use a pizza cutter or knife to cut the dough into equal-sized square crackers. Spread the crackers onto the prepared baking sheet. Bake them for 14-18 minutes or until crispy and golden brown. Makes 60-80 crackers. Save leftovers in an airtight container or bag on the counter up to a week.
Print Recipe
|
tagsAll  RSS Feed RSS Feed
|
