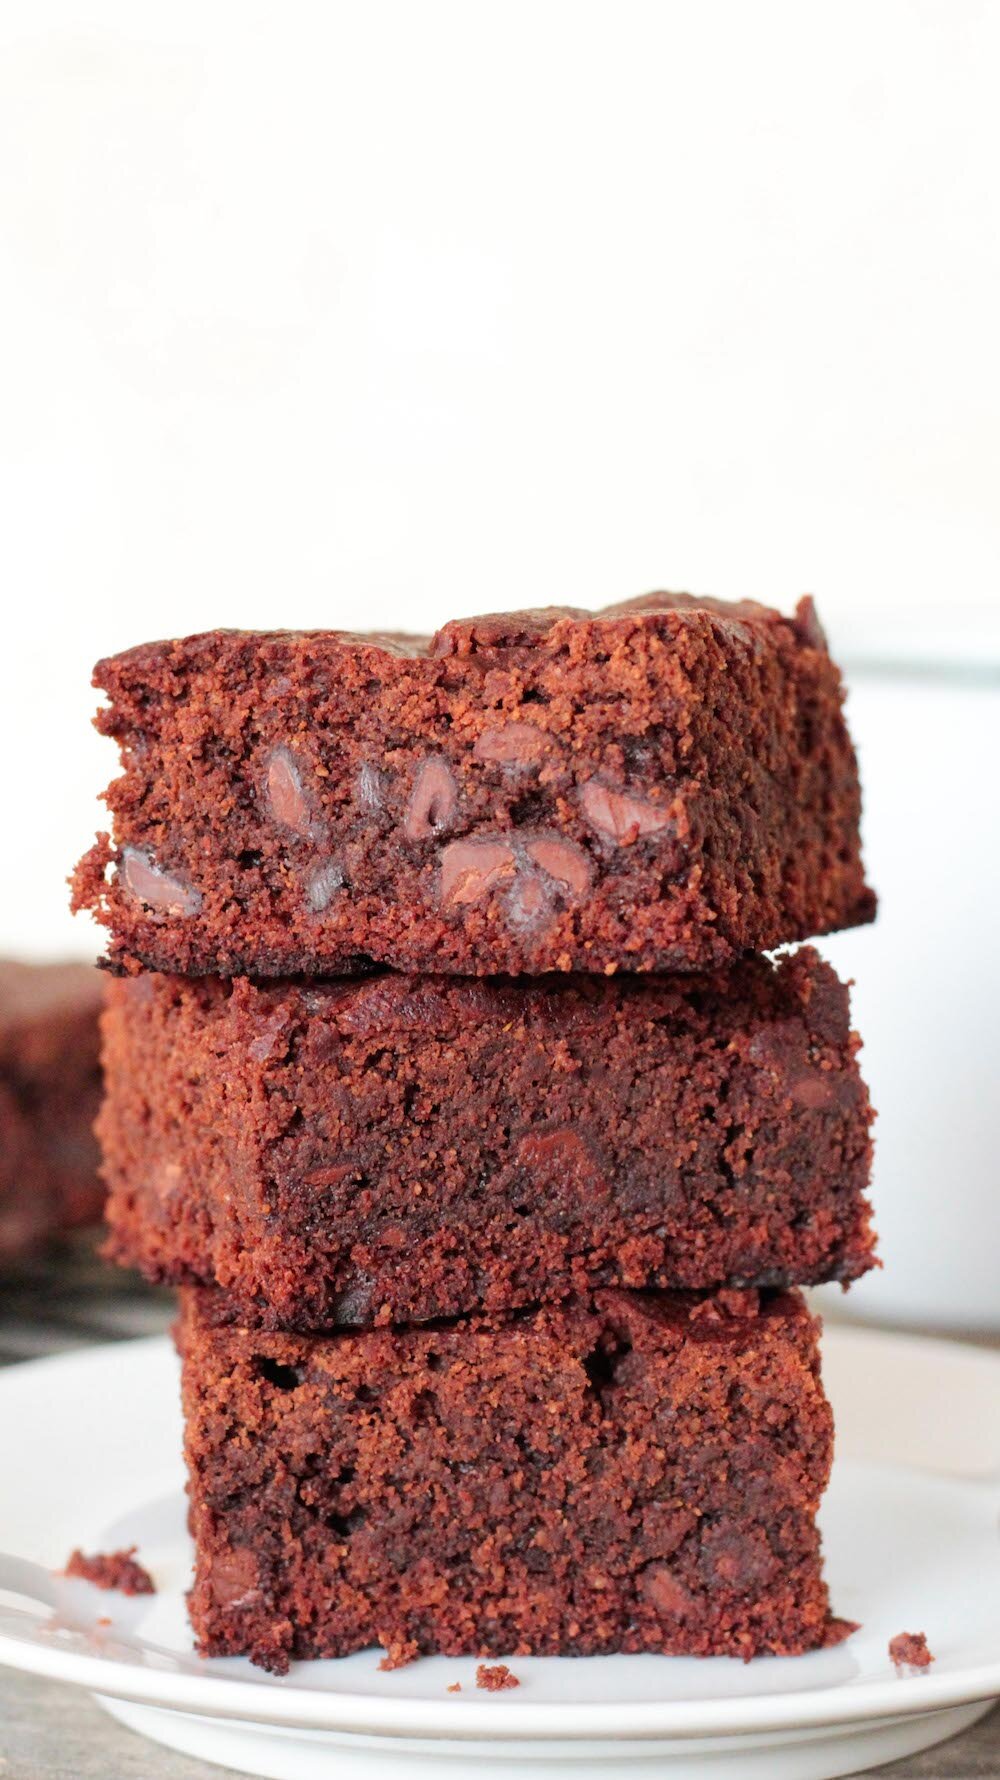
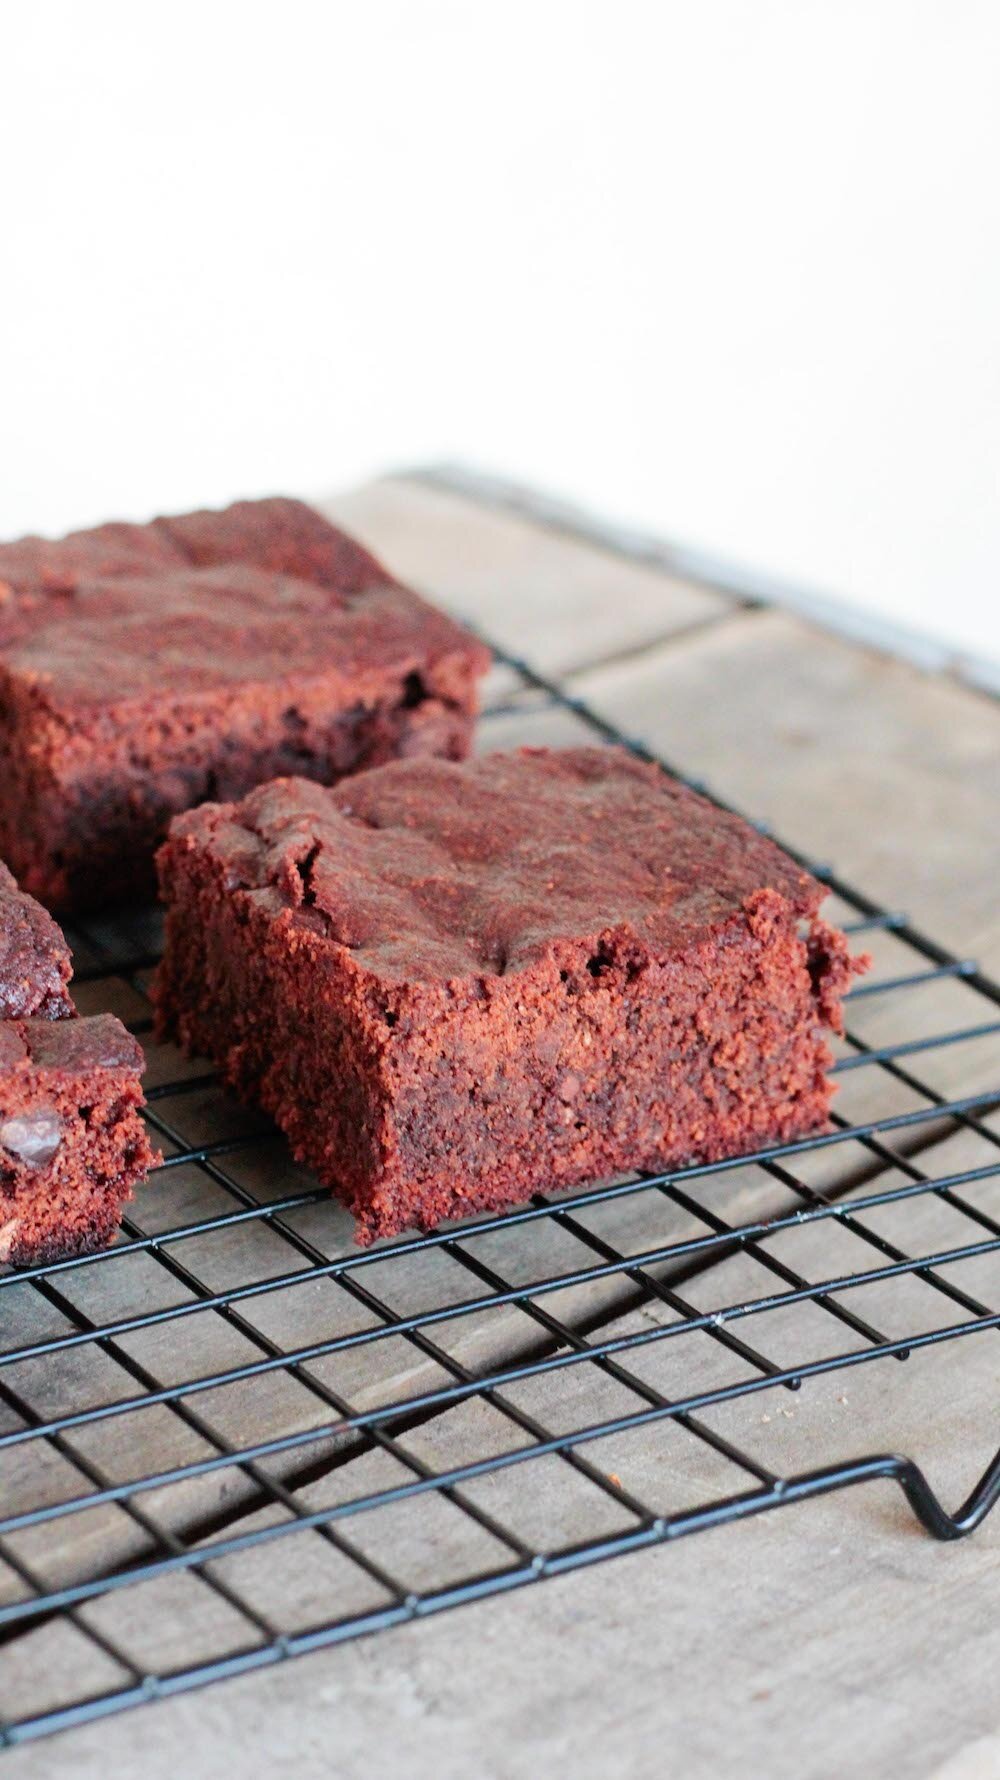
Double Fudge Brownies - grain-free + sugar-free!
IT'S FINALLY HERE! Well, TWO things are finally here! First, I leave for my bachelorette weekend in Palm Springs tomorrow with 14 of my closest friends to spend the weekend poolside - and I'm SO excited! We'll be doing yoga, tie-dyeing, taking selfies on pool floaties, and just generally chilllllling before I have to get back to the stress of wedding planning on Monday. I can't wait! But before I go, I also teased you guys last week on instagram with this recipe, and figured it was only right to share it with you babes before I left on this long weekend adventure. It's a recipe I'm super proud of and super into because it's totally free of ANY sugar (you'll see how!) and all grains, making this the perfect batch of brownies to make for someone with food allergies or who is just crazy strict watching their diet, like I am in prepping for this wedding. (I wanna look badass and feel my best!)
I based the recipe off of the Double Fudge Mint Brownies recipe in my cookbook, Homestyle Vegan, but the original version is full of flour and sugar and all things generally off limits for people with food allergies. Of course, if you need to tweak it to suit your particular preferences please do so, but let us know what changes you make in the comments! It can be helpful for other readers to see what substitutions worked...and which didn't. These are the ultimate fudgy brownies, soft and dense with a chewy outer crust. You can pull them from the oven a few minutes early if you like 'em even fudgier, but either way I think they're best served warm with a glass of almond milk on the side. Anyway, I've got bathing suits and sunscreen to pack, but trust me - you're going to love every second of eating these - and you're going to love how healthy they are even more!
INGREDIENTS
1/2 cup almond flour 1/2 cup oat flour 1/2 cup cocoa powder 1/2 cup monk fruit sweetener (we use Lakanto Classic) 2 tablespoons cornstarch 1 teaspoon baking powder 1/2 teaspoon salt 1/3 cup coconut oil, melted 1/2 cup monk fruit syrup (we use Lakanto Maple Syrup to keep it sugar-free) OR maple syrup OR agave nectar 1/4 cup unsweetened almond milk 1 teaspoon vanilla extract 1/2 cup vegan chocolate chips or chunks DIRECTIONS Preheat oven to 350º. Grease or line an 8x8 in baking dish. In a large whisking bowl whisk together the flours, cocoa powder, monk fruit sweetener, cornstarch, baking powder and salt. In a separate mixing bowl, combine the melted coconut oil, monk fruit syrup, unsweetened almond milk and vanilla extract. Pour these wet ingredients into the dry ingredient mixture and use a wooden spoon to combing the mixture completely. The batter may be stiff, so feel free to get in there and use your hands if you like. Once the batter is uniform, pour in the chocolate chips or chunks and stir to evenly distribute them throughout the batter. Press the mixture into the prepared baking dish, using the back of the wooden spoon to press the mixture down evenly into the dish. Bake for about 30 minutes, or until an inserted toothpick comes out almost completely clean. If you bake them too long, they will become dryer and much more cake-like than fudge-like in texture. Remove the dish from the oven and place it on a cooling rack to cool completely before slicing. For the ULTIMATE fudge brownies, see the tip below. Once cooled, slice and enjoy! NOTES Make these brownies EXTRA FUDGY by refrigerating them after cooling for at least 1-2 hours before slicing. The fridge helps cool the core before it has set completely, resulting in some of the best damn brownies ever! Leftovers can be left on the counter or in the fridge in an airtight container for up to three days. After that they'll start drying out.
2 Comments
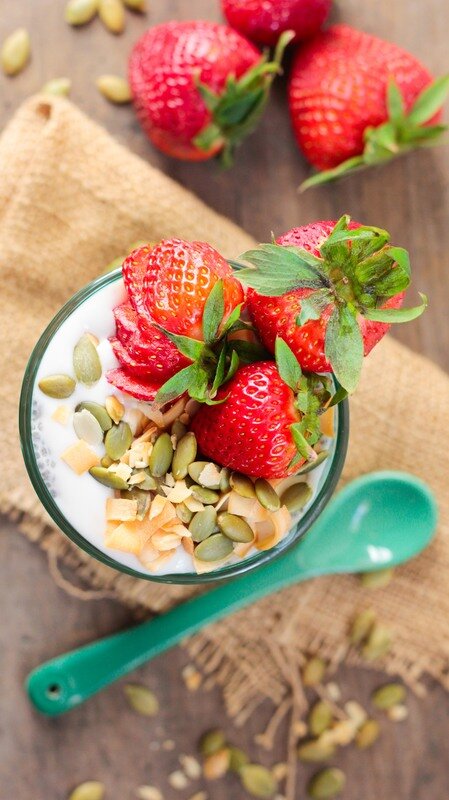
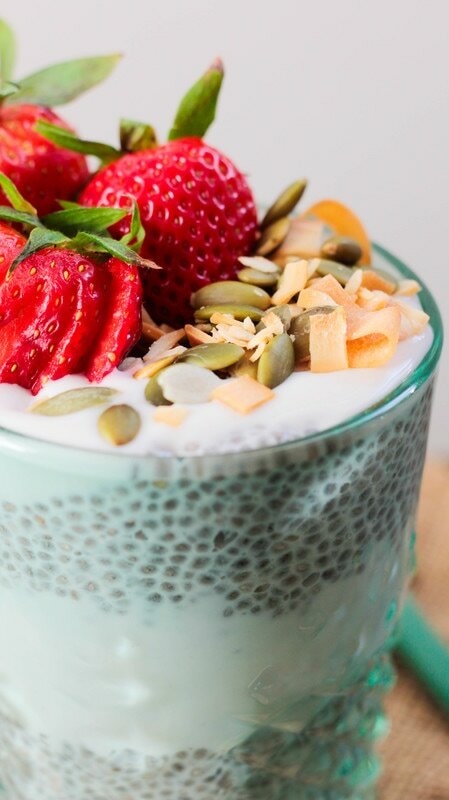
Strawberry Chia Pudding Parfait
It feels like summer here in LA and we've got just about 80 days left on the wedding countdown, so we're keeping the snacks as light, healthy, and sugar-free as possible! This easy chia parfait has been my go-to snack lately. It's light enough to make a great breakfast or guilt-free dessert, but hearty enough to kill your sweet cravings and make a great post-workout meal. The chia seeds are packed with fiber, protein and Omega-3 fatty acids and are considered a superfood - so we could all use more of them in our diets! Plus, they make an excellent stand in for thick, creamy pudding. We are totally crushing on Forager's new unsweetened, cashew-based yogurt right now and used it to make our parfait. You can use whatever yogurt you like, but try to choose one without added sugar or preservatives. The real-er, the better. Especially when you're snacking! Strawberries are already in season here in California, but you can sub in whatever fruit makes you swoon. Toppings are customizable too, so you do you babes. The real point here is make a healthy, hearty, on-the-go snack that you can feel good about eating. And this one you for sure can!
Looking for other strawberry recipes this season? Try our Strawberry Lemon Crisp, Strawberry Cheesecake Smoothie, Strawberry Rhubarb and Rosemary Galette, and Peanut Butter and Berry Acai Bowl!
INGREDIENTS
Vanilla Chia Pudding 1/3 cup chia seeds 1 1/2 cups unsweetened almond milk 1-3 drops of liquid stevia (or sweetener of your choice) 1/2 teaspoon vanilla Chia Pudding Parfait 1/2 cup vanilla chia pudding 1/2 cup unsweetened non-dairy yogurt 1/4 cup fresh strawberries, sliced coconut chips, garnish pepitas, garnish DIRECTIONS In a large bowl whisk together the chia seeds, almond milk, stevia (or sweetener) and vanilla. Let sit about 30 minutes, stirring occasionally, until the mixture is thick - the texture of pudding. Set aside. Chop your strawberries and prep your toppings. If you don't have (or like) coconut chips and pepitas, you can sub in nuts, granola, other fruits - whatever you've got on hand! To make the parfait, layer alternating 1/4 cups of chia pudding and yogurt into a cup or dish, and top with your favorite toppings and sliced strawberries. Easy peasy! NOTES Leftovers last in the fridge about 3 days in an airtight container. This recipe serves 1, but can be easily doubled or quadrupled for sharing! Vanilla Cashew Butter Cups
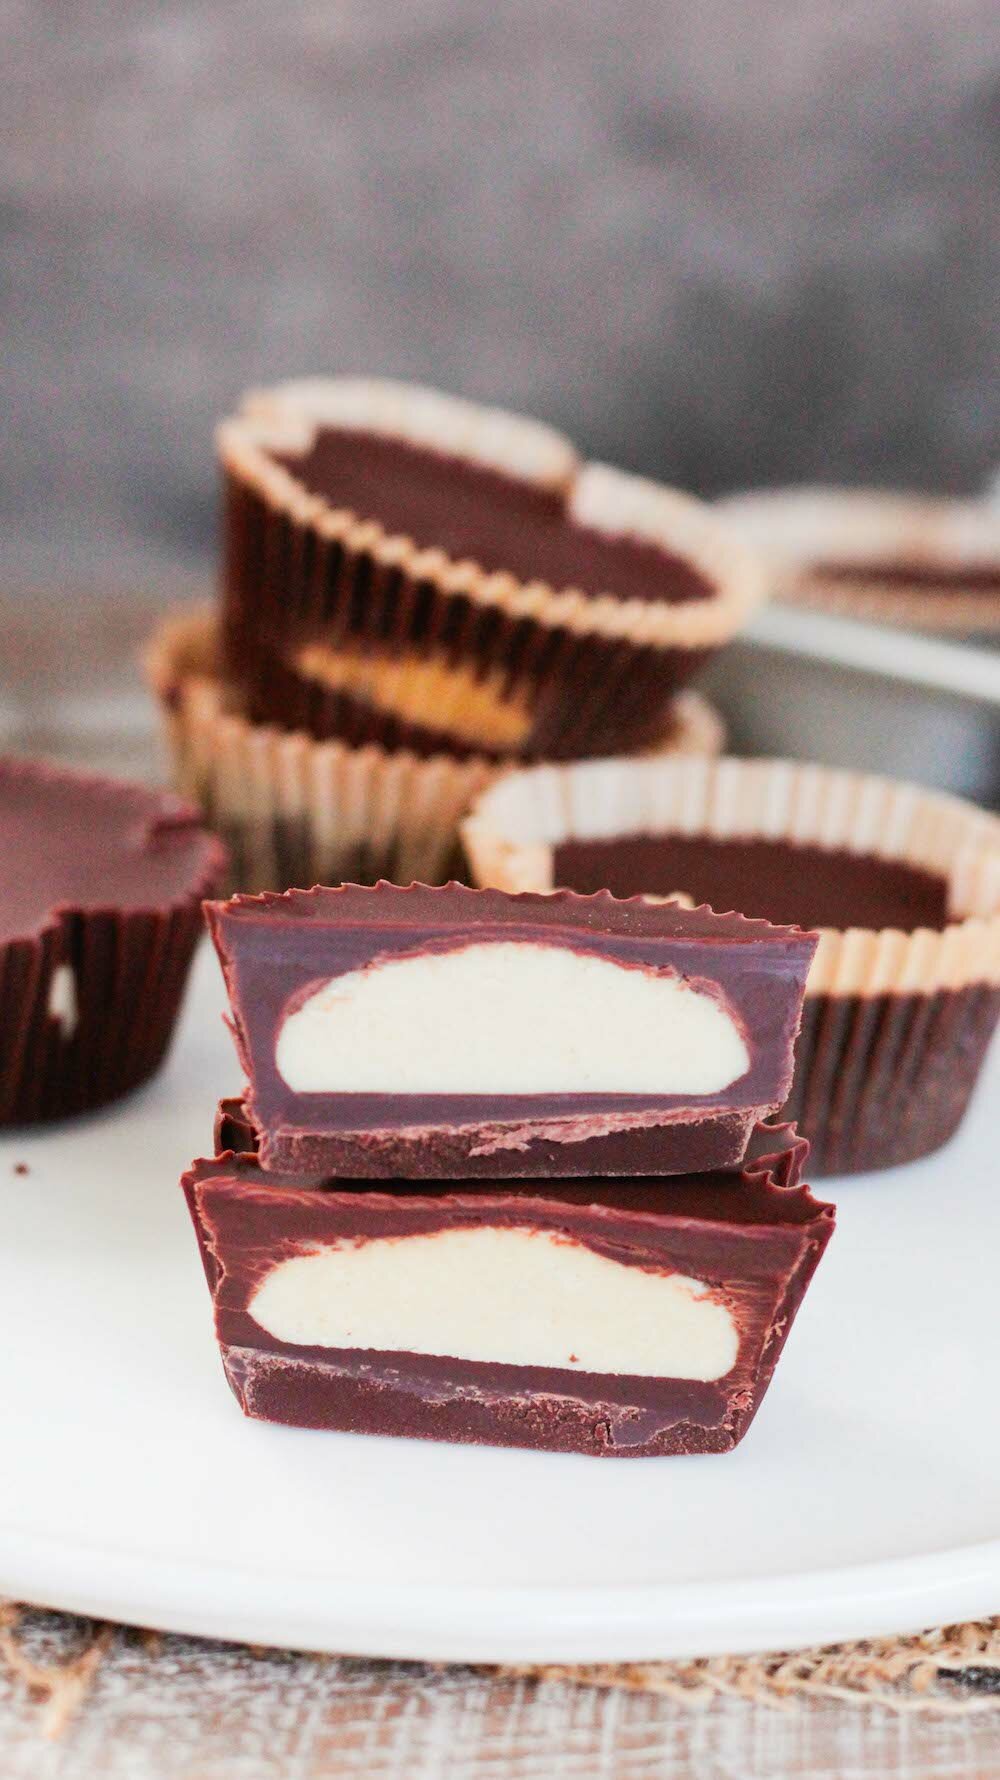
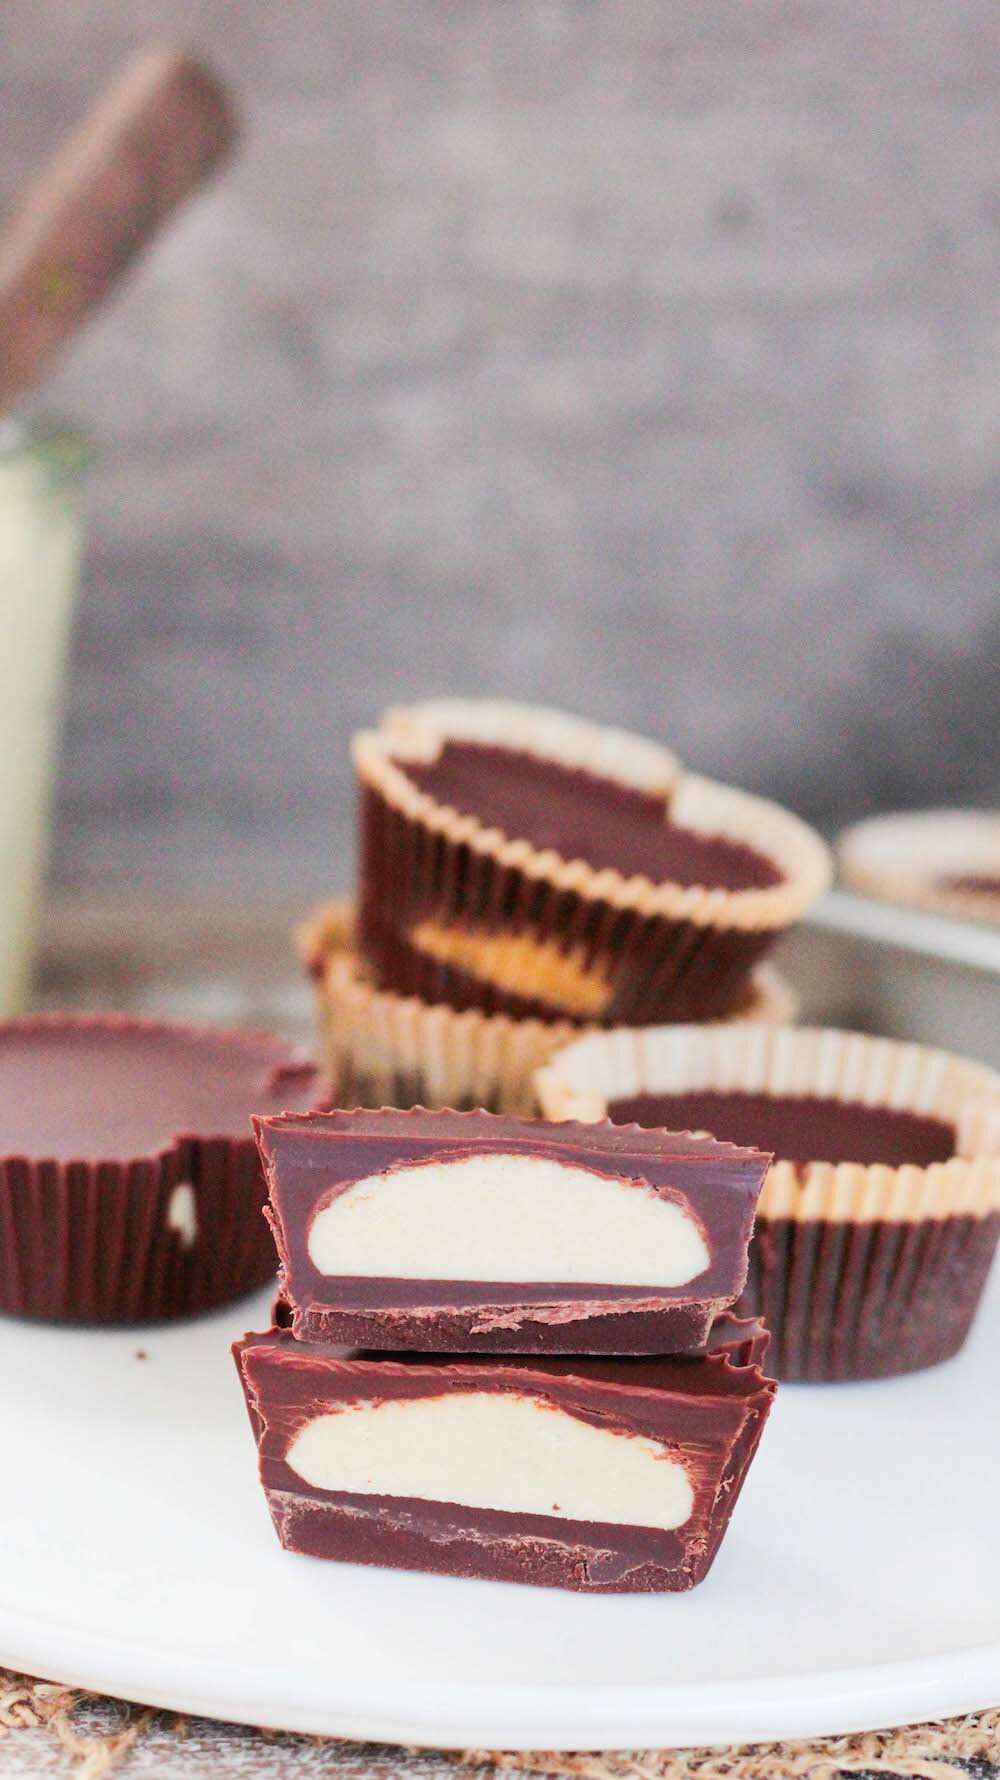
Guys the countdown is on - I am officially 100 days away from my WEDDING! Don't worry, I'm not freaking out or anything (I'm totally freaking out) and the stress has been minimal (It's all LIES!), so it couldn't be going any smoother (Is it too late to elope?). That being said, I've only got so much control over the outside vendors and other things happening this far out, but I have total control over my workouts and diet, and that may be the only thing keeping me sane. I'm the kind of person who works really well with a goal date in mind, so knowing I want to tone up before the wedding has been fun to work toward. I'm in decent shape, but have been really stepping up my runs and strength-training workouts, and working on cutting out all the sugar from my diet. I've had great results lately, losing inches around my waist and thighs and I think more than the working out, it is due to the removal of sugar from my diet. We've all heard it by now - sugar is AS addictive as hard drugs to the brain. That's right, your brain's pleasure centers can't distinguish the two, they just know it feels great and they want it again. Being a sugar-addict sounds like a silly thing, but in reality most Americans are totally hooked and don't even realize it.
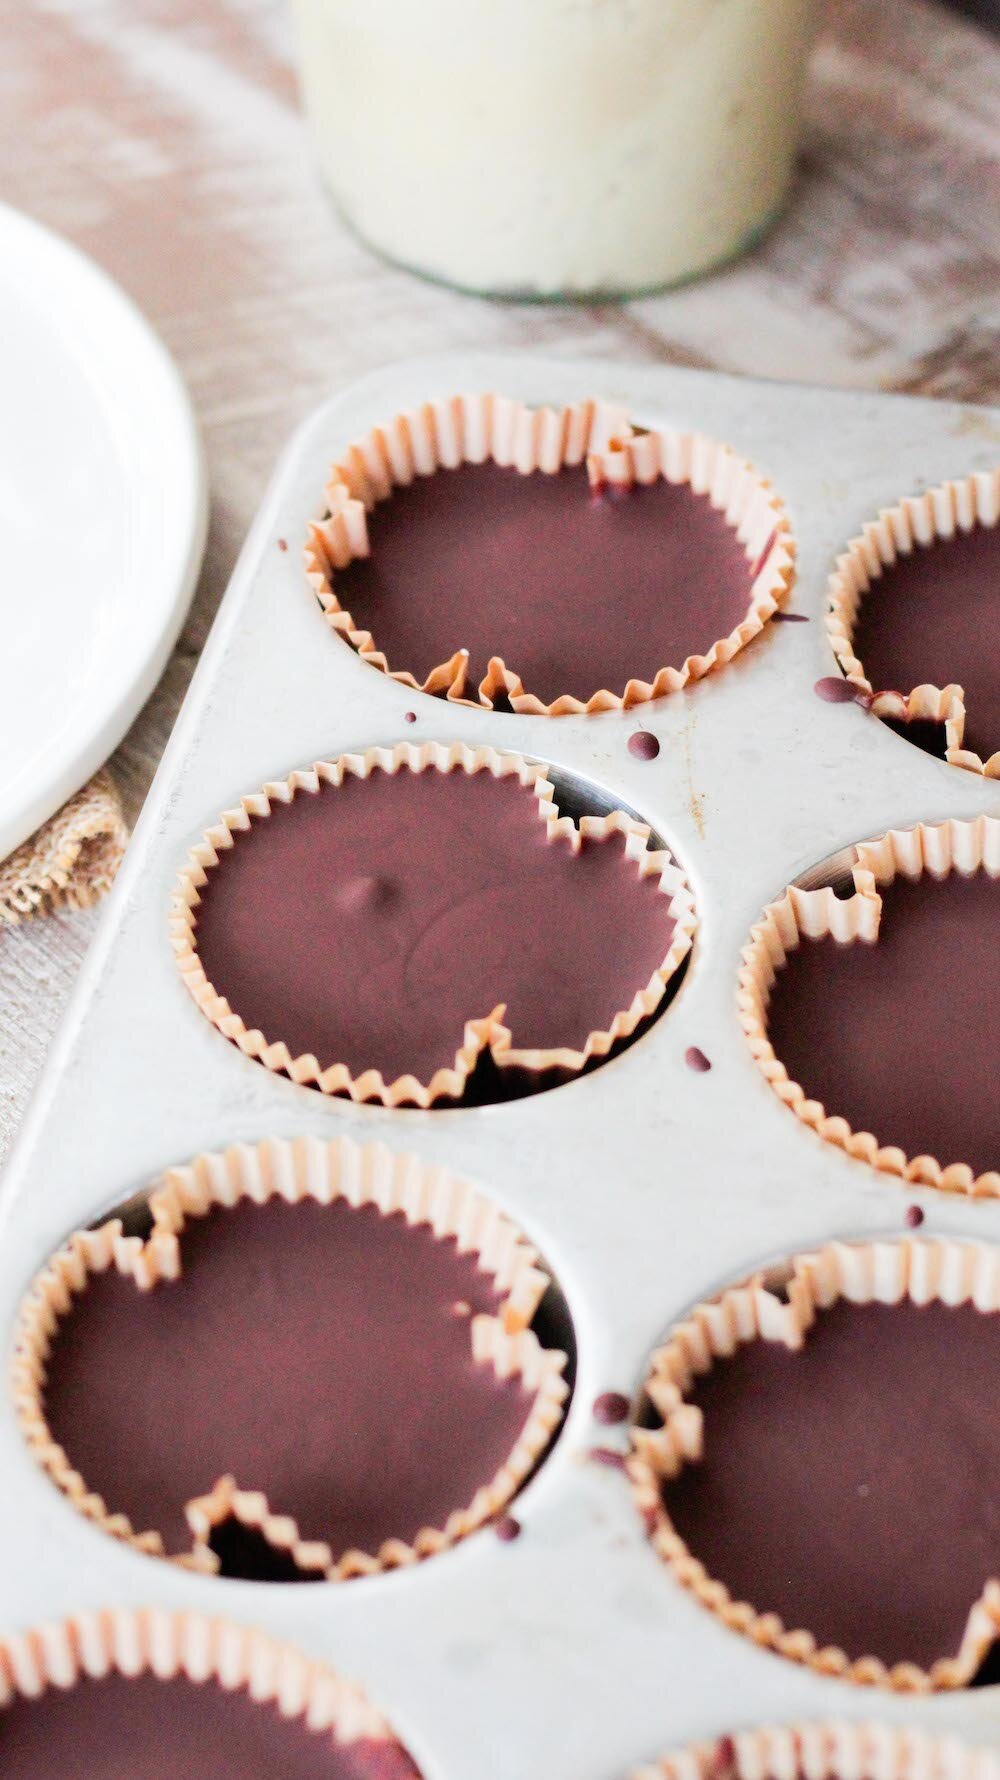
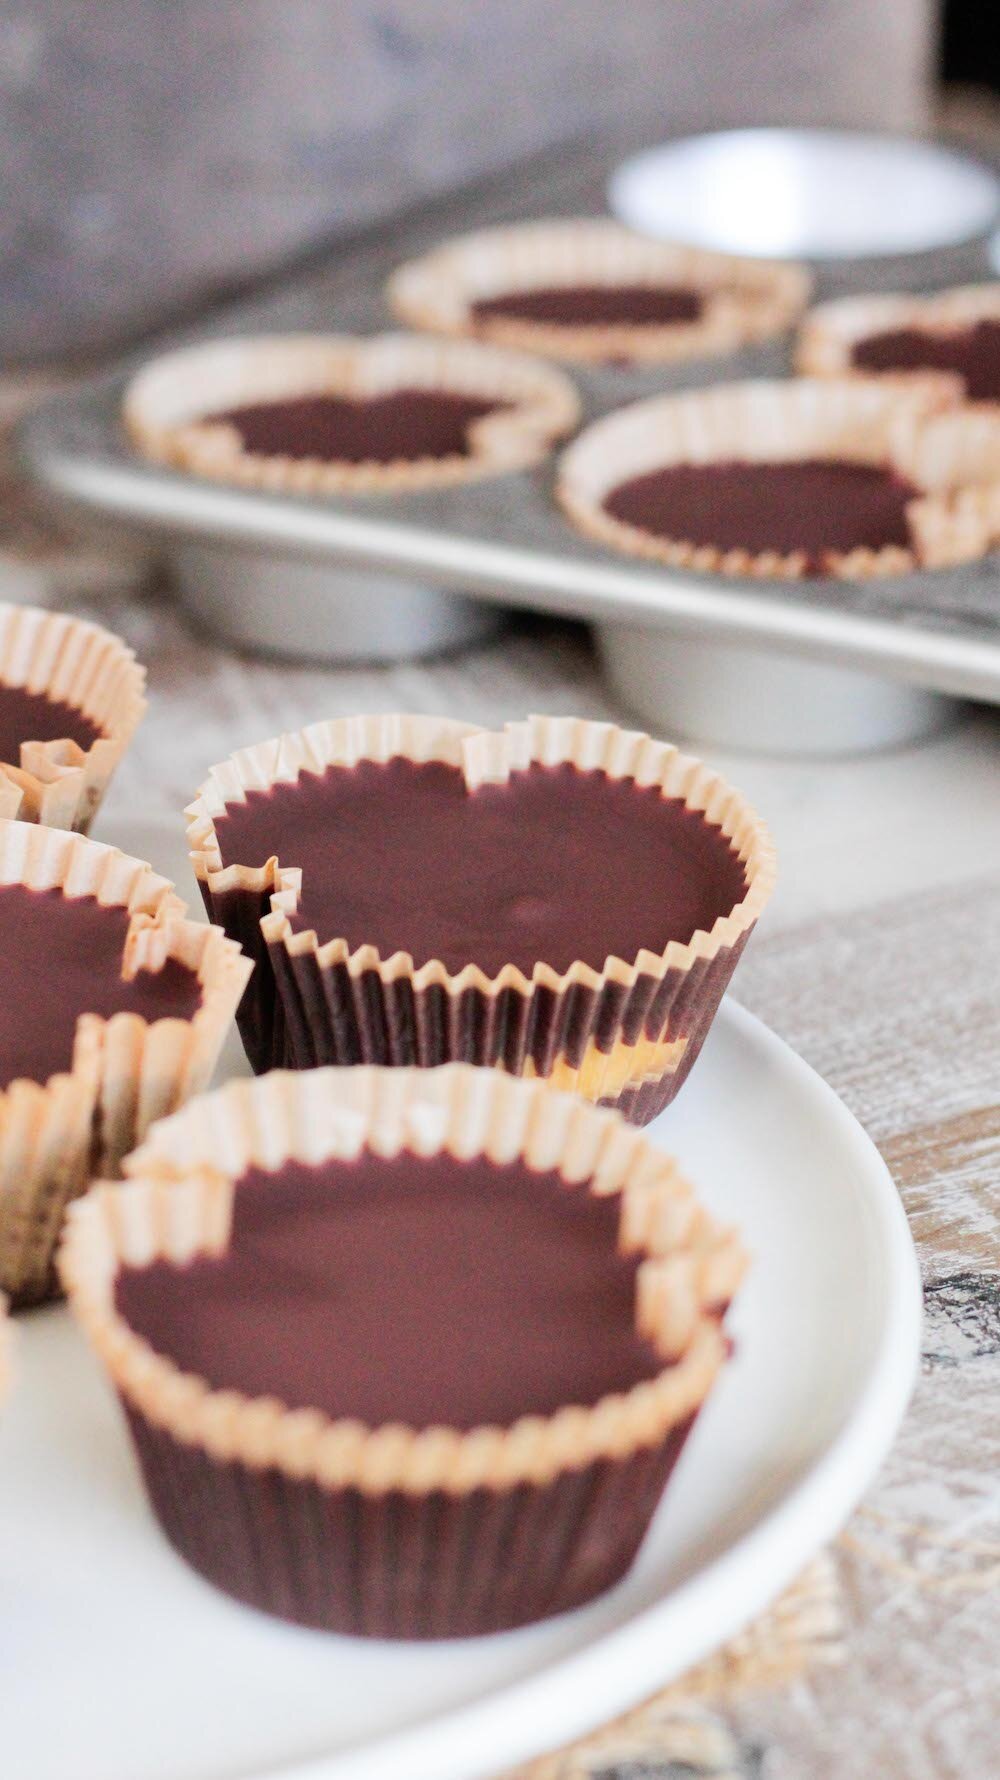
When I officially started cutting out the sugar, about three months ago, it was due to a combo of wedding prep and having rented 'That Sugar Documentary' and realizing it was time to make a change. The doc showed that the USDA recommends about 10% of calories per day come from sugar - this was about 25 grams of sugar per day, for most people - but the doc showed that most people are eating closer to 80 grams of sugar per day. WHAT?! That's more than 3x as much! I was blown away. And I immediately thought, 'Not me!' because of course I wanted to believe I was achieving something better and because we all want to believe that we're being successful. I'm a pretty healthy eater, but that doesn't mean I'm eating healthfully all the time. Pro tip: I WASN'T. When I started recording my eaten sugars I was totally embarrassed - the first day, I hit 36 grams by 3 pm and was still craving dessert all night. There just seem to be hidden sugars everywhere! Now, I'm not a total nut. I eat healthy, normal foods like fruit without checking the sugars, I just eat it in moderation. Because of course pancakes aren't the same as an apple. But not all people know that! So i'm here to give you a heads up. Cut the sugar out! It was a hard two weeks of cravings and a few headaches for me, but overall the withdrawal symptoms weren't as bad as I expected at all and now, I don't get the cravings at all. (Unless I'm on my period - those cravings conquer all.) So how did I cut the sugar out? Well, I started weaning myself off by making myself some sugar-free and super low-sugar treats to keep in the fridge. It helped hugely! Now when I wanted a sweet treat, I'd have a little nibble off of one of my guilt-free fridge treats instead of a 1/2 pint of ice cream. And it worked! Soon I wasn't craving the sweets as often, and when I did, I had a healthy solution to reach for before I could make an unhealthy choice instead. That's it! No magic pill, just an upcoming wedding and a solid amount of will power. You can do it too! And the perfect way to start is with these - almost TOO easy to make - Vanilla Cashew Butter Cups! They're rich, creamy, and decadent - and you'd NEVER know they had no added sugar. I used the recipe for the Vanilla Cashew Butter from my Homestyle Vegan Cookbook (it's got great reviews on Amazon!), but you could definitely use the nut butter of your choice here instead. Quick note: The chocolate you buy will affect the sugar in this dessert. If you buy a 70% + Dark Chocolate like I did, the sugar should be under 9 grams per serving, which is reasonably low. You can look for a sugar-free chocolate, but I think real, rich, dark chocolate really works great here. And plus, we don't want to demonize sugar, just eat a ton less of it. Looking for more low-sugar desserts? Find our favorites here. Also, we want to give a shout to Honeycomb Studio in Atlanta for the gorgeous, hand-made, small-batch porcelain plates in the photo. They are almost too pretty to use - we love them!
INGREDIENTS
Vanilla Cashew Butter (from my Homestyle Vegan Cookbook) 2 cups raw cashews 1 vanilla bean, scraped 1/4 teaspoon cinnamon pinch of salt Vanilla Cashew Butter Cups 1 cup cashew vanilla cashew butter 1/4 cup coconut oil (optional) 3 cups dairy-free chocolate chips or chunks 1-3 drops vanilla stevia (optional) DIRECTIONS Vanilla Cashew Butter Preheat oven to 325º. Line a baking sheet with parchment paper. Spread the cashews onto the baking sheet and roast for 10-15 minutes, stirring once, until golden and fragrant. Let the cashews cool completely, then pour them into a food processor with the vanilla bean innards, cinnamon and salt and process until smooth. It might take a while - it took us about 5 continuous minutes of processing to get a super smooth consistency. Of course, if you prefer it a little chunky, you do you - just stop processing while there are still some chunks left. Pour the nut butter into an airtight container and set aside. Vanilla Cashew Butter Cups Line a muffin tin with paper liners and set aside. Using the double boiler method, begin to melt the chocolate chips over medium heat, stirring as they soften. Pour in the coconut oil and stevia, if using, and continue to stir until the chocolate is completely melted and smooth. Pour about 1 tablespoon of melted chocolate into each lined cup. Pop the tray into the freezer for 5-10 minutes to set. Pull the tray out and scoop about 1 tablespoon of the vanilla cashew butter onto the chocolate layer of each cup, centering it as best you can. Once all the cups have the cashew butter, pop the tray in the freezer for another 5-10 minutes to set again. While it sets, make sure your chocolate it still melty and ready to go. When set, pull the tray from the freezer again and top each cup with 1-2 tablespoons of the remaining melted chocolate mixture, until the cashew butter is completely covered or 'sealed' within each cup. Pop the tray back in the freezer to set, another 10-15 minutes. Once set, remove the cups from the tray and enjoy! They will soften at room temperature if coconut oil was added, so keep them in a cool place until you'r ready to eat them. NOTES Makes 12-14 cups. Leftover vanilla cashew butter doesn’t need to be refrigerated, and should keep at least two weeks out of the fridge. It will last indefinitely in the fridge. Leftover cups are best saved in an airtight container in the fridge or freezer for up to 6 months.
Print Recipe
Nearly Sugar-Free Chocolate Chip Cookies
With my new Homestyle Vegan cookbook hitting shelves November 1st, my first book signing event and the Holidays coming up, I've really been doing my best stay low stress and to avoid sugar. Not only do I have wedding I'm trying to look pretty great for, but sugar is just not my friend. It's the number one food that makes me gain weight and really screws with my face, causing breakouts. I really try not to eat much of it as part of my everyday diet. Besides foods with natural sugar like fresh fruit, of which I indulge plenty, I really don't eat it. Except when I'm menstruating - then all bets are off, friends. Then I will fight you for your french fries. Then I will eat an entire pint of ice cream with no regrets. Then I am unstoppable, and Alex knows it's best to just get out of my way and let me eat through the cramps and lower back pain. But since I can be kind of rage-binge-y at that time of the month, I've started combatting later, meaner, hungrier me with some seriously indulgent-tasting, nearly-sugar-free chocolate chip cookies!
They are soft, chewy, sweet, and taste like they should be packed with sugar - but NOPE! Just a couple of optional tablespoons in this recipe, and it doesn't even have to be refined. I've made these cookies maybe 30 times at this point and have gotten the recipe down to an exact science. They are the perfect dessert or sweet treat when you need one, and make a decent meal when you need more like 7. They're stuffed with chocolate chips, which I think helps to totally mask the flavor stevia in the recipe. This is actually the FIRST recipe on this site using stevia because I've always been so hesitant to bake with it. But I am experimenting with it and so far, so good. Even Alex says these cookies pass his 'no after-taste' test, which is good, because a lot of sugar-less sweeteners don't! These cookies taste heavenly and indulgent, but are lighter and way more guilt-free than you'd ever imagine. Plus, CHOCOLATE. So go ahead, have four. You know I'm going to!
INGREDIENTS
1 tablespoon ground flax 3 tablespoons warm water 1 1/4 cup whole wheat pastry flour (or AP flour) 1 teaspoon baking soda 1/4 teaspoon salt 1/2 cup softened coconut oil 2 tablespoons brown sugar, maple syrup, or your favorite sweetener (optional) 3/4 teaspoon liquid vanilla stevia 1/2 teaspoon vanilla extract (double if using unflavored liquid stevia) 3/4 cup non-dairy chocolate chips DIRECTIONS Preheat oven to 350 degrees F. In a medium mixing bowl combine the flax and water, set aside to gelatinize. In a separate, larger mixing bowl whisk together the flour, baking soda and salt. Form a well in the center and set aside. In the medium mixing bowl with the flax mixture add the coconut oil, sugar or maple syrup, stevia and vanilla. Whisk to combine completely, then pour the mixture into the well formed by the dry ingredients. Use electric mixers to beat the mixture together until well combined. If not using an electric mixer, mix with a wooden spoon until you can't anymore, then finish it off with your hands. Once combined, pour in the chocolate chips and mix 'em in. Use a cookie scoop or spoon to scoop 1-inch balls onto a lined or lightly greased baking sheet. Bake for 10-12 minutes, or until the cookies are golden. Remove from the oven and move the cookies to a cooling rack. Enjoy! NOTES Makes about 18 cookies. Leftover cookies save well in a sealed container on the counter for up to a week.
Print Recipe
Purple Sweet Potato Pie Bars
Last week Alex and I took a day to start wedding planning together - FINALLY! So far, we have a venue, at The Riverbed Farm in Anaheim, and a date - June 10th, 2017, but other than that we've got nothing planned. Whoops! Time seems to be flying by at this point so my next big things to mark off the checklist are our save the dates and invitations, finding a caterer and finalizing details like the drink menu and decor. I'll have a post up soon on all the details and what we've learned so far in planning our vegan wedding!
In the meantime, a girl's gotta eat, and I've been loving all the fall produce we've been getting in our CSA box + seeing in supermarkets lately. We went on a date day last and ended up at a cute little kombucha + fermented goods bar in Costa Mesa called Farm + Culture Co. that served these yummy bites made with purple sweet potato and I was totally inspired. I wanted to create something similar, but with a little more focus on something sharable for the Fall season - so we came up with these Purple Sweet Potato Pie Squares. These pie squares are an incredibly gorgeous color - shockingly purple! - that just make you wanna eat 'em up. These bars are:
The sweet potatoes are paired with warm fall flavors like maple, cinnamon, and ginger on a chewy cashew-date-macadamia crust that makes them irresistible and much like a traditional sweet potato pie - but far healthier! They're are totally naturally sweetened, and you can omit the maple syrup if you prefer to keep them date-sweetened only. Eat them on their own or top them with a bit of whipped cream and a sprinkle of fresh nutmeg for the perfect fall treat. They're an indulgence you don't have to have any guilt about, so go ahead - have two!
INGREDIENTS
Cashew Date Macadamia Crust Layer: 1 1/2 cups cashews 1 cup macadamia nuts (or skinless almonds) 1 cup pitted dates 3 tablespoons coconut oil Purple Sweet Potato Pie Layer: 1.5 lbs purple sweet potatoes, boiled, skinned + mashed (about 2 1/2 cups mash) 3/4 cup unsweetened almond milk 3 tablespoons maple syrup 1 tablespoon coconut oil 1 tablespoon lemon juice 1 teaspoon vanilla 1/2 teaspoon ground ginger 1/2 teaspoon cinnamon 1/8 teaspoon nutmeg 1/8 teaspoon salt DIRECTIONS Cashew Date Macadamia Crust Layer: Soak the cashews and macadamia nuts in warm water for at least one hour. Drain off the liquid, and pour the soaked nuts into the food processor. Add in the pitted dates and coconut oil and process until a sticky crust forms. Grease or line a 9x9 inch glass baking dish. Scrape the crust mixture into the baking dish and use a rubber spatula to spoon to press the mixture firmly and evenly into the pan. Refrigerate or freeze to set the crust, about one hour, before topping with the sweet potato mixture. Wipe the processor bowl out with a paper towel and set aside. Purple Sweet Potato Pie Layer: Place the sweet potatoes into a large pot of water and bring to a boil. Cook until the potatoes are fork tender, about 10-15 minutes. Remove from the water and let cool completely. Once cooled, remove the skins and toss 'em into the compost or trash bin. Place the sweet potatoes into the processor bowl with the almond milk, maple syrup, coconut oil, lemon juice, vanilla, ginger, cinnamon, nutmeg, and salt. Process on high until the mixture is completely combined and smooth. Pour the mixture over the cooled crust layer and spread it evenly around. Place the baking dish back into the freezer to firm - they'll be much easier to slice this way. Once they're firm, about 3+ hours later, slice the bars even squares. Serve immediately or let soften in the fridge until you're ready to enjoy! NOTES Makes 16-20 bars. Leftovers can be saved in the fridge for several days or the freezer indefinitely. Purple Sweet Potatoes are different than Japanese Sweet Potatoes, which are purple on the outside but white on the inside. Make sure you double check or your pie squares - while delicious! - certainly won't come out looking like ours. Golden Milk: Hot or Iced!
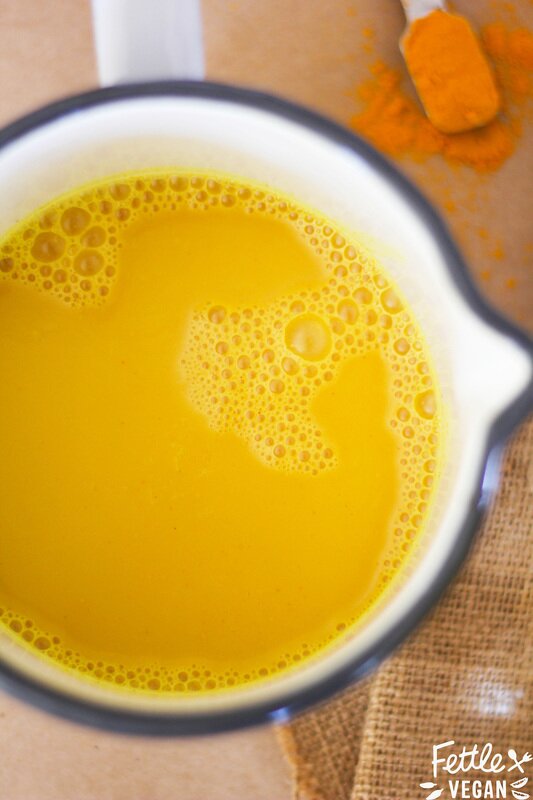
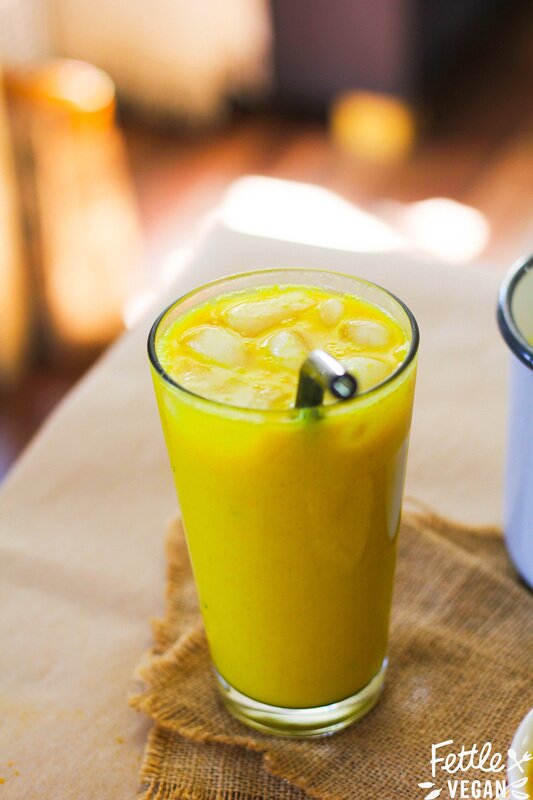
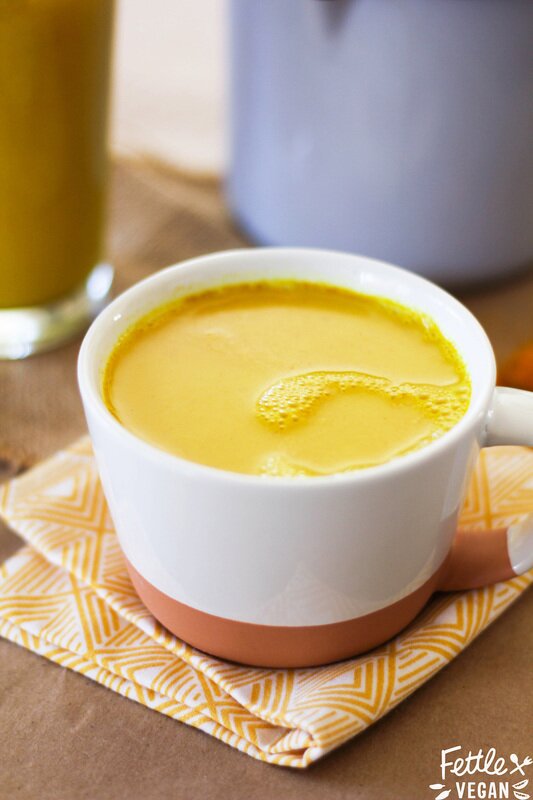
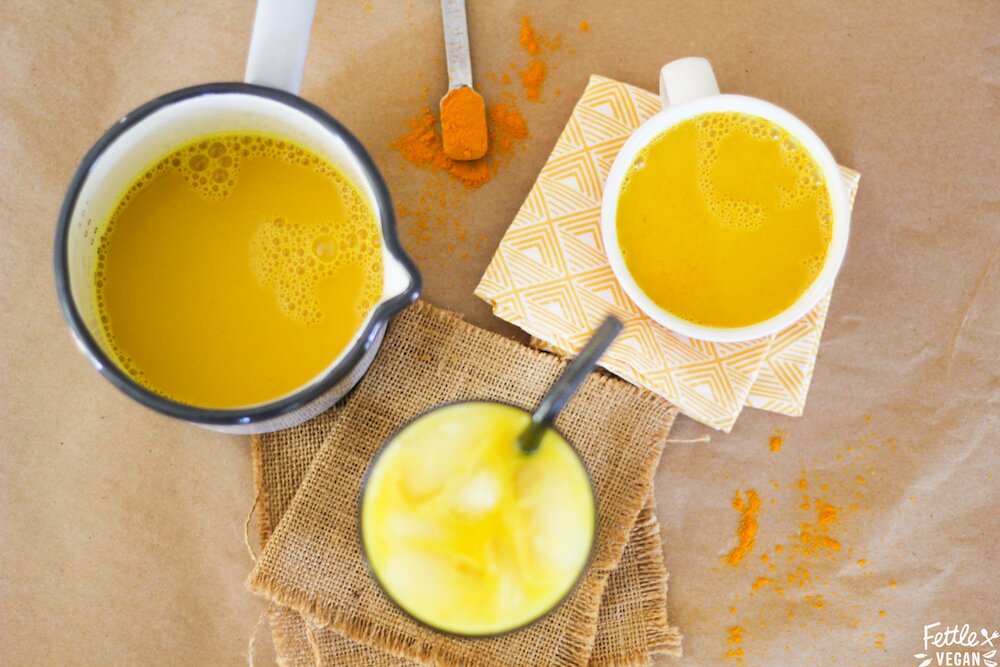
I'm a little late to the party when it comes to posting about golden milk, but I am OBSESSED. And I had to share this in case any of you haven't been lucky enough to stumble upon it yet. If you're still staring at me like 'What the heck is GOLDEN milk?' then let's back this caboose up a bit; Golden Milk is made from steaming milk and blending in spices, sweetener and vanilla to create a steamer that tastes similar to a chai or spiced tea, but is much creamier due to the milk, and a little warmer thanks to the addition of the turmeric. Golden Milk recipes have kind of exploded online lately, and I was lucky enough to try some at a friends a few months ago, where I totally fell in love with it. We'd also tried an amazing version by Califa Farms at Expo West this year, but it wasn't worth paying $4 a bottle for. So I've started making it myself at home! It's way cheaper and feels good knowing I can make an equally delicious version at home for about a tenth of the price.
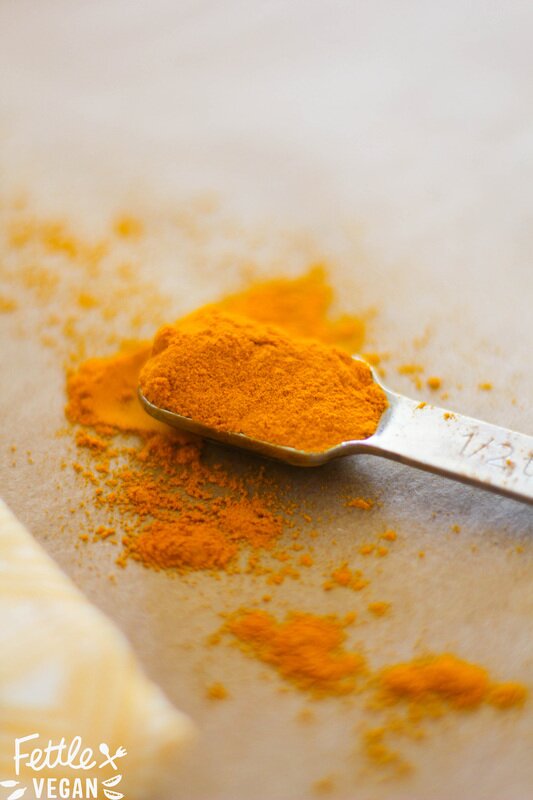
I love whipping one up whenever I want a sweet, warm drink or after a workout to help curb next-day soreness. Turmeric is a flavor you may recognize typically from curries, but but pairs perfectly with the sweetness of this drink. On top of being an anti-inflammatory, turmeric also boasts antioxidant and anti-depressant properties, as well as is considered a 'cure-all' spice for overall health and wellness in India. Plus, turmeric naturally whitens teeth! Seriously, just look up everything turmeric does - it's a pretty amazing little spice and something we should all be incorporating a bit more of into our daily lives. Which is why this super simple recipe is the PERFECT way to try it for yourself. Chances are you already have all the ingredients on hand to make it - so what're you waiting for? Cheers to your health!
INGREDIENTS
16 ounces (2 cups) almond or coconut milk 2-3 tablespoons maple syrup 1 teaspoon ground turmeric 1 teaspoon vanilla 1/2 teaspoon ground ginger 1/4 teaspoon cinnamon 1/8 teaspoon cardamom 1/8 teaspoon nutmeg pinch of black pepper DIRECTIONS Heat your almond or coconut milk in a small saucepan over medium heat (do NOT bring to a boil). Add in the maple syrup, turmeric, vanilla and other ingredients, whisking until the spices are completely dissolved. Simmer for 4-5 minutes, until the milk is hot and everything is well combined. Taste and adjust the flavors to your preference, if you like. Serve immediately OR let the milk cool to room temperature, then serve over ice. Refrigerated leftovers can either be reheated or served chilled over ice as well. NOTES Serves 1-2. Leftovers can be refrigerated and reheated or enjoyed over ice for up a week. Turmeric STAINS. Badly. Avoid using white dishes to cook or serve in unless you can wash them right after, and if you do get some turmeric stains on your countertop, I've read that vegetable oil and regular cleanser will usually get it off. Turmeric DOESN'T stain your teeth! It's actually proven to be a tooth whitener, so no need to brush your teeth after drinking unless your prefer it. Some people make this tea with fresh turmeric, whole cinnamon sticks, and fresh ginger. If that's what you prefer, we support you! Also, use whatever other spices you like - maybe some cloves or cayenne. We just use ground spices because they're convenient and encourage us to actually MAKE this! 😝
Print Recipe
Strawberry Phyllo Strudels
I'm officially dubbing these 'lazy girl pop tarts'. They are SO simple to make, don't require you to whip up any dough, are ready in less than half an hour, and are made of just 6 simple ingredients. Plus, they're actually pretty healthy! We didn't add any sugar, just fruit to the filling, and brushed the stacked layers of phyllo with melted coconut oil. The cream cheese glaze, while optional, is rich, perfectly sweet, and really takes these to the next level. These flaky strudels are portable too, making them perfect for on-the-go munching. They're perfect for summer stuffed with fresh strawberries, but you can sub in whatever fruit you have on hand. I think a mixed berry version would be delicious! And if the cream cheese glaze isn't really your thing, I bet a dollop of homemade coconut whip would be great, too. These are better-for-you toaster strudels without the toasting necessary, and made much healthier. So let's eat!
INGREDIENTS
1/4 cup coconut oil, melted 12 large phyllo sheets, (mine were 13" x 18") divided and folded in half 2 cups fresh strawberries, washed, hulled and chopped 1/2 cup plain vegan cream cheese 3 tablespoons maple syrup 1 teaspoon vanilla DIRECTIONS Preheat the oven to 400ºF. Line a baking sheet with parchment paper. Layer the folded phyllo sheets on the prepared baking sheet, brushing each sheet with the melted coconut oil before adding the next. Brush the 6th sheet with coconut oil and spread the strawberries, leaving about a 1-inch border around the edges. Layer the remaining 6 phyllo sheets, continuing to brush with coconut oil. Once the top layer has been brushed, use a large sharp knife or pizza cutter to slice the pastry into 8 equal rectangles. (You do this because once the pastry has baked, the phyllo will become slightly crisp and brittle and if cut after baking, will crumble quite a bit. ) Place the baking sheet into the oven and bake for 12-16 minutes, or until golden brown. While the pastries bake, prepare the cream cheese glaze by whisking together the cream cheese, maple syrup and vanilla until smooth. When the pastries are finished, let them cool at least 10 minutes before drizzling with the cream cheese glaze. Enjoy! NOTES Makes 8. Leftovers last without glaze, on the counter for up to 3 days. With glaze, in the fridge they'll be good for 1-2. So go ahead and have a second or third...☺️ The easiest way to get that drizzle evenly over the whole thing (IMO) is to scoop the cream cheese glaze into a small zip top sandwich baggie, cup the corner off with scissors and - voila! - you have yourself a DIY icing bag.
Print Recipe
Lavender Tea Latte
I wanted to post this recipe nearly a week ago for you but first my trackpad on my laptop stopped working and I was forced to travel to the deep dark depths of the Apple Store to get it fixed. As soon as I got it back, my host server was down! Ugh, what a week. We do, however, have some exciting events coming up!
This Friday, June 17th we'll be doing our last Tacolepsy pop-up at Green Bliss Cafe in Fullerton. Starting on July 15th we'll be at Renewable Farms in Anaheim with music, art, and a full outdoor patio under the lights. Oh yeah, and BEER! Its the best way to spend a Friday night for sure, and is totally family-friendly, so make sure you come eat with us. Starts at 6pm and goes until about 10pm! This Tuesday, July 21st, for Fullerton's Day Of Music, we're working with Wander Outfitters to make and serve vegan chili and cornbread for everyone out celebrating. Stop by to say hi and for a warm bowl of spicy, homemade chili and to see some of our new Plant-Based Adventures merch! But anyway, back to this recipe. Buying tea lattes costs way too much these days. It’s rarely under $5, especially with the up-charge for non-dairy milk. And who can afford that nonsense? Well now you don’t need to! This easy-to-make Lavender Tea Latte is like the chai lattes prettier, more summery cousin - and can be made totally caffeine-free! Soothing and sweet, with just the right amount of creaminess, this drink is the perfect morning treat or nighttime sipper.
INGREDIENTS:
12 oz unsweetened almond milk 1 lavender tea bag OR 1 tablespoon loose leaf lavender tea in a strainer 1 tablespoon maple syrup, agave or sweetener of choice 1/8 teaspoon ground ginger 1/8 teaspoon vanilla extract lavender flowers, for garnish dollop of coconut whipped cream (optional) DIRECTIONS: Heat the milk and tea in a medium-sized saucepan until hot, but do not bring to a boil. Remove the tea bags or strainer and whisk in the maple syrup, ginger and vanilla. Using a milk frother or high speed blender, add your desired amount of foam to the drink. Scoop in a dollop of coconut whip, if you choose, then sprinkle with fresh lavender flowers for garnish and enjoy immediately! NOTES: Serves 1 You can use any tea you like in place of the Lavender to create a tea latte. Strong green, fruity black and earthy herbal teas all taste great! Don't leave the tea to steep in the milk more than a couple minutes after removing it from the heat. It is easy for floral teas like lavender to get bitter if it sits too long.
print recipe
Winter Salad with Sweet Potatoes, Persimmon, Pomegranate,
|
tagsAll  RSS Feed RSS Feed
|

